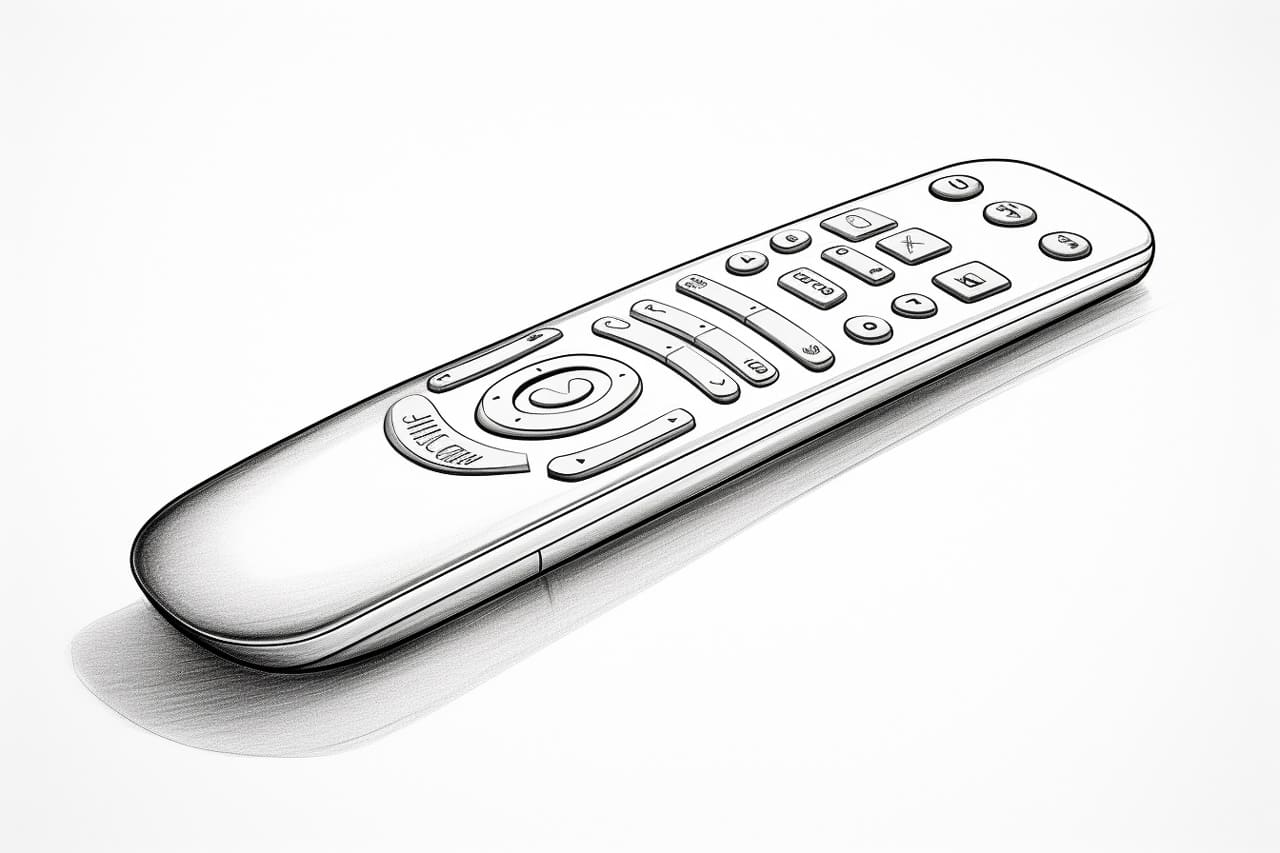
Welcome to this step-by-step tutorial on how to draw a remote control. Whether you are an aspiring artist or just looking to have some drawing fun, this guide will help you create a realistic and detailed illustration of a remote control. By following these simple steps and using basic drawing techniques, you will be able to bring your artwork to life. So grab your pencil and let’s get started!
Materials Required
Before we begin, let’s gather the materials you’ll need for this drawing tutorial:
- Drawing paper or sketch pad
- Pencil (HB or 2B)
- Eraser
- Ruler
- Fine-tip marker or pen (optional for outlining)
Now that we have everything we need, let’s dive into the steps!
Step 1: Establish the Basic Shape
Start by drawing a horizontal rectangle in the center of your paper. This will be the main body of the remote control. Use light and loose lines to create the shape, as we will refine it later.
Step 2: Add the Buttons
Divide the rectangle into smaller sections to represent the buttons on the remote control. You can do this by drawing vertical and horizontal lines within the main shape. Remember to keep the proportions and spacing consistent.
Step 3: Refine the Shape and Buttons
Now it’s time to refine the shape of the remote control and add details to the buttons. Use your ruler to straighten any uneven lines and create clean edges. Make sure the buttons are evenly sized and aligned. Don’t worry about the labels on the buttons just yet; we’ll add those in a later step.
Step 4: Draw the Display Screen
Above the buttons, draw another rectangle to represent the display screen of the remote control. Make it slightly smaller than the main body and position it centered. Add a small curve at the bottom corners to give it a realistic look.
Step 5: Add Details to the Display Screen
Inside the display screen, draw a smaller rectangle to represent the actual display area. This can be slightly curved at the corners too. You can also add some additional buttons or controls on the sides of the screen to make it more realistic.
Step 6: Outline the Remote Control
Once you’re satisfied with the overall shape and details, go ahead and outline your drawing with a fine-tip marker or pen. This will make your lines bolder and more defined. Be careful not to smudge the pencil lines while doing this.
Step 7: Erase the Guidelines
Using your eraser, carefully remove any unwanted pencil lines and guidelines. Be gentle to avoid damaging the outlined drawing. Take your time with this step to ensure a clean and polished look.
Step 8: Add Labels to the Buttons
Now, it’s time to add labels to the buttons on your remote control. Use small, uppercase letters or symbols to represent different functions. You can refer to a real remote control or get creative with your own button labels.
Step 9: Shade and Add Highlights
To give your drawing depth and dimension, add shading and highlights. Imagine a light source and determine where the shadows and highlights would fall on your remote control. Use your pencil to create subtle shading and use an eraser to add highlights where the light would hit the surface.
Step 10: Final Touches and Details
Take a step back and assess your drawing. Are there any areas that need further refinement or details? Pay attention to the overall composition and make any necessary adjustments. If you’re satisfied with the result, congratulations! You have successfully drawn a realistic and detailed remote control.
Conclusion
In this tutorial, we have learned how to draw a remote control step-by-step. By following the simple instructions and using basic drawing techniques, you can create your own realistic illustration. Remember to take your time, be patient, and have fun throughout the process. With practice, you will improve your drawing skills and be able to tackle more complex subjects. So keep drawing and exploring your artistic abilities!