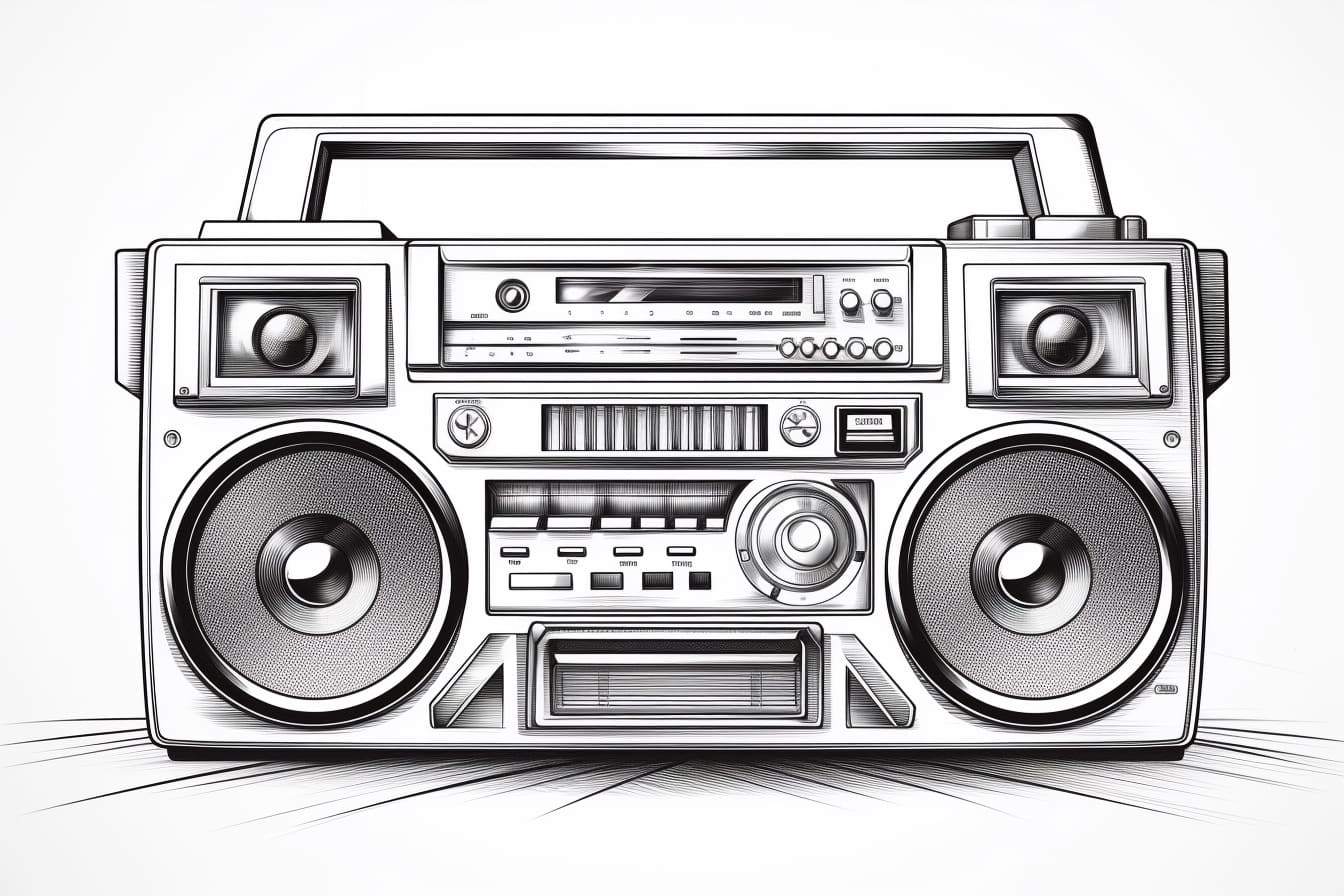
Welcome to this step-by-step guide on how to draw a boombox! In this article, you will learn how to create a realistic and detailed drawing of a classic boombox. Whether you are a beginner or an experienced artist, follow along with these easy-to-follow instructions and create your very own masterpiece. So, grab your pencils and let’s get started!
Materials Required
Before we begin, let’s gather the materials you will need for this drawing:
- Paper: Choose a smooth-surfaced paper that is suitable for sketching.
- Pencils: Get a set of drawing pencils with different lead grades, ranging from soft (B) to hard (H). This will allow you to achieve a wide range of tones and textures in your drawing.
- Eraser: Have a kneaded eraser or a vinyl eraser on hand to correct any mistakes and smudges.
- Pencil Sharpener: Keep a sharpener nearby to maintain the sharpness of your pencils throughout the drawing process.
- Ruler: Use a ruler to help you draw straight lines and maintain proper proportions.
- Reference Image: Find a clear reference image of a boombox that you would like to draw. This will serve as a visual guide throughout the drawing process.
Now that you have gathered all the necessary materials, let’s dive into the step-by-step instructions.
Step 1: Start with Basic Shapes
Begin by lightly sketching the basic shapes that make up the boombox. Start with a rectangular shape for the main body of the boombox. Add smaller rectangles on top for the speakers, buttons, and knobs. Use a ruler to draw straight lines and maintain the proportions.
Step 2: Outline the Boombox
Once you are satisfied with the placement of the basic shapes, use a darker pencil to outline the boombox. Start with the main body and then add the speaker areas, buttons, and knobs. Pay attention to the details and contours of the boombox as you go along.
Step 3: Add the Speakers and Buttons
Now, let’s focus on adding detail to the speakers and buttons. Use reference images to accurately capture the shapes and textures. Shade the areas around the speakers to create depth and dimension. Use different pencil grades (soft and hard) to achieve the desired texture and shading.
Step 4: Draw the Display and Knobs
Moving on, draw the display area and the knobs on the boombox. Again, refer to your chosen reference image to ensure accuracy. Focus on capturing the subtle details such as numbers, labels, and textures. Use your pencil lightly to create the initial shapes, and gradually build up the darker tones.
Step 5: Add Texture and Shading
To make your drawing more realistic, it’s important to add texture and shading to the boombox. Pay attention to the areas where light and shadows interact. Use your pencils to create smooth gradients and subtle variations in tonal values. Add texture to the buttons, knobs, and speaker areas to bring them to life.
Step 6: Refine and Finalize
At this stage, take a step back and assess your drawing. Make any necessary adjustments to the proportions, shading, and overall composition. Use your eraser to lighten or correct any areas that need refinement. Take your time with this step to ensure that you are satisfied with the final result.
Conclusion
Congratulations! You have successfully learned how to draw a boombox. By following these step-by-step instructions and using your creativity, you have created a realistic and detailed drawing. Remember that practice makes perfect, so don’t hesitate to keep honing your drawing skills. Enjoy the process and have fun exploring different subjects and styles. Happy drawing!


