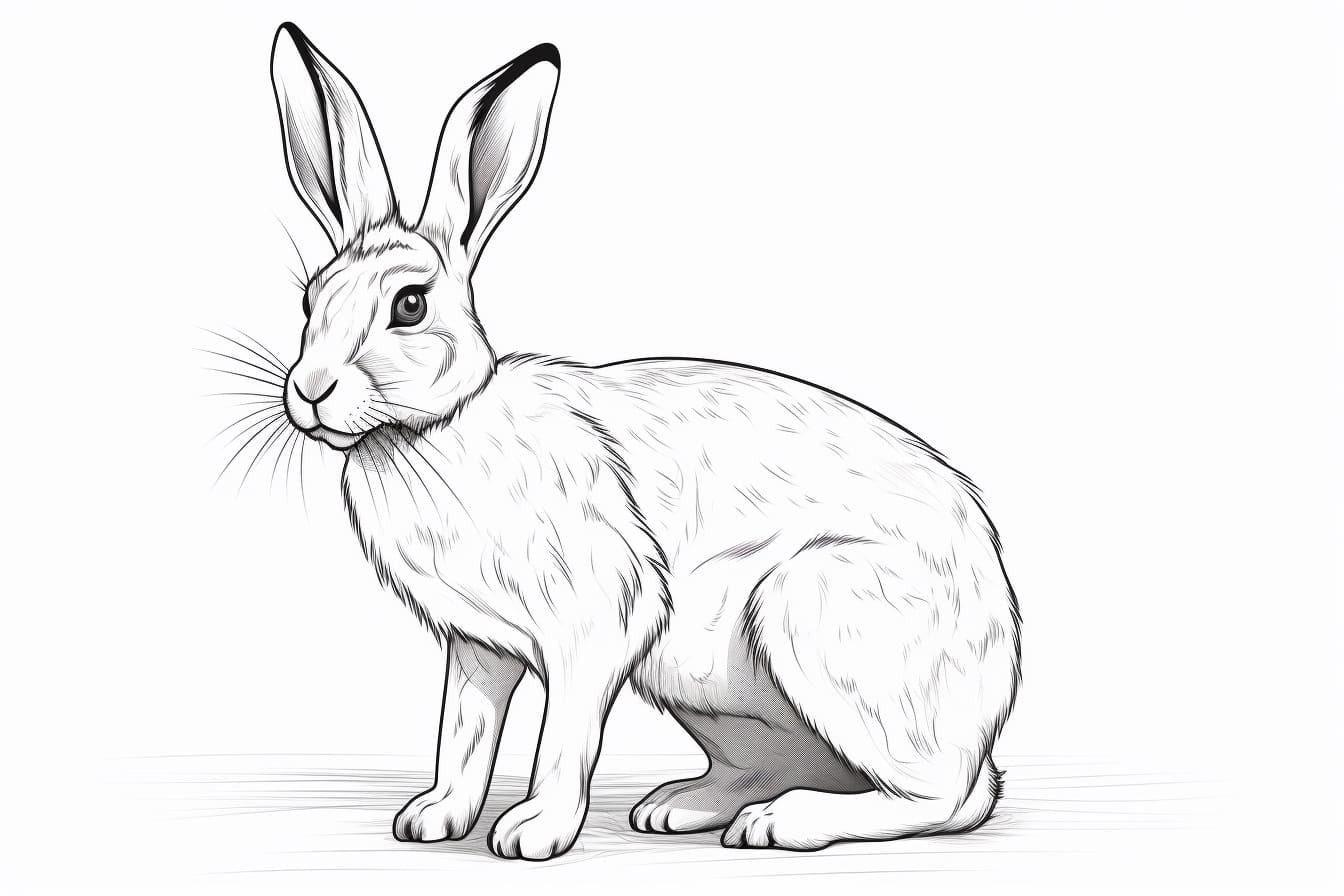
Welcome to this step-by-step guide on how to draw a jackrabbit. In this tutorial, I will walk you through the process of creating a realistic and detailed drawing of this magnificent creature. By the end of this tutorial, you will have the skills and knowledge to create your own stunning jackrabbit artwork. So grab your drawing materials and let’s get started!
Materials Required
Before we dive into the drawing process, gather the following materials:
- Sketching pencils (HB, 2B, and 4B)
- Eraser
- Drawing paper
- Fine-tipped pen (optional)
- Blending stump (optional)
Make sure your pencils are sharp and your eraser is clean. With all your materials ready, we can begin!
Step 1: Lightly Sketch the Basic Shapes
To start, lightly sketch the basic shapes that make up the body of the jackrabbit. Begin with a circle for the head and a slightly larger oval for the body. Add two more ovals for the front and hind legs. Position the shapes in a way that represents the desired pose of your jackrabbit.
Step 2: Refine the Outline
Using the basic shapes as a guide, start refining the outline of the jackrabbit. Pay attention to the head shape, the position of the ears, and the proportions of the body. Jackrabbits have long ears, so make sure to capture their characteristic length and shape. Add a small circle for the eye and a small triangle for the nose.
Step 3: Add Details to the Face
Now it’s time to add more realistic details to the face. Sketch the inner structure of the ears, adding folds and creases. Define the shape of the eye and add a highlight for a more lifelike appearance. Draw a curved line for the mouth and some fur details around the muzzle. Enhance the nose with small details as well.
Step 4: Draw the Body and Legs
Next, focus on the body and legs of the jackrabbit. Refine the outline of the body, adding curves and contours to create a sense of volume. Pay attention to the position and proportions of the legs. Jackrabbits have powerful hind legs, so emphasize their strength and agility. Add small details such as fur texture and muscle definition.
Step 5: Add Fur Textures
Now let’s add some texture to the fur. Using short, diagonal strokes, gradually build up the fur texture all over the body of the jackrabbit. Remember to follow the direction of the fur and vary the length and intensity of the strokes to create a more natural and realistic effect.
Step 6: Refine and Add Final Details
In this step, refine the overall drawing by adding more details and giving it a polished look. Pay attention to the muscles and joints of the legs, adding depth and definition. Refine the facial features further, adding more fur details and enhancing the eyes. Take your time with this step to make the drawing as realistic as possible.
Step 7: Clean Up Your Drawing
Once you are satisfied with the details and overall appearance of your jackrabbit drawing, it’s time to clean it up. Use an eraser to remove any stray lines or smudges, making the drawing look neat and professional.
Step 8: Optional: Ink and Shade
If you prefer a more defined and finished look, you can outline your drawing with a fine-tipped pen. Be careful and confident with your lines to create crisp outlines. After inking, you can also shade the drawing to add depth and dimension. Use your pencils to carefully add shading to areas that would naturally be darker, such as the eye sockets and the folds in the fur.
Conclusion
Congratulations! You have successfully learned how to draw a jackrabbit. This step-by-step tutorial has guided you through the process of sketching, refining, and adding details to create a realistic representation of this fascinating creature. Remember to be patient and have fun while drawing. Practice makes perfect, so keep honing your artistic skills.
So grab your pencils and start creating your own jackrabbit masterpiece. With dedication and practice, you will be amazed at how far your artistic abilities can take you. Happy drawing!