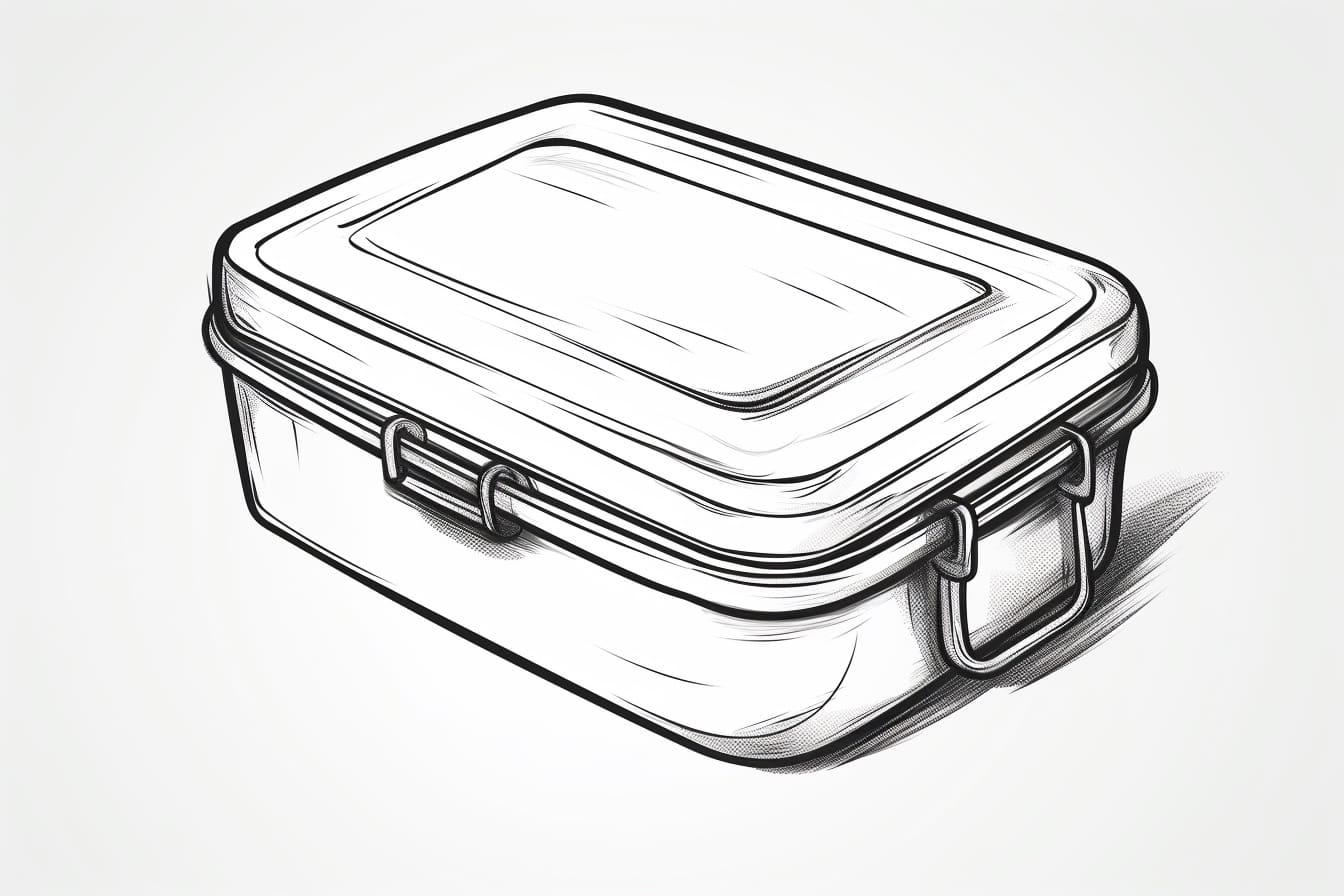
Welcome to this step-by-step guide on how to draw a lunch box. Whether you are an aspiring artist, a seasoned illustrator, or simply looking for a fun and creative activity, this tutorial will walk you through the process of drawing a realistic and detailed lunch box. So grab your pencils and let’s get started!
Materials Required
Before we dive into the drawing process, make sure you have the following materials on hand:
- Paper: You can use any type of paper you prefer. A sheet of plain white paper or sketch paper works well.
- Pencils: A set of drawing pencils, preferably ranging from H to 6B, will give you a range of shading options.
- Eraser: A good quality eraser will help you correct any mistakes and add highlights.
- Ruler: A straightedge ruler will be useful for drawing straight lines and measuring proportions.
- Coloring materials (optional): If you want to add some color to your lunch box drawing, you can use colored pencils, markers, or paints.
Now that you have gathered all the necessary materials, let’s begin drawing our lunch box!
Step 1: Draw the Outline
Start by drawing a rectangle shape that will form the body of the lunch box. Use light and simple strokes to create the basic shape. You can use a ruler to ensure the lines are straight and evenly spaced. Remember to keep the lines light, as you will be refining and adding details later on.
Step 2: Add the Lid and Handle
Extend two lines upward from the top of the rectangle to create the lid of the lunch box. The lid can be slightly curved or straight, depending on the style you prefer. Next, draw a small curved line on the side of the lunch box to represent the handle.
Step 3: Draw the Details
Now it’s time to add some details to our lunch box. Start by drawing a thin line along the lid, representing the seam where the lid closes. Then, using straight lines, draw the clasps or lock mechanisms on the front of the lunch box. Feel free to get creative with the design of these details.
Step 4: Refine the Shape
Take a closer look at the lunch box and compare it to your drawing. Are the proportions accurate? Are there any areas that need adjustments? Use your ruler and eraser to refine the shape and make any necessary corrections.
Step 5: Add Texture and Shadows
To make the lunch box look more realistic, we need to add texture and shading. Start by adding hatching or cross-hatching lines to indicate the texture of the metal or plastic. Use darker pencil grades, such as 2B or 4B, to add shadows and depth to the sides and corners of the lunch box. Pay attention to the direction of the light source to ensure consistent shading.
Step 6: Detail the Handle and Clasps
Next, focus on adding details to the handle and clasps. Use shading techniques, such as hatching or stippling, to give the handle a three-dimensional appearance. Add highlights with an eraser to create a reflective effect on the metal or plastic surface. Use a combination of light and shadow to bring out the texture and form of the clasps.
Step 7: Add Color (optional)
If you want to add some color to your lunch box, now is the time to do so. Use colored pencils, markers, or paints to fill in the different areas of the lunch box. Consider the material and design of your lunch box when choosing colors. You can also experiment with patterns or decals to make your lunch box more unique and personalized.
Step 8: Final Touches
Take a step back and evaluate your drawing. Are there any areas that need further refinement? Make any necessary adjustments or additions to enhance the overall appearance of your lunch box. Use your eraser to clean up any stray pencil marks or smudges.
Congratulations! You have successfully drawn a realistic lunch box. With practice, you’ll be able to create even more intricate and detailed drawings.
Conclusion
Drawing a lunch box may seem like a simple task, but it’s a great exercise in proportion, shading, and attention to detail. By following these step-by-step instructions, you can create a lifelike representation of a lunch box that showcases your artistic skills. Remember, practice and patience are key to improving your drawing abilities. So, keep exploring your creativity and have fun!


