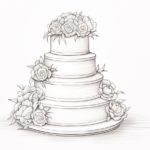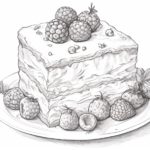
Drawing is a wonderful way to express your creativity, and one of the most popular subjects to draw is a cake. Whether you’re an experienced artist or just starting out, learning how to draw a cake can be a fun and rewarding experience. In this article, we will take you through the step-by-step process of drawing a delicious-looking cake. So grab your pencils and let’s get started!
Materials Required
Before we begin, make sure you have the following materials:
- Paper: Choose a smooth, white drawing paper that is suitable for the medium you are using.
- Pencils: It’s always good to have a variety of pencils with different lead hardness. We recommend using an HB pencil for sketching and a softer pencil like a 2B or 4B for shading.
- Eraser: A kneaded eraser is ideal for drawing as it can be shaped to erase small details without damaging the paper.
- Sharpener: Keep your pencils sharp for precise lines and details.
Step 1: Sketch the Outline
Start by sketching the basic outline of the cake. Imagine a rectangular shape for the base of the cake and lightly draw it on your paper. You can use a ruler to make straight lines if you prefer, but don’t worry too much about perfection at this stage. Remember, the cake can be any size and shape you like, so feel free to get creative with your design.
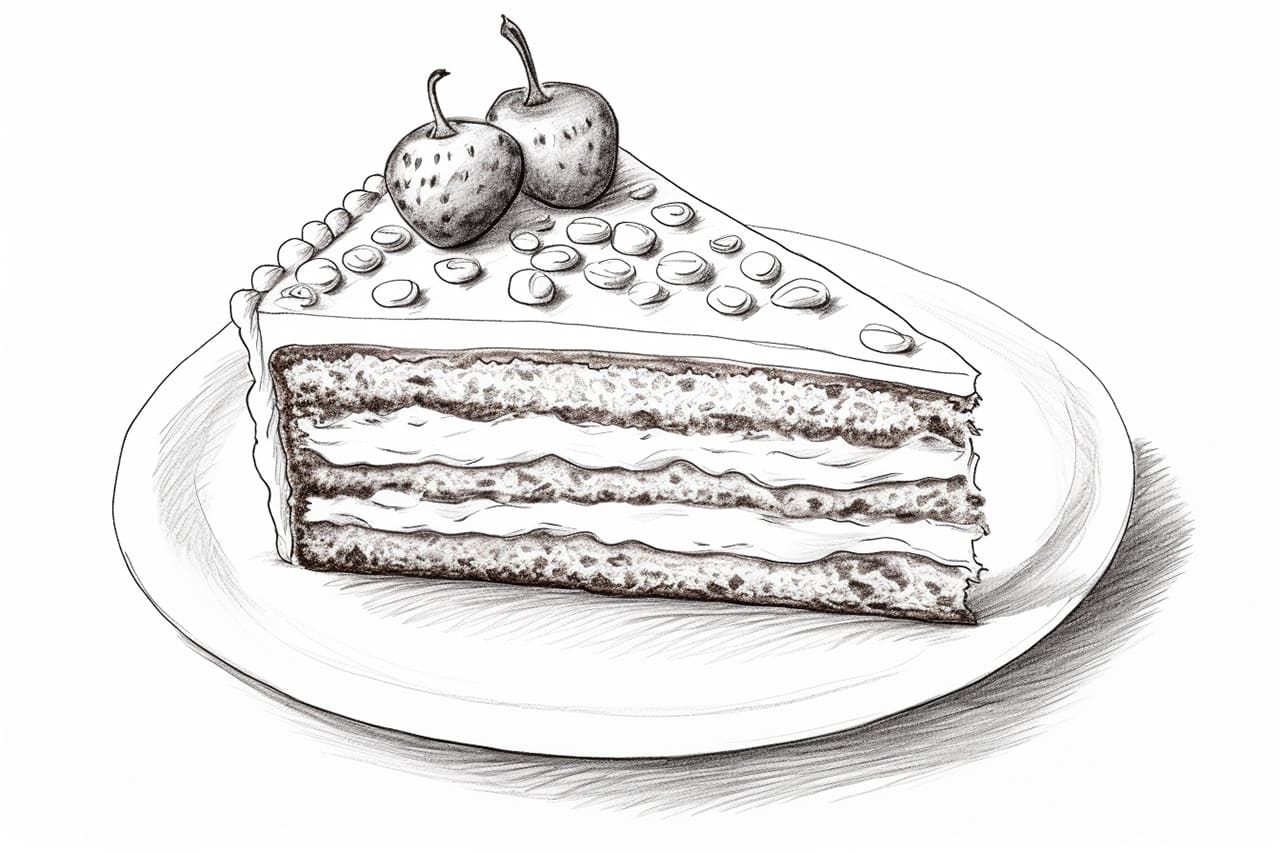
Step 2: Add Layers and Frosting
Next, draw the layers of the cake. These can be simple shapes like circles or squares stacked on top of each other. Make each layer slightly smaller than the previous one to create a realistic effect. Draw smooth, curved lines to connect the layers and give the cake a cohesive look.
Once the layers are drawn, it’s time to add the frosting. Draw wavy lines along the edges of each layer to represent the icing. Keep in mind that the frosting can be any color you like, so feel free to experiment with different shades. You can also use your pencil to add texture to the frosting by drawing small strokes or dots.
Step 3: Decorate the Cake
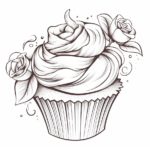
Now it’s time to let your imagination run wild and decorate the cake. Draw various shapes and patterns on the frosting to represent decorations like flowers, bows, or sprinkles. You can also add candles or a cake topper for some extra flair. Take your time with this step and have fun experimenting with different designs. Remember, it’s your cake, so make it as colorful and whimsical as you like!
Step 4: Shade and Add Depth
To make your cake look more three-dimensional, it’s important to add shading and highlights. Start by identifying the light source in your drawing. This will determine where the shadows and highlights should be placed. Use your softer pencil to shade the areas of the cake that are facing away from the light source. Apply more pressure to create darker shadows and gradually lighten your strokes as you move towards the lighter areas of the cake.
To create highlights, use your kneaded eraser to gently lift off some of the graphite from the areas that are directly hit by the light source. This will create the illusion of shiny, reflective surfaces. Take your time with this step and build up the shading gradually to create a realistic effect.
Step 5: Detailing and Final Touches
Now that you have the basic shape and shading of the cake, it’s time to add some final touches and details. Use your pencil to define the edges of the cake layers and the decorations. Add small lines and dots to create texture and make the cake look more realistic. Don’t forget to add some shadows and reflections to the decorations as well.
Take a step back and evaluate your drawing. Are there any areas that need more shading or detailing? Make any necessary adjustments until you are satisfied with the final result.
Conclusion
Congratulations, you’ve successfully drawn a delicious-looking cake! Drawing a cake is a great way to practice your skills and unleash your creativity. Remember to have fun with it and don’t be afraid to experiment with different designs and colors. The more you practice, the better you will become.
We hope you enjoyed this step-by-step guide on how to draw a cake. Now it’s time to grab your pencils and start creating your own mouth-watering cake drawings. Happy drawing!
Want to up your cake drawing skills? Try a unicorn cake.