Welcome to this step-by-step guide on how to draw a camera! Whether you’re an aspiring artist or just looking to improve your drawing skills, this tutorial will teach you how to create a realistic and detailed camera illustration. By following along with the instructions and using the necessary materials, you’ll soon be capturing the essence of a camera on paper. So let’s get started!
Materials Required
Before we begin, make sure you gather the following materials:
- Pencil
- Eraser
- Ruler
- Compass (optional)
- Paper
- Colored pencils or markers (optional)
Having these materials ready will ensure a smooth drawing process.
Step 1: Outline the Camera Body
Start by drawing a rectangle to form the main body of the camera. Use a ruler to create straight and evenly measured lines. The size of the rectangle can vary depending on the type of camera you want to draw. For a classic film camera, a rectangle of approximately 4 inches by 3 inches works well.
Step 2: Add the Lens
Positioned towards the top center of the camera body, draw a smaller rectangle to represent the camera lens. Take care to ensure that it is centered and proportionate to the camera body. The size of the lens will differ depending on the type of camera you are drawing.
Step 3: Sketch the Viewfinder
At the top left corner of the camera body, draw a smaller rectangle that will serve as the viewfinder. The viewfinder can vary in shape and size, so feel free to experiment with different designs. It may be a simple rectangle or a more complex shape, depending on the style of camera you are drawing.
Step 4: Detail the Camera Body
To make the camera look more realistic, add details such as buttons, dials, and other features on the camera body. Research different camera models to get inspiration for these details. Pay close attention to the placement of these elements to maintain accuracy and proportionality.
Step 5: Draw the Shutter Button
On the top right corner of the camera body, draw a small circle to represent the shutter button. The size of the button should be relative to the camera body. Place it strategically to ensure it aligns with the rest of the camera’s features.
Step 6: Outline the Camera Strap
To add a finishing touch, draw two curved lines extending from each side of the camera body. These lines will form the camera strap. Take note of how the camera strap is attached to the camera body by referencing photographs or real cameras.
Step 7: Refine the Outline
Now that you have the basic outline of the camera, go over your drawing and refine any uneven lines or shapes. Use an eraser to remove any construction lines that are no longer needed and ensure that your camera’s proportions are accurate.
Step 8: Add Dimension and Shadows
To make your camera drawing more realistic, it’s essential to add dimension and shadows. Determine the direction of the light source and lightly shade areas of the camera that would naturally appear darker. Use short, light strokes to indicate shape and texture. This step can be done with colored pencils or markers for a more vibrant result.
Step 9: Add Details and Texture
Enhance the realism of your camera drawing by adding intricate details and texture. Pay attention to the textures of various camera parts such as leather, metal, or plastic. Use your pencil to create lines, dots, or patterns that mimic these textures and help bring your drawing to life.
Step 10: Color your Drawing (Optional)
If you would like to add color to your camera drawing, now is the time to do so. Choose colors that match the camera you’re drawing or let your imagination run wild. Colored pencils or markers can be used for this step. Remember to color in a way that complements the shading and dimension you’ve already created.
Conclusion
Congratulations on completing your camera drawing! By following these step-by-step instructions and using your creativity, you have successfully learned how to draw a camera. Now you can proudly display or share your artwork with others. Remember, practice makes perfect, so don’t hesitate to try again and experiment with different camera designs. Have fun drawing!
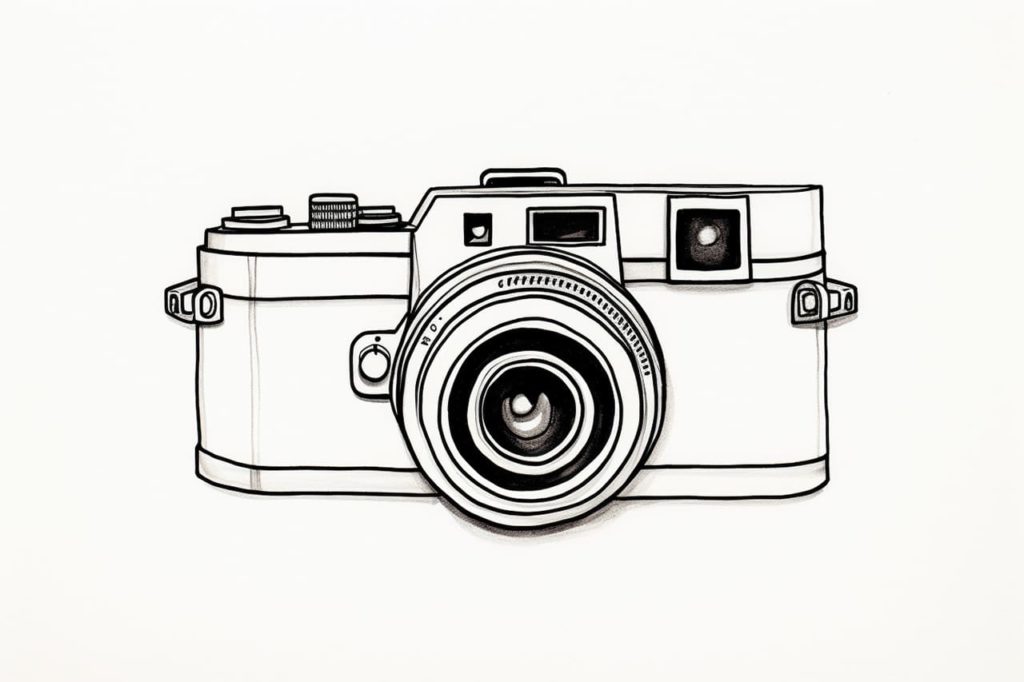
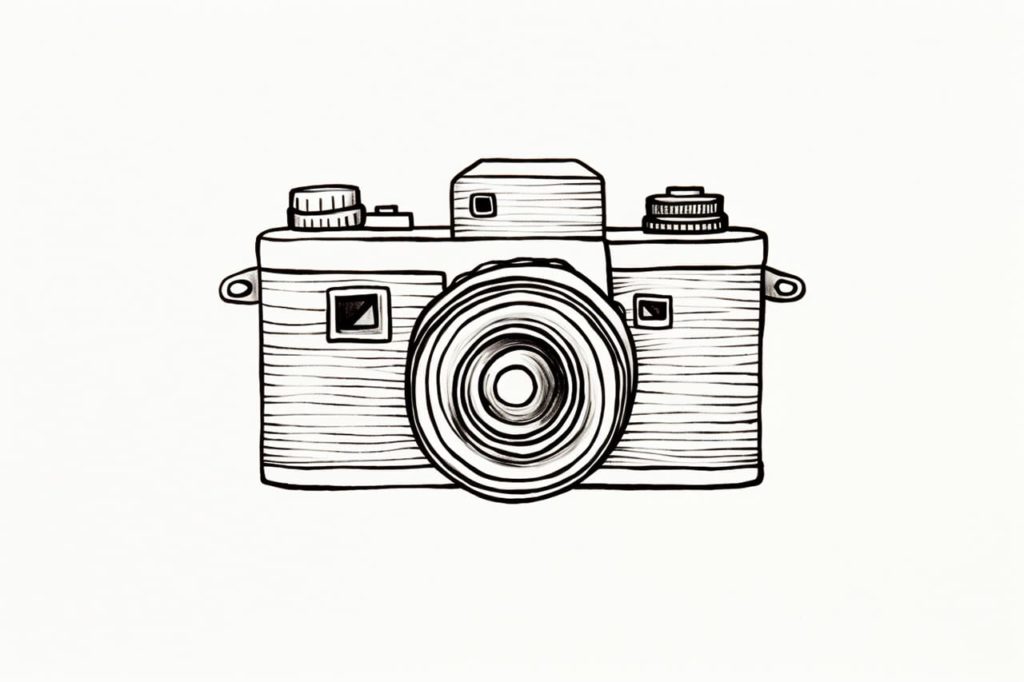
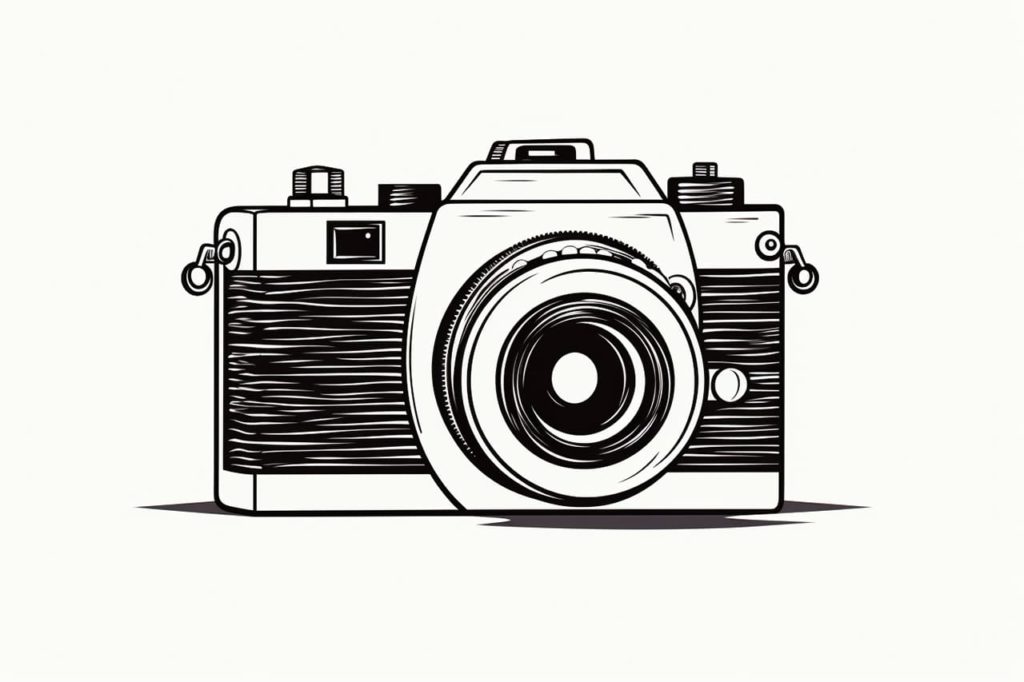
Gallery of Camera Drawings