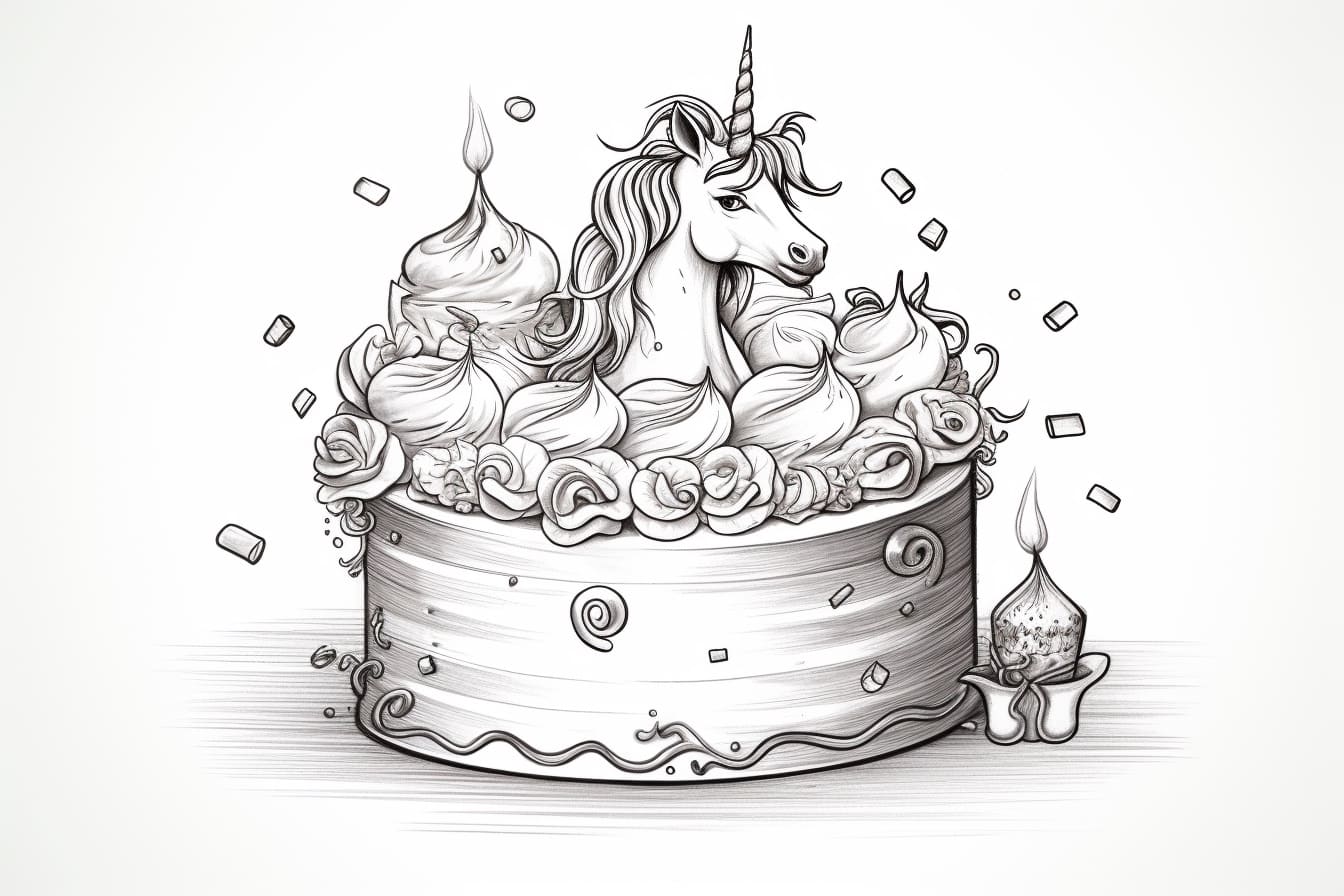
Unicorn cakes have become a popular trend in the world of baking and aesthetics. These magical cakes are often adorned with colorful frosting and decorations to resemble the enchanting creature. If you’ve ever wanted to recreate the whimsy of a unicorn cake on paper, you’ve come to the right place. In this step-by-step guide, we will explore the process of drawing a unicorn cake. So grab your pencils and let’s get started!
Materials Required
Before we begin, make sure you have the following materials ready:
- Drawing paper or sketchbook
- Pencil and eraser
- Coloring tools such as markers, colored pencils, or watercolors
- Ruler (optional, for precise measurements)
- Reference images of unicorn cakes for inspiration
With all the materials gathered, let’s dive into the fun world of drawing a unicorn cake!
Step 1: Sketching the Foundation
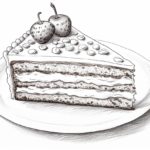
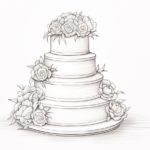
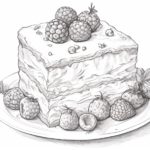
Start by lightly sketching the basic shape of the cake using your pencil. You can imagine a rectangular or circular cake and draw the outline accordingly. Remember that unicorn cakes are often multi-tiered, so feel free to add additional layers to your cake sketch.
Step 2: Adding the Horn
Now, draw a long, slender triangle shape at the top center of the cake. This will serve as the unicorn’s horn. Make sure it extends slightly above the cake itself. You can add some curves or swirls to give it a more whimsical appearance.
Step 3: Outlining the Ears
On either side of the horn, draw two curved triangles to represent the unicorn’s ears. Position them at an angle that suits your cake design. Play around with different shapes and sizes to add your personal touch.
Step 4: Detailing the Eyes and Facial Features
Draw two large, expressive eyes below the horn and ears. Fill in the iris of the eyes with circles or ovals, leaving some space for highlights to add depth. Add eyelashes to make the eyes more captivating. Beneath the eyes, sketch a small, smiling mouth. You can also add cute rosy cheeks to enhance the cake’s joyful expression.
Step 5: Adding Frosting and Decorations
Now it’s time to unleash your creativity! Begin by drawing wavy and curvy lines along the sides of the cake to represent the frosting. Experiment with different frosting styles like roses, stars, or abstract shapes. Remember, the more vibrant and colorful, the better! You can also add sprinkles, edible pearls, or any other decoration that your imagination desires.
Step 6: Creating the Mane and Tail
Extend past the top of the cake and add some curvy lines to create the unicorn’s flowing mane. The mane can be as long or as short as you like, and you can add additional details such as curls or braids. Similarly, add a flowing tail at the bottom of the cake, allowing it to trail off in an elegant manner.
Step 7: Finalizing the Details
Take a step back and observe your work so far. Are there any areas that need refinement or additional embellishments? Use your pencil to add any final details, such as more intricate decorations on the cake or additional highlights and shadows to make the drawing pop.
Once you are satisfied with your pencil sketch, you can either leave it as is or move on to the next step to add some colors.
Step 8: Adding Colors
Grab your coloring tools and bring your unicorn cake to life! Start by coloring the cake layers, using shades that complement each other. Experiment with various color combinations to create a visually appealing cake. Next, color the horn, ears, and facial features, giving them a touch of magic. Finally, use bright colors for the frosting, mane, tail, and decorations to make your unicorn cake truly mesmerizing.
Conclusion
Congratulations! You have successfully learned how to draw a unicorn cake. Remember, drawing is all about expressing your own creativity and making it your own. So don’t be afraid to experiment with different shapes, colors, and decorations. Just let your imagination soar and create the most fantastical unicorn cake that you can envision. Happy drawing!