Welcome to this step-by-step guide on how to draw a fossil! Fossils are fascinating remnants of ancient life that have been preserved in rocks over millions of years. As an expert artist and drawing instructor, I will walk you through the process of creating a realistic and detailed fossil drawing. So, let’s grab our drawing materials and get started!
Materials Required
To begin with, make sure you have the following materials ready:
- Drawing paper or sketchbook
- Pencils (preferably a range of graphite pencils, such as 2B, 4B, and 6B)
- Eraser (preferably a kneaded eraser)
- Pencil sharpener
- Ruler
- Reference images of fossils (optional, but helpful for accuracy)
Now that we have everything we need, let’s start drawing our fossil!
Step 1: Choose a Fossil
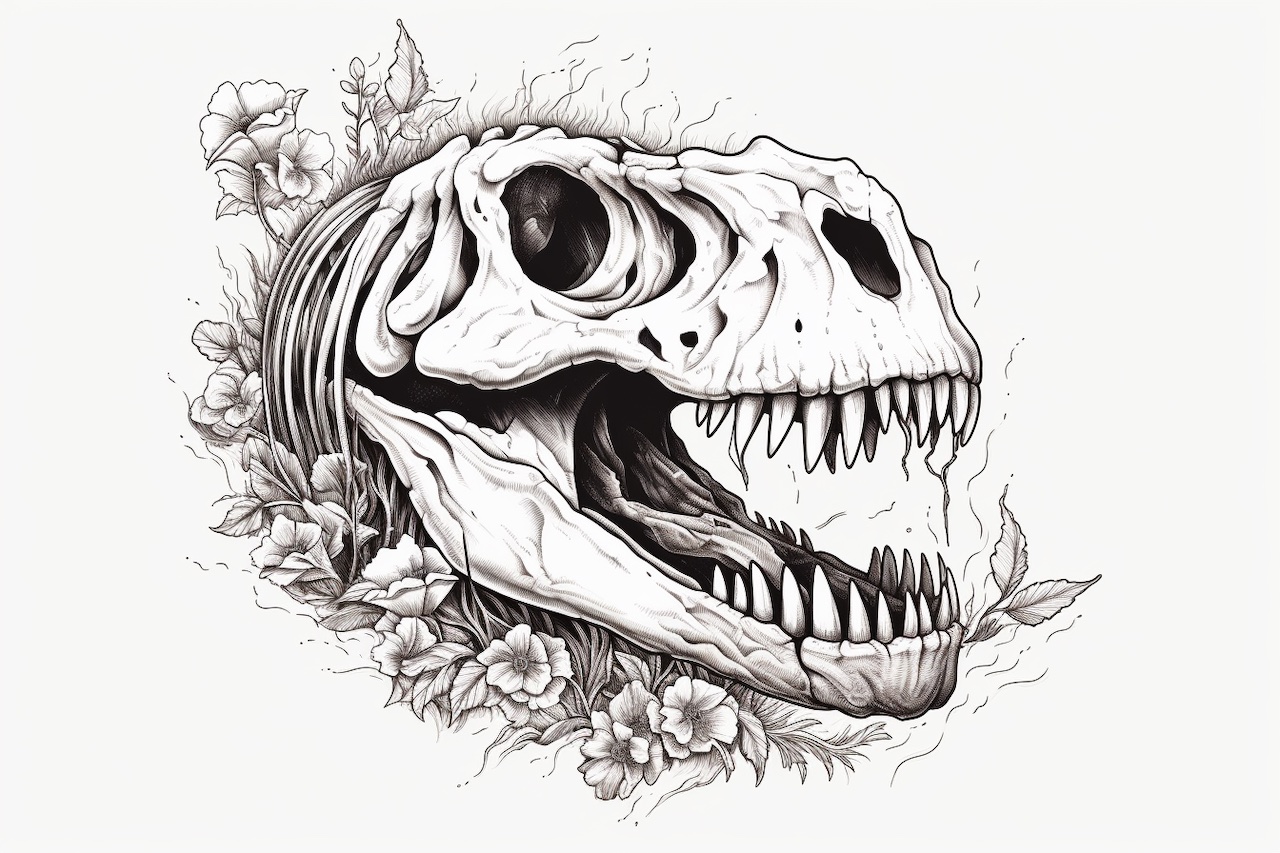
Before diving into the actual drawing, take some time to select a particular fossil that you would like to draw. It could be a dinosaur bone, a shell, a leaf imprint, or any other fossil that catches your interest. Having a clear idea of what you want to draw will help you focus and make the drawing process more enjoyable.
Step 2: Study the Fossil
Take a close look at the fossil you have chosen. Observe its shape, texture, and any intricate details it may have. Pay attention to the overall structure and any unique features that make the fossil distinctive. This careful observation will be crucial in capturing the essence and realism of the fossil in your drawing.
Step 3: Outline the Fossil
Start by lightly sketching the basic outline of the fossil. Use a light pencil, such as a 2B, to create loose and light lines. Remember, this initial outline is just a rough guide, so don’t worry about making it perfect. Focus on getting the proportions and overall shape of the fossil right.
Step 4: Add Details and Texture
Now, it’s time to add more details to your fossil drawing. Look closely at the fossil and begin to incorporate the textures and patterns you observed earlier. Use a range of pencils, from 2B to 6B, to create varying degrees of darkness and shading. Take your time and build up the details gradually, using light strokes to mimic the texture of the fossil’s surface.
Step 5: Shade and Add Depth
To make your fossil drawing more realistic, it’s important to create depth and shading. Start by determining the light source in your drawing. This will help you understand where the shadows and highlights will fall on the fossil. Use darker pencils, like 4B or 6B, to shade the areas that are away from the light source. Leave the areas where the light hits the fossil lighter, using a lighter pencil like 2B.
Step 6: Refine the Drawing
At this stage, take a step back and evaluate your drawing so far. Look for any areas that need refinement or adjustment. Use your eraser to gently correct any mistakes or lighten areas that are too dark. Pay attention to the shape, proportions, and overall balance of the fossil. Take your time with this step, as it can make a significant difference in the final result.
Step 7: Final Details and Finishing Touches
To add the finishing touches to your fossil drawing, focus on the fine details that make the fossil unique. Examine the textures, cracks, and any other intricate features it possesses. Use a sharpened pencil, such as a 4B or 6B, to carefully add these final details. Take your time and work patiently to capture the essence of the fossil.
Conclusion
Congratulations on successfully drawing a fossil! By following these step-by-step instructions and using your observation skills, you have created a realistic and detailed representation of an ancient relic. Drawing fossils can be a fascinating way to explore the wonders of the past and exercise your artistic abilities. I hope you found this guide helpful and enjoyable. Keep practicing and exploring the world of art!