Are you craving something sweet? Why not satisfy your artistic appetite by learning how to draw a delicious dessert? Whether you’re a beginner or an experienced artist, this step-by-step guide will teach you how to create a mouthwatering masterpiece. So grab your pencil, paper, and imagination, and let’s get started on this delectable drawing adventure!
Materials Required:
- Paper: Choose a smooth-surfaced paper that is suitable for drawing, such as drawing paper or sketchbook paper. Size can be any preference, but an 8.5×11-inch sheet works well.
- Pencil: A traditional graphite pencil is perfect for sketching the outline and shading. Consider using an HB or 2B pencil for a good balance between versatility and darkness of lines.
- Eraser: A kneaded eraser or a soft vinyl eraser will allow you to correct mistakes and lighten or remove unwanted pencil marks without damaging the paper.
- Colored Pencils: Optional, but if you want to add a pop of color to your dessert drawing, have a set of colored pencils ready.
Now that you have your materials ready, let’s dive into the step-by-step process of drawing a mouthwatering dessert!
Step 1: Sketch the Outline
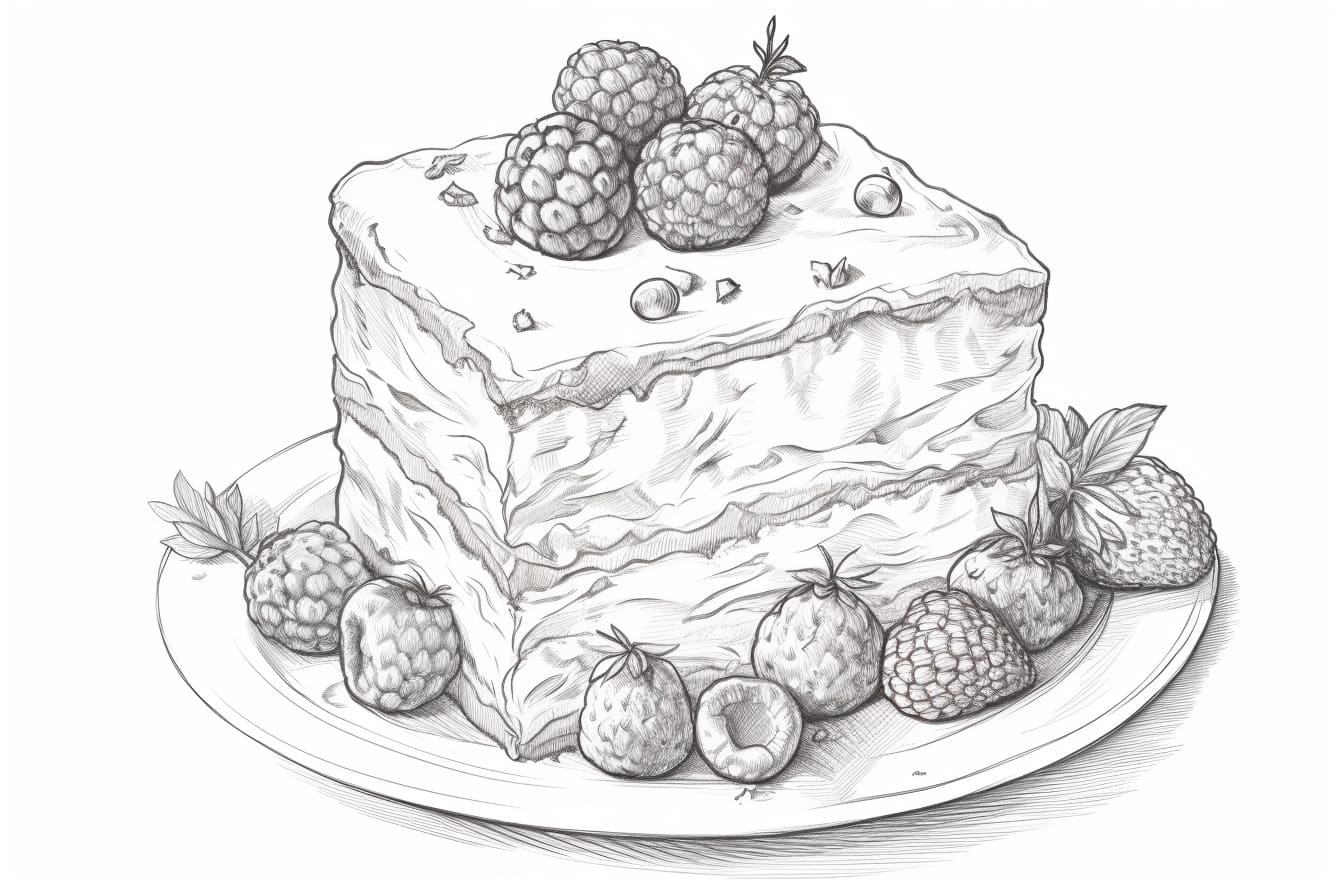
Start by lightly sketching the basic shape of your dessert. It could be a slice of cake, a scoop of ice cream, or a beautiful pastry. Don’t worry about details in this step; focus on getting the proportions and overall shape right. Remember to keep your pencil lines light and easily erasable.
Step 2: Add Details
Once you’re satisfied with the basic shape, start adding more details. Look closely at your reference image or use your imagination to visualize the texture, layers, and decorations of the dessert. Use your pencil to add these details, such as frosting, sprinkles, or fruits. Take your time and be patient, as this step brings your dessert to life.
Step 3: Enhance with Shadows and Highlights
To make your dessert drawing more realistic, add shadows and highlights. Observe how the light source interacts with the dessert’s surface and use your pencil to create gradual shading where necessary. This technique adds depth and dimension to your drawing. Remember to blend the shading smoothly using your pencil or a blending stump for a more polished look.
Step 4: Color (Optional)
If you prefer a colored dessert drawing, now is the time to bring out your colored pencils. Begin by selecting the appropriate colors for each element of your dessert. Take note of the hues and tones in your reference image or experiment with color combinations that appeal to you. Use light and gentle strokes, layering colors gradually to achieve the desired effect.
Step 5: Add Final Details
Now that you have your dessert drawn and colored, it’s time to add any final details. This includes refining the shapes, intensifying shadows and highlights, and adding extra touches like additional decorations or a background. Pay attention to small details that can make a big difference in the overall appearance of your drawing.
Conclusion
Congratulations! You have successfully learned how to draw a delicious dessert. Whether it’s a slice of cake, a cupcake, or an ice cream sundae, this step-by-step guide has helped you bring your favorite sweet treat to life on paper. Remember to practice regularly and experiment with different desserts to improve your skills as an artist. So grab your pencil and start your artistic dessert journey today!