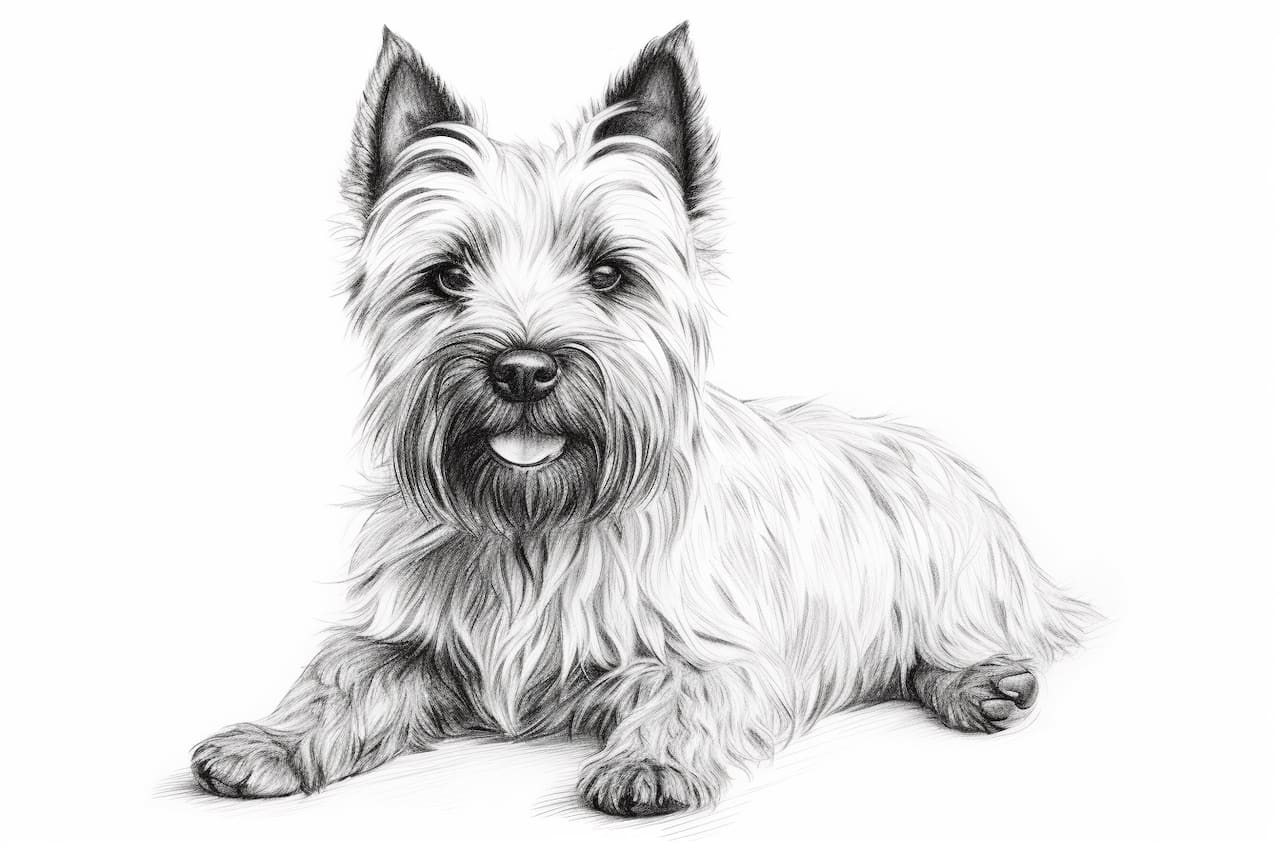
Welcome to this step-by-step guide on how to draw a Cairn Terrier. As an expert artist and drawing instructor, I will walk you through the process of capturing the unique charm of this adorable breed on paper. Cairn Terriers are small, sturdy, and full of life, making them a delightful subject for any artist. So grab your drawing materials and let’s get started!
Materials Required
Before we begin, let’s gather all the materials you will need for this drawing:
- Drawing paper: A medium-weight paper will work best for this project. Choose a size that suits your preference, but a standard 9×12-inch sketchbook should suffice.
- Pencils: We will be using graphite pencils of various hardnesses. A set of pencils ranging from 2H to 6B will give you enough range to create different values in your drawing.
- Erasers: Have both a kneaded eraser and a regular vinyl eraser on hand. The kneaded eraser is useful for lifting graphite and creating soft highlights, while the vinyl eraser will help you make precise corrections.
- Blending tools: You can use a blending stump or a tortillon to soften and blend your pencil strokes, giving your drawing a smoother appearance.
- Reference photo: Find a clear, high-resolution photo of a Cairn Terrier to work from. This will help you accurately depict the breed’s unique features.
Now that you have all your materials ready, let’s dive into the step-by-step process of drawing a Cairn Terrier.
Step 1: Basic Shape and Proportions
Start by lightly sketching a basic shape for the dog’s head. Cairn Terriers have a relatively square-shaped head, so draw a square with slightly rounded corners. Divide the square with a vertical and horizontal line to create guidelines for the facial features and placement of the eyes.
Step 2: Eyes and Nose
Using the guidelines, draw two almond-shaped eyes, slightly angled upwards. Add a small curved line for the nose at the intersection of the horizontal and vertical guidelines. Cairn Terriers have a distinctive black nose.
Step 3: Ears and Mouth
Sketch the Cairn Terrier’s small, pointed ears on either side of the head, just above the eyes. Add a small curved line below the nose to indicate the mouth.
Step 4: Facial Features
Add details to the eyes by drawing the iris and pupil, leaving a small white highlight in each eye for a lively effect. Darken the outer edges of the eyes to create depth. Draw a curved line above the eyes to indicate the brow line.
Step 5: Fur and Texture
Start building the texture of the Cairn Terrier’s fur by sketching short, overlapping lines around the head and ears. Cairn Terriers have a wiry coat, so be sure to convey the roughness by varying the length and direction of your pencil strokes.
Step 6: Body and Legs
Extend the shape of the head to create the body. Cairn Terriers have a sturdy, compact build, so draw a slightly rectangular shape with rounded corners. Add the front and back legs, making them short with a slight bend to convey the breed’s muscularity.
Step 7: Tail and Details
Draw a curved tail on the back of the Cairn Terrier, slightly curled upwards. Add the finer details, such as the eyebrows, whiskers, and a small collar if desired. Refine the fur texture by adding more overlapping lines and shadows to create depth.
Step 8: Shading and Value
To give your Cairn Terrier drawing dimension and depth, start adding shading and value. Use a medium-toned pencil like a 2B to create a base layer of shading, especially in areas that have shadows. Gradually build up the values by layering lighter or darker pencil strokes, depending on the area you’re working on.
Step 9: Refine and Finalize
Take a step back and evaluate your drawing. Make any necessary adjustments or corrections to achieve the desired likeness. Use your erasers to lift or add highlights, and your blending tools to soften and blend areas where needed.
Conclusion
Congratulations! You have successfully completed a drawing of a Cairn Terrier. By following these step-by-step instructions and using the right materials, you were able to capture the unique charm of this beloved breed. Keep practicing, and with time, your skills as an artist will continue to grow. Enjoy the process, have fun, and remember that practice makes perfect!