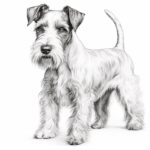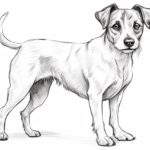
Are you a fan of dogs? Do you have a particular fondness for Miniature Bull Terriers? If so, why not try your hand at drawing one? In this step-by-step guide, I will walk you through the process of how to draw a Miniature Bull Terrier, from the initial sketch to the final details. So grab your drawing materials, and let’s get started!
Materials Required
To draw a Miniature Bull Terrier, you will need the following materials:
- Drawing paper: Choose a high-quality paper that is suitable for your preferred drawing medium, whether it’s pencil, pen, or marker.
- Pencils: A set of graphite pencils with different levels of hardness, such as 2B, 4B, and 6B, will allow you to create different shades and textures.
- Eraser: A kneaded eraser is recommended for easy removal of mistakes and smudges.
- Sharpener: Keep your pencils sharp for precise lines and details.
- Blending tools: A blending stump or tortillon will help you achieve smooth shading and blending of your pencil strokes.
- Reference image: Find a clear, high-resolution photo of a Miniature Bull Terrier to use as a reference for your drawing.
Step 1: Basic Shapes
Start by lightly sketching the basic shapes that make up the Miniature Bull Terrier’s body. Begin with an oval shape for the head, followed by a larger oval for the body. Connect the two ovals with a neck. Then, add two smaller circles for the ears, as well as two elongated ovals for the front and hind legs. Take your time and make sure to keep your lines light and loose.
Step 2: Refine the Outline
Using the basic shapes as a guide, begin to refine the outline of your Miniature Bull Terrier. Start with the head, adding details such as the eyes, nose, and mouth. Pay close attention to the shape of the snout and the position of the ears. Then, move on to the body, adding the chest, back, and tail. Finally, refine the outline of the legs, making sure to capture the muscular structure and proportions of the breed.
Step 3: Add Facial Features
Focus on the face of your Miniature Bull Terrier and add the necessary details to bring it to life. Start with the eyes, which are usually round and alert. Use circles within circles to indicate the iris and pupil. Then, add the eyebrows and the distinctive triangular-shaped ears. Pay attention to the angle and position of the ears as they can vary from one dog to another. Finally, draw the nose and mouth, capturing any wrinkles or markings that are unique to the breed.
Step 4: Shading the Body
Now it’s time to add depth and dimension to your drawing by shading the body of the Miniature Bull Terrier. Start with a light layer of shading all over the body, using a lighter pencil such as 2B. Then, gradually build up the darkness and texture by layering additional pencil strokes. Pay close attention to the areas where the light hits the body and create highlights by leaving those areas untouched. Use a blending stump or tortillon to smooth out the shading and create a seamless transition between light and dark areas.
Step 5: Details and Textures
Continue to add details and textures to your drawing. Pay attention to the Miniature Bull Terrier’s coat, which is short and dense. Use short, curved strokes to indicate the direction of the fur, and vary the pressure of your pencil to create texture and depth. Focus on the facial features, such as the wrinkles around the snout and the texture of the ears. Take your time with this step, as it will greatly enhance the realism of your drawing.
Step 6: Final Touches
Take a step back and evaluate your drawing. Are there any areas that need refinement or additional shading? Make any necessary adjustments to ensure the overall accuracy and balance of your drawing. Pay attention to smaller details, such as the toenails, collar, and any other accessories you may want to include. Once you are satisfied with your drawing, gently erase any remaining pencil lines and smudges, taking care not to damage the paper or the shading you’ve created.
Conclusion
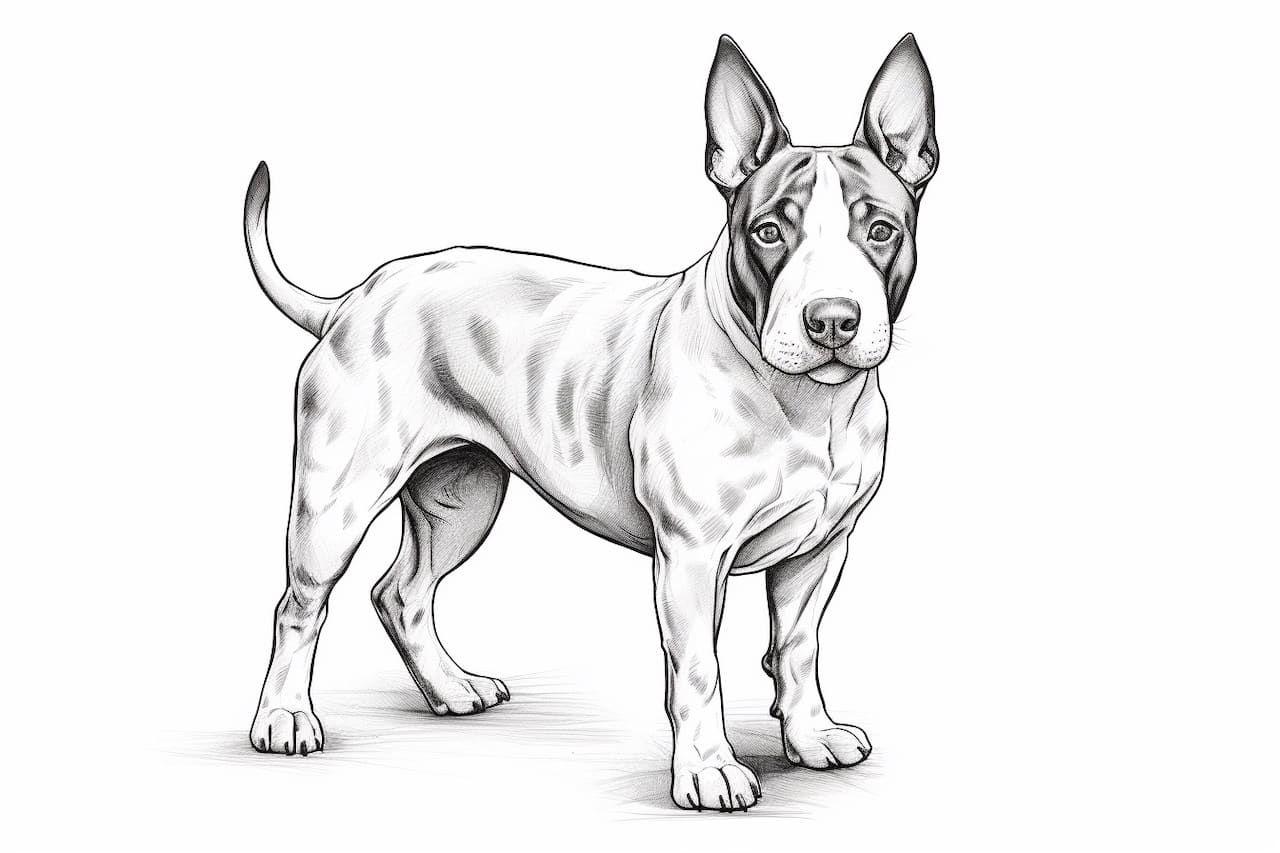
Drawing a Miniature Bull Terrier may seem challenging at first, but with patience and practice, you can create a beautiful and realistic representation of this unique breed. Remember to start with basic shapes, refine the outline, add facial features, shade the body, and pay attention to details and textures. Don’t be afraid to make mistakes along the way, as they can be valuable learning opportunities. So grab your drawing materials, find a reference image, and unleash your artistic skills!