Welcome to this step-by-step guide on how to draw a bottle like a pro! Whether you are a beginner or an experienced artist looking to improve your skills, this tutorial will provide you with the necessary steps to create a realistic and well-proportioned bottle drawing. Get ready to unleash your creativity and let’s dive in!
Materials Required
Before we begin, let’s gather the materials you’ll need for this drawing tutorial. Here’s a list of essentials:
- Drawing paper or sketchbook
- Pencil (preferably an HB or 2B for initial sketches)
- Eraser (a kneaded eraser works best)
- Ruler
- Thin and medium-sized markers or pens (optional, for outlining)
Now that you have all the necessary tools, let’s get started!
Step 1: Basic Shape
To begin, start by drawing the basic shape of the bottle. Draw a vertical line in the middle of your paper using a light pencil stroke. This will serve as the centerline of the bottle.
Next, sketch a horizontal line at the top and bottom of the centerline to indicate the height of the bottle. These lines will act as boundaries for the upper and lower parts of the bottle.
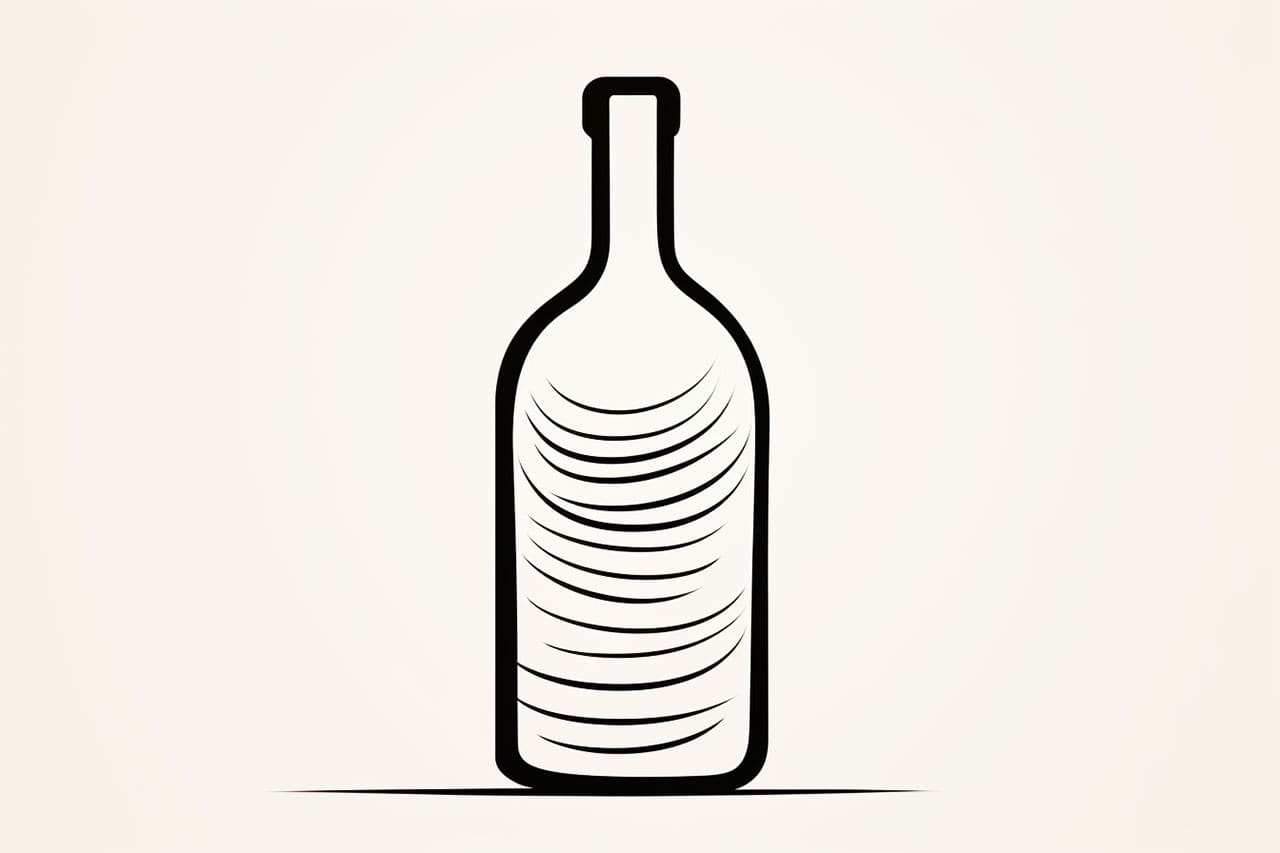
Step 2: Outline the Body
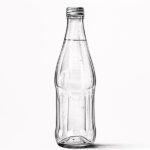
Using the centerline as your guide, draw an oval shape around it to create the body of the bottle. Make sure the oval is wider at the bottom and narrower at the top to give it a realistic look. Keep your lines light and don’t worry about making it perfect just yet.
Step 3: Add the Neck and Cap
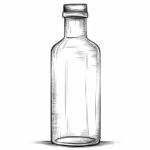
Now, let’s add the neck and cap to the bottle. To do this, extend two curved lines upwards from the top of the oval. These lines should be parallel to each other and slightly converging towards the top. Once you’ve sketched the neck, draw a small rectangle or circle at the very top to represent the cap.
Step 4: Refine the Shape
Once you have the basic structure of the bottle, it’s time to refine its shape. Carefully go over your initial sketch, making adjustments as needed. Pay attention to the proportions and curves of the bottle, ensuring that they are accurate and symmetrical.
Use your ruler to straighten any uneven lines and smooth out any jagged edges. Take your time with this step as it lays the foundation for the rest of the drawing.
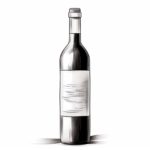
Step 5: Add Details
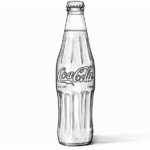
To make your bottle drawing more realistic, it’s important to add some details. Start by drawing the label or any text that may be present on the front of the bottle. Use straight lines and curves to mimic the shape of the label, and feel free to get creative with the design!
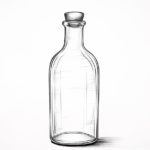
Next, add a curved line near the bottom of the bottle to represent the thickness of the glass. This will give your drawing more depth and dimension.
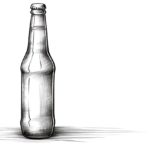
Step 6: Shading and Texturing
Now that you have the basic structure and details of your bottle, it’s time to add shading and texturing to make it come alive. Begin by identifying the light source in your drawing.
Using hatching or cross-hatching techniques, shade the areas of the bottle that are away from the light source. Pay attention to the curves and contours of the bottle, adding darker shades where the shadow is more prominent.
To create a glass-like texture, lightly shade the areas that are receiving direct light. This will give the illusion of transparency and reflection. Take your time with this step, as shading and texturing can greatly enhance the realism of your drawing.
Step 7: Outlining (Optional)
If you prefer a more defined look or want to make your drawing stand out, you can use thin or medium-sized markers or pens to outline your drawing. Be sure to choose a color that complements your drawing and carefully trace over the pencil lines.
Conclusion
Congratulations! You have successfully learned how to draw a bottle. By following these step-by-step instructions, you have created a realistic and visually appealing bottle drawing. Remember to practice regularly and experiment with different shapes and sizes to further enhance your skills.
We hope you enjoyed this tutorial and found it helpful in developing your artistic abilities. So grab your materials and start drawing! With practice and patience, you will continue to improve and create stunning works of art.