Are you interested in drawing and want to challenge yourself with a unique subject? If so, learning how to draw a champagne bottle can be a fun and rewarding experience. Whether you want to capture its elegant shape for a special occasion card or simply want to improve your overall drawing skills, this step-by-step guide will teach you everything you need to know. So, grab your pencil and let’s get started!
Materials Required
Before we dive into the step-by-step instructions, let’s gather the materials you’ll need for this drawing:
- Drawing paper: Choose a smooth and sturdy paper that can handle pencil work without smudging or tearing.
- Pencils: A range of graphite pencils, preferably HB, 2B, 4B, and 6B, will allow you to create a variety of shading and details.
- Eraser: A kneaded eraser is recommended for easy shaping and lifting of graphite.
- Ruler: A straight edge ruler will help you achieve precise lines and maintain symmetry.
- Blending tools: Blending stumps or tortillions are useful for achieving smooth shading and gradients.
Now that you have all your materials ready, let’s start drawing!
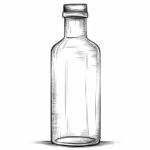
Step 1: Outline the Basic Shape
Begin by lightly sketching the basic shape of the champagne bottle using your HB pencil. Start with a vertical line in the center of your paper to establish the bottle’s height. Then, draw two curved lines on either side, connecting at the top and bottom to form the bottle’s main body. Make sure the top and bottom lines are parallel to each other.
Step 2: Refine the Neck and Base
Using a slightly darker pencil, such as 2B, refine the neck and base of the champagne bottle. Add more definition and detail to these areas, making them slightly narrower and wider respectively. Pay attention to the curvature and proportion of the bottle to ensure accuracy.
Step 3: Add the Label and Foil
Next, draw the label and foil that typically adorns a champagne bottle. Start with the label by drawing a rectangle shape on the front of the bottle’s body. Then, add details such as the brand name or any other desired text. For the foil, draw a curved shape that wraps around the top of the bottle, leaving a small section visible. Add wrinkles and creases to make it look realistic.
Step 4: Sketch the Bottle’s Cap
Draw the champagne bottle’s cap or cork at the top. Start by lightly outlining its shape using a curved line. Add details like the cap’s texture or any visible branding. Remember to keep the scale in proportion to the bottle.
Step 5: Refine the Bottle’s Details
Now it’s time to refine and add more details to the body of the champagne bottle. Take your time to carefully observe the bottle’s shape and contour. Use a darker pencil, such as 4B, to add shading and depth to areas that need it, like the edges and curves. Pay attention to highlights and reflections on the bottle, as they add realism and dimension.
Step 6: Add Shadows and Highlights
To bring your champagne bottle drawing to life, it’s crucial to create realistic shadows and highlights. Identify the primary light source and imagine where the shadows would naturally fall. Use your pencils to gradually build up the shading, starting with lighter strokes and gradually increasing the pressure for darker areas. Use an eraser to gently lift graphite and create highlights on shiny or reflective surfaces.
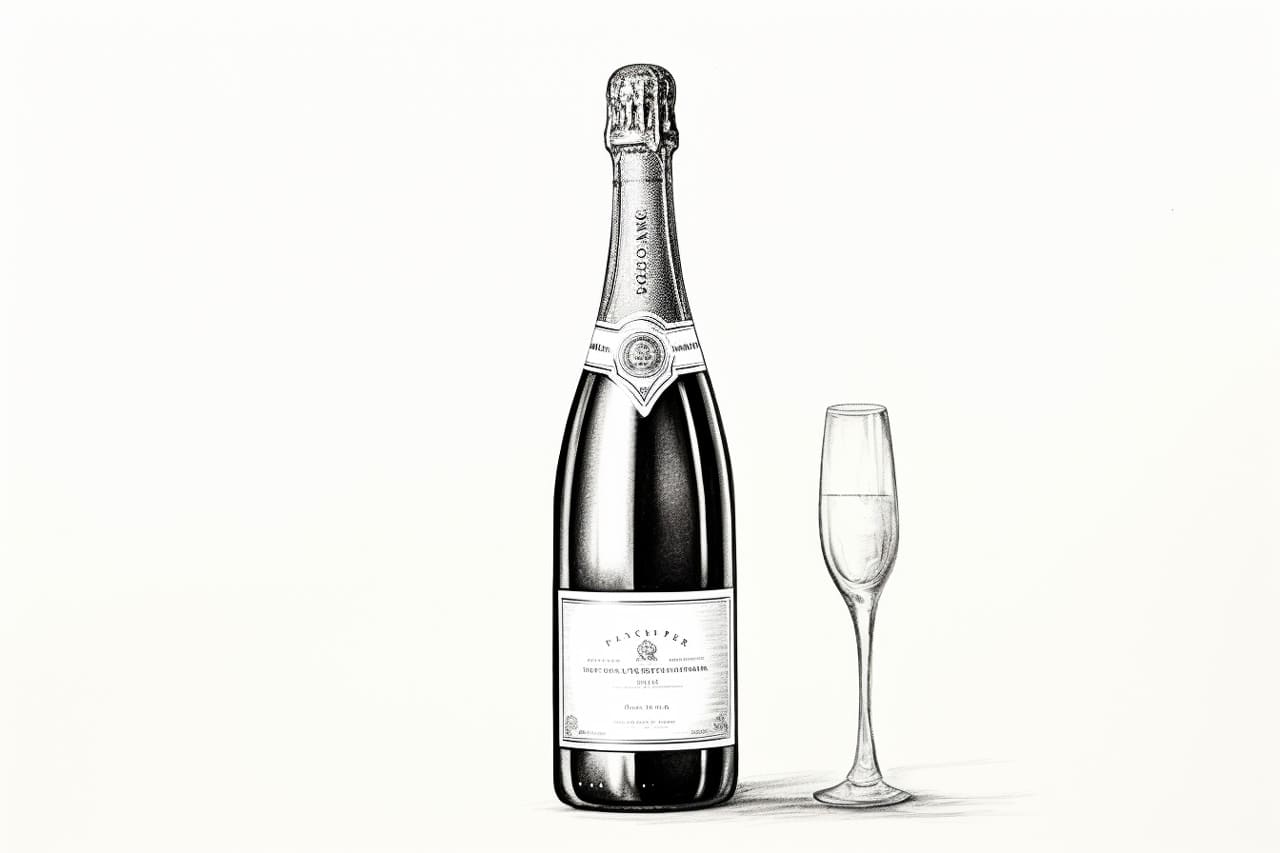
Step 7: Finalize the Drawing
Take a step back and assess your drawing. Make any necessary adjustments to ensure accuracy and proportionality. Add fine details like the bottle’s label, logo, or any distinct features that will make it recognizable. Use your blending tools to smooth out any rough transitions between shades, creating a polished and cohesive look.
Conclusion
Congratulations on completing your champagne bottle drawing! By following these step-by-step instructions, you’ve learned how to capture the elegance and sophistication of a champagne bottle on paper. Remember, practice is key to improving your drawing skills, so keep experimenting and challenging yourself with different subjects. With time and dedication, you’ll see your artistic abilities flourish. Cheers to your artistic journey!