Welcome to this step-by-step guide on how to draw a Coke bottle. Whether you’re a beginner or an experienced artist, this tutorial will help you create a realistic and detailed drawing of this iconic beverage container. So grab your drawing materials and let’s get started!
Materials Required
Before we begin, make sure you have the following materials on hand:
- Drawing paper: You can use any type of paper that you prefer, such as sketch paper or drawing pads.
- Pencil: A regular HB pencil will work just fine for this drawing.
- Eraser: Have a good quality eraser handy for making corrections.
- Ruler: A straight edge ruler will help you draw more accurate lines and proportions.
- Colored pencils (optional): If you want to add some color to your drawing, have a set of colored pencils ready.
Now that you have all the necessary materials, let’s dive into the step-by-step process of drawing a Coke bottle.
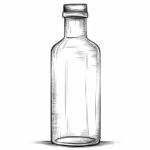
Step 1: Outline the Basic Shape
Start by lightly sketching the outline of the Coke bottle using your pencil. Observe the shape of the bottle and make sure to capture its curves and proportions. Begin with a long, slightly curved vertical line to represent the center of the bottle. Then, sketch two symmetrical curved lines on each side to form the main body. Finally, add the outline of the bottle cap at the top.
Step 2: Refine the Shape and Add Details
Now that you have the basic shape in place, it’s time to refine it and add more details. Start by making the curves and lines more defined and accurate. Use your ruler to ensure straight lines where needed, such as the sides of the bottle and the cap. Pay close attention to the contours of the bottle and try to capture its three-dimensional shape.
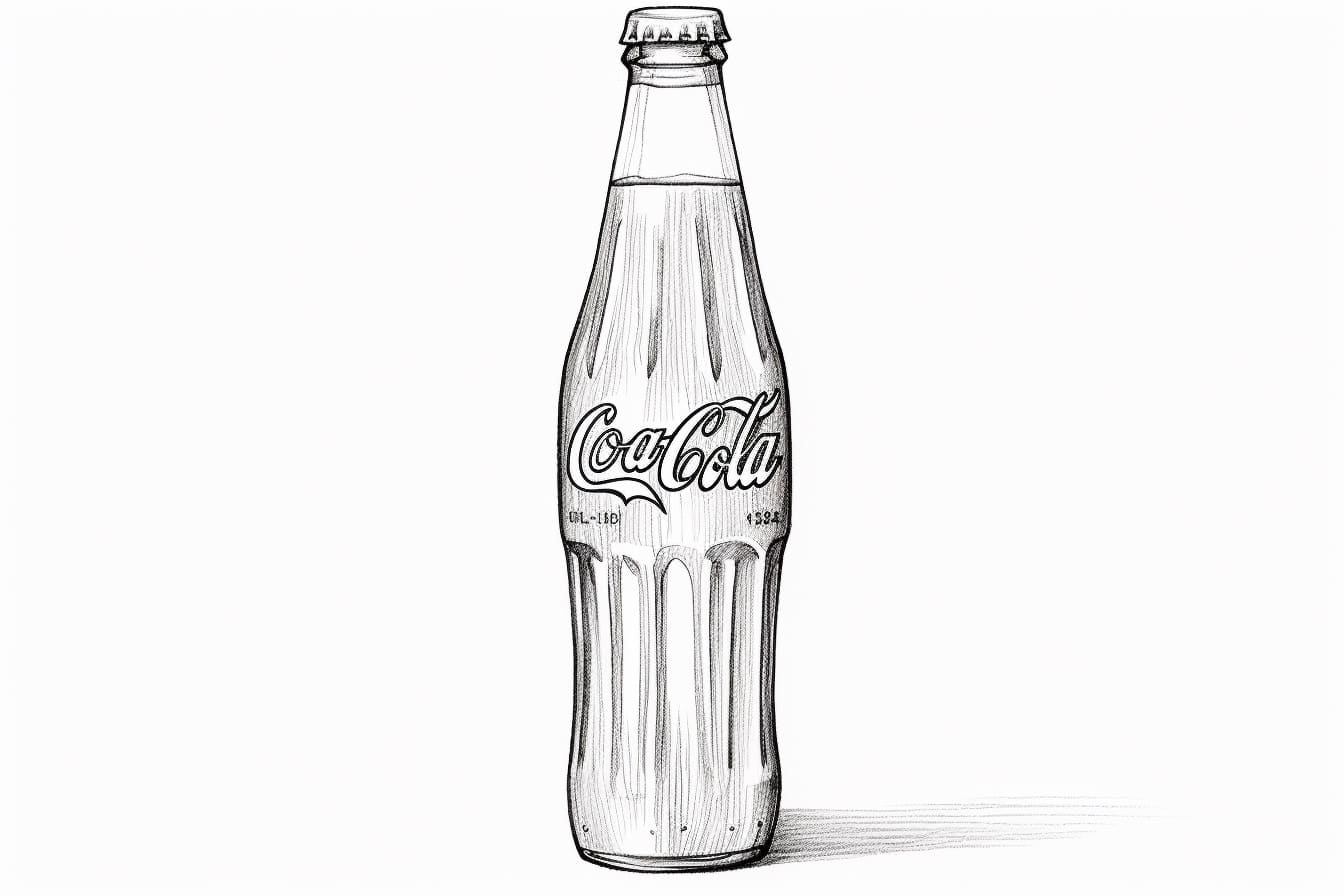
Step 3: Add the Label and Logo
One of the most recognizable features of a Coke bottle is the label and logo. Carefully draw the rectangular label around the center of the bottle, making sure it is symmetrical and properly proportioned. Inside the label, sketch the iconic Coca-Cola logo, which consists of flowing cursive letters. Take your time with this step to capture the details of the logo accurately.
Step 4: Draw the Details
Next, focus on adding the smaller details that give the bottle its realistic appearance. Start by sketching the ridges on the bottle cap, making sure they follow a circular pattern. Then, draw the small indentation at the base of the cap where it connects to the bottle. Move on to adding the subtle contour lines on the body of the bottle, which give it a three-dimensional look.
Step 5: Shade and Add Highlights
To make your drawing truly come to life, it’s time to add shading and highlights. Take a look at the bottle and observe where the light source is coming from. Use your pencil to shade the areas that are in shadow, creating a smooth gradient from dark to light. Leave some areas untouched or lightly shaded to represent highlights where the light hits the bottle.
Step 6: Optional Coloring
If you want to add color to your drawing, now is the time to do it. Use colored pencils to carefully fill in the areas of the label and logo with the appropriate colors. Pay attention to the subtle variations in color and shading on the label. You can also add a touch of color to the bottle itself, giving it a more realistic appearance.
Conclusion
Congratulations! You have successfully completed a detailed drawing of a Coke bottle. By following these step-by-step instructions, you were able to capture the shape, details, and shading of this iconic beverage container. Feel free to experiment with different materials and techniques to make your drawing even more unique.
Remember, practice makes perfect, so keep honing your drawing skills and exploring new subjects. Drawing is a journey of self-expression and creativity, and the more you practice, the more you’ll develop your own artistic style.
So go ahead and grab your pencil and paper, and start drawing your own Coke bottle masterpiece!