Drawing is a wonderful way to express your creativity and bring your imagination to life. One common object that you may want to learn to draw is a bottle of water, which can be a fun and challenging subject. In this step-by-step guide, I will walk you through the process of drawing a realistic and detailed bottle of water. So grab your pencil and paper, and let’s get started!
Materials Needed:
- Drawing paper
- Pencil (HB or 2B)
- Eraser
- Ruler
- Blending stump or cotton swabs
- Reference image of a bottle of water (optional)
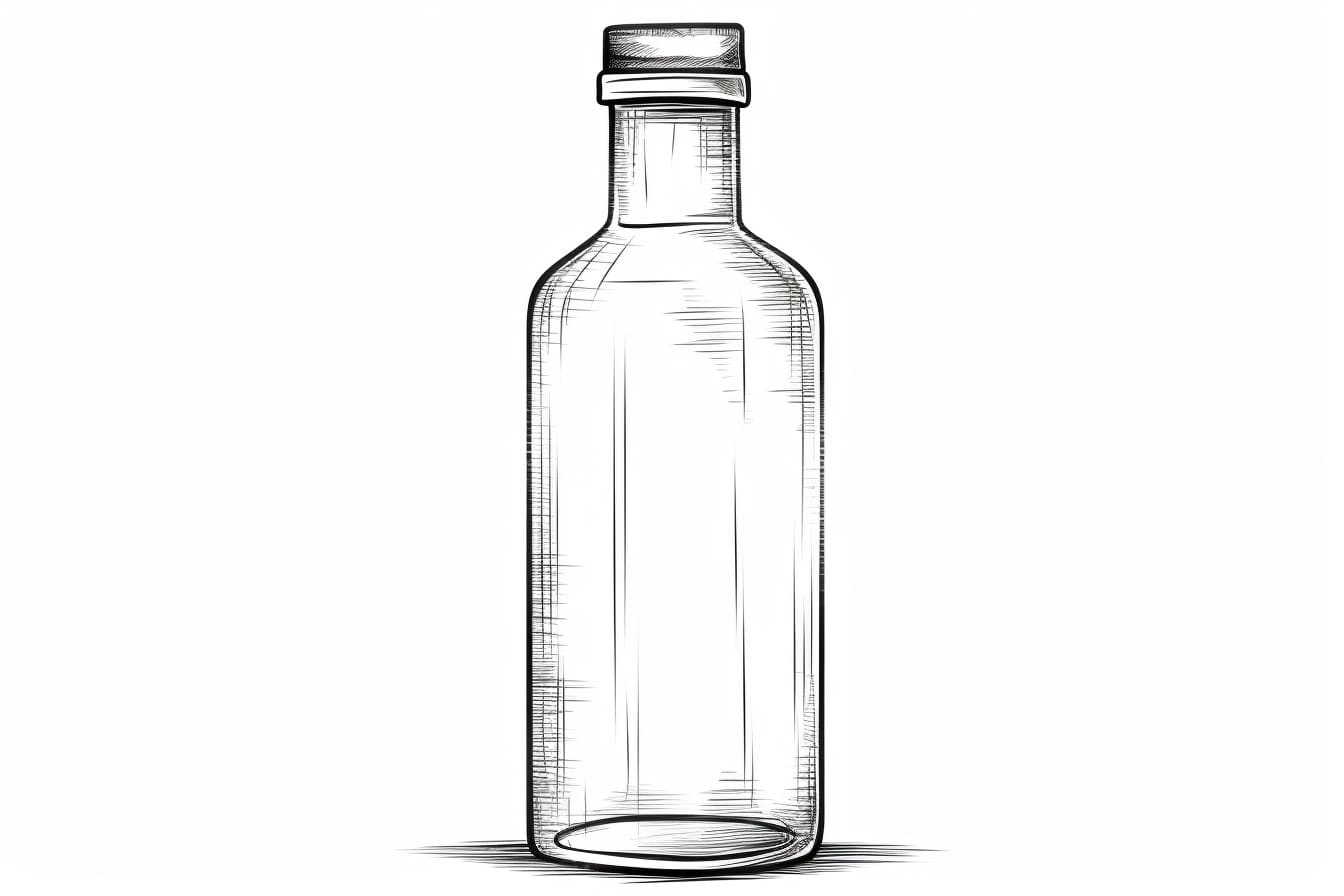
Step 1: Sketch the Basic Shape
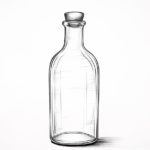
Start by lightly sketching the basic shape of the bottle. Use simple geometric shapes like cylinders and ellipses to construct the outline. Pay attention to the proportions and perspective. Remember, this is just a rough sketch to establish the general shape.
Step 2: Add Details
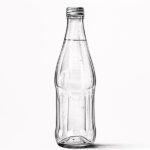
Once you are satisfied with the basic shape, it’s time to add more details to your drawing. Start with the cap of the bottle. Pay close attention to its shape and any distinctive features it may have. Then, move on to the body of the bottle, adding any labels or engravings that may be present. Take your time and observe the reference image or a real bottle of water for accuracy.
Step 3: Shade the Bottle
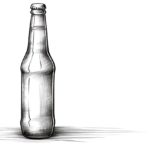
Now it’s time to add shading to your drawing to give the bottle a three-dimensional appearance. Start by identifying the light source in your reference image or imagine where it would be based on your composition. Shade the areas of the bottle that would be in shadow, using a darker pencil or applying more pressure on your pencil. Gradually build up the value and create smooth transitions between light and shadow.
Step 4: Add Reflections
To make your bottle of water look realistic, you need to add reflections. Look closely at your reference image or observe how light interacts with a real bottle of water. Identify areas where the light hits the bottle and creates highlights or reflections. Use your eraser to gently lift off some graphite to create these bright areas. Be careful to not erase too much or damage the paper.
Step 5: Refine the Details
Take a step back and analyze your drawing so far. Are there any areas that need adjusting or refining? Pay attention to small details like the curvature of the bottle, the transparency of the water, or any reflections that may need a bit more definition. Use your pencil to make any necessary adjustments and fine-tune the overall look of your drawing.
Step 6: Blend and Smooth
To create a more polished and realistic look, use a blending stump or cotton swabs to blend the shading and smooth out any rough areas. This technique will help soften the transitions between light and shadow, giving your drawing a more refined and professional appearance. Take your time and blend gently, applying varying pressure as needed.
Step 7: Final Touches
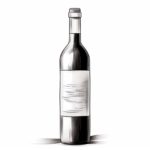
Now that your drawing is almost complete, take a moment to evaluate it and make any final touches. Look for any areas that may need additional shading or highlights, and add them accordingly. Pay attention to the finer details, like the texture of the label or any small imperfections on the bottle. Remember, it’s these small details that can make a big difference in the overall quality of your drawing.
Conclusion
Congratulations! You have successfully learned how to draw a bottle of water. Through careful observation, attention to detail, and a bit of practice, you can create realistic and visually appealing drawings. Don’t be afraid to experiment with different techniques or add your own creative touches. Keep practicing and exploring new subjects, and you will continue to improve your drawing skills. So grab your pencil and let your imagination flow! Happy drawing!