Are you interested in enhancing your drawing skills by learning how to draw a bone? Drawing bones can be a challenging yet rewarding exercise for artists of all levels. Whether you’re an aspiring artist or a seasoned pro looking to refine your skills, this step-by-step guide will help you create realistic bone drawings.
Before we begin, let’s go over the materials you’ll need to get started:
Materials:
Now that you have all your supplies ready, let’s dive into the process of drawing a bone:
Step 1: Study the Bone
Before diving into drawing, take a moment to study and observe the bone you want to depict. Notice its shape, contours, and any unique features. This initial observation will help you understand the bone’s structure and guide your drawing.
Step 2: Start with Basic Shapes
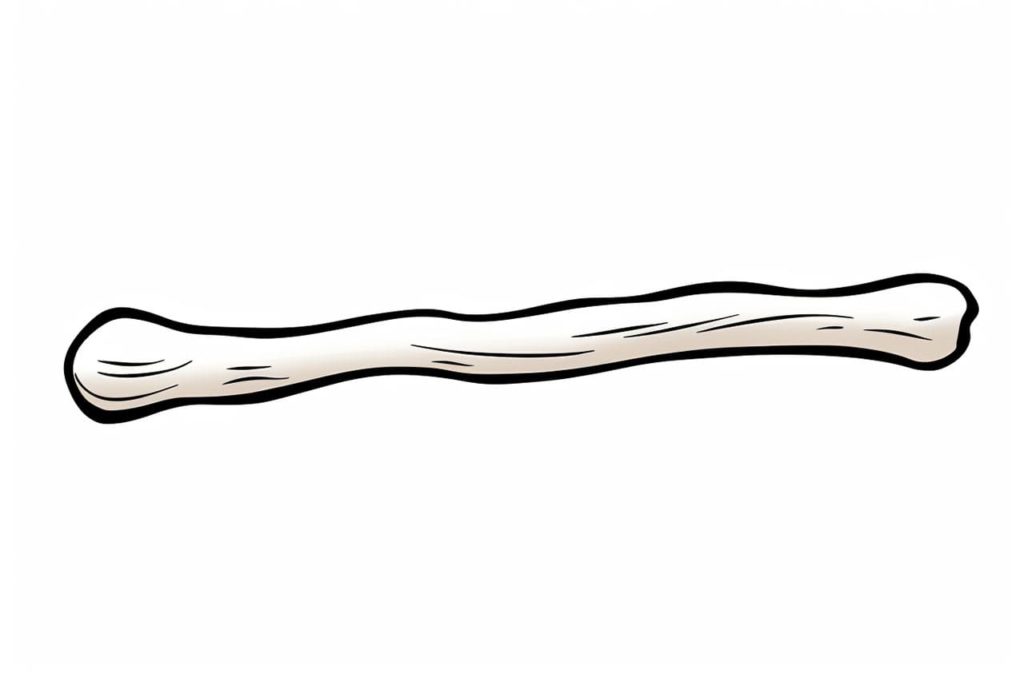
Begin by lightly sketching the basic shapes that make up the bone. For example, if you’re drawing a femur bone, start with a long oval shape to represent the main body of the bone. Keep your lines light and loose at this stage, as you’ll be refining them later.
Step 3: Add Details
Once you’re satisfied with the basic shape, start adding more details to your drawing. Pay attention to the bone’s curves, angles, and any distinctive features. Use light, short strokes to define the edges and contours of the bone.
Step 4: Add Shadows and Highlights
To create depth and dimension in your bone drawing, add shadows and highlights. Observe the light source in your reference and determine where the shadows would fall. Use shading techniques such as cross-hatching or stippling to add shadows and create a three-dimensional appearance. Additionally, add highlights to areas that catch the light, such as prominent bone edges or reflections.
Step 5: Refine Your Drawing
Take a step back and evaluate your bone drawing. Look for any areas that need tweaking or refining. Use your ruler to straighten any uneven lines and erasers to clean up any stray marks. Pay attention to the proportions and details to ensure accuracy in your depiction.
Step 6: Add Texture and Details
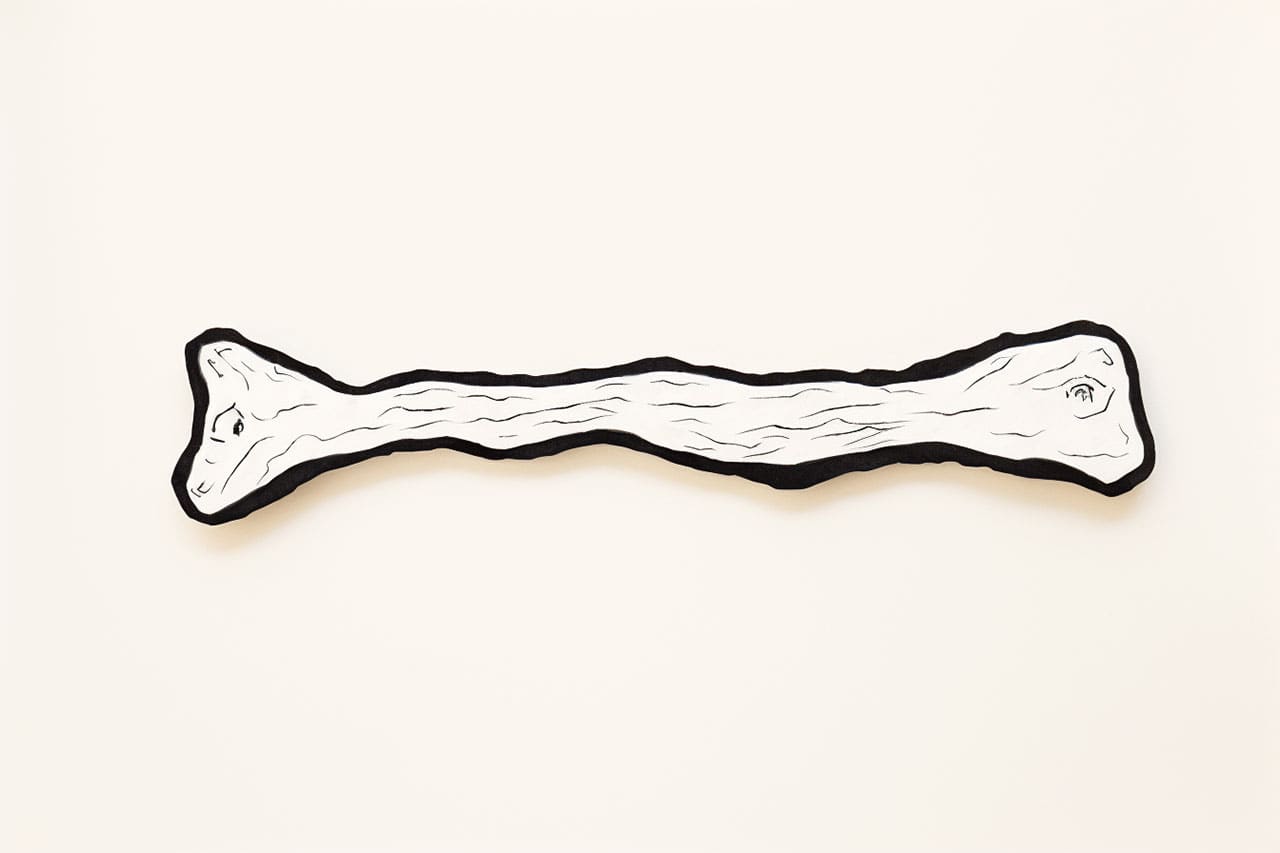
To make your bone drawing appear more realistic, add texture and finer details. Bones have a porous surface and may have imperfections or ridges. Use small, light strokes to mimic these textures and bring your drawing to life. Pay attention to the direction of the bone’s surface, such as following the lines of the bone or the direction of the bone marrow.
Step 7: Finalize Your Drawing
Once you are satisfied with the overall look of your bone drawing, finalize it by darkening the lines and adding any remaining details. Use a slightly darker pencil or pen to emphasize the edges and contours of the bone. Erase any remaining guidelines or construction lines to clean up your drawing.
Congratulations! You have successfully learned how to draw a bone. Keep practicing this exercise to refine your skills and improve your overall drawing abilities.
Conclusion
In this tutorial, we’ve explored the step-by-step process of drawing a bone. By following these instructions and practicing regularly, you can develop your artistic skills and create realistic bone drawings. Remember, drawing is a skill that improves with practice, so don’t be discouraged if your first attempts are not perfect. Enjoy the process and embrace the learning journey.
So, grab your paper, pencil, and eraser, and start drawing bones today. Happy creating!


