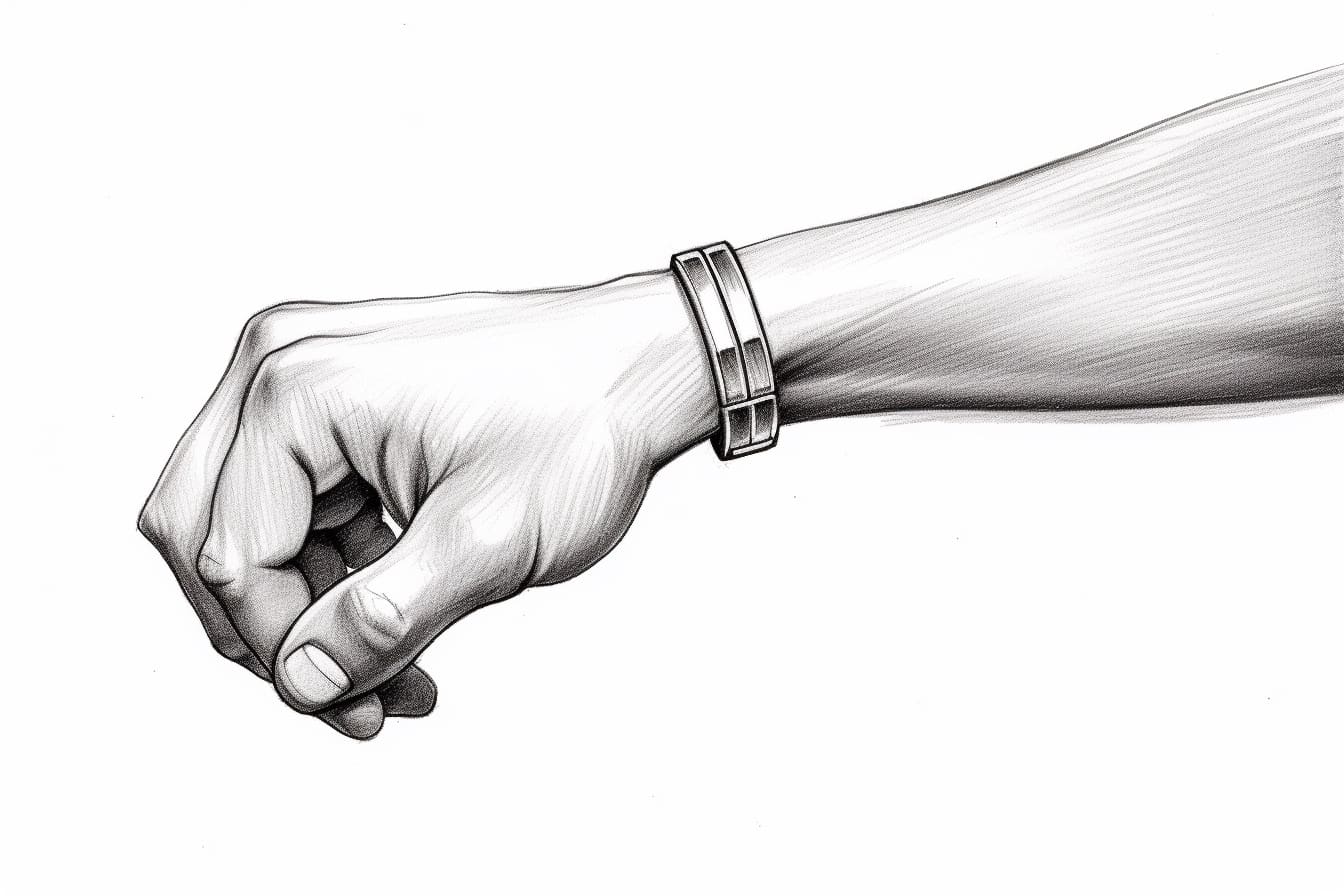
Have you ever struggled to draw realistic human body parts? Drawing a wrist can be particularly challenging due to its intricate structure and range of motion. However, with the right techniques and a little practice, you can master the art of drawing a wrist. In this tutorial, I will guide you through the step-by-step process of drawing a wrist, using simple instructions and helpful tips along the way. So, grab your pencils and let’s get started!
Materials Required
Before you begin, make sure you have the following materials:
- A sketchbook or drawing paper
- Pencils of various grades (HB, 2B, 4B, etc.)
- An eraser
- A pencil sharpener
- Reference images of wrists (optional)
Now that you have your materials ready, let’s dive into the process of drawing a realistic wrist.
Step 1: Understanding the Anatomy
Before attempting to draw a wrist, it’s important to have a basic understanding of its anatomy. The wrist is composed of eight small bones called carpals, which form a complex joint connecting the hand to the forearm. Familiarize yourself with the bone structure and the various tendons and ligaments surrounding the wrist.
Step 2: Outlining the Basic Shape
Start by lightly sketching the basic shape of the wrist using a lighter pencil grade or a rough pencil stroke. The shape of the wrist can vary depending on the position of the hand, so it’s essential to observe and analyze your reference image or your own hand if you prefer drawing from life. Pay attention to the proportions and angles of the wrist, as it can affect the overall appearance of your drawing.
Step 3: Adding the Palm and Hand Connection
Next, add the palm and hand connection to your wrist. Visualize and draw the general shape of the palm, ensuring it flows smoothly into the wrist. Take note of the bone structure within the hand and how it connects to the wrist. Use light, loose pencil strokes to maintain flexibility and make adjustments as needed.
Step 4: Defining the Wrist Bones
Now, it’s time to add more details to the wrist by defining the individual bones. Carefully observe the reference image or your own hand to accurately represent the shapes and positions of the carpals. Remember to keep your pencil strokes light and fluid, gradually building up the shape and form of the wrist.
Step 5: Sketching the Tendons and Ligaments
To make the wrist look more realistic, incorporate the tendons and ligaments that surround and support the joint. These structures are essential for the wrist’s range of motion and flexibility. Observe the reference image or your own hand to determine the positioning and direction of the tendons and ligaments, and sketch them lightly with precise pencil strokes.
Step 6: Adding Shadows and Highlights
Now that the basic structure of the wrist is in place, it’s time to add depth and dimension through shading. Identify the light source in your reference image or choose an imaginary light source. Use a darker pencil grade to create shadows in areas where the light doesn’t directly hit, such as the crevices between the bones and tendons. Conversely, use a lighter pencil grade or an eraser to add highlights to areas that receive direct light.
Step 7: Refining the Details
Refine the details of the wrist by paying attention to the subtle nuances that make it unique. Study the reference image or your own hand and notice any small lines, wrinkles, or bumps that add character to the wrist. Incorporate these details into your drawing, using light and precise pencil strokes to create a realistic texture.
Step 8: Final Touches
At this stage, take a step back and examine your drawing as a whole. Make any necessary adjustments to ensure the proportions and angles are accurate. If needed, add additional shading or highlights to enhance the realism of the wrist. Use an eraser to clean up any stray lines or smudges, and refine the contours to achieve a polished look.
Congratulations, you have successfully drawn a wrist! With practice, you will continue to improve and develop your skills in drawing various body parts.
Conclusion
Drawing a wrist may seem daunting at first, but with the right techniques and a bit of patience, it can become an enjoyable and rewarding experience. By understanding the anatomy, outlining the basic shape, and adding details such as bones, tendons, and ligaments, you can create a realistic and visually engaging depiction of a wrist. Remember to practice regularly and don’t be afraid to experiment with different pencil grades and shading techniques. So, grab your sketchbook, follow these step-by-step instructions, and let your creativity flow!