Welcome aspiring artists! In this step-by-step guide, you will learn how to draw a sword. Whether you are a fantasy enthusiast, a history buff, or simply interested in improving your drawing skills, this tutorial will help you create an impressive and realistic representation of this iconic weapon.
Materials Required
Before we begin, let’s gather the materials you’ll need to complete this tutorial successfully. Here’s a list of what you’ll need:
- Drawing paper or sketchbook
- Pencil (preferably an HB or 2B for sketching)
- Eraser
- Ruler or straight edge
- Reference image of a sword (optional but recommended)
Now that you have your materials ready, let’s dive into the step-by-step process of drawing a sword!
Step 1: Plan Your Composition
Start by envisioning the overall composition of your drawing. Determine the angle and position of the sword to create a visually appealing and balanced composition. Sketch some light lines to mark the sword’s length and angle.
Step 2: Draw the Sword’s Blade
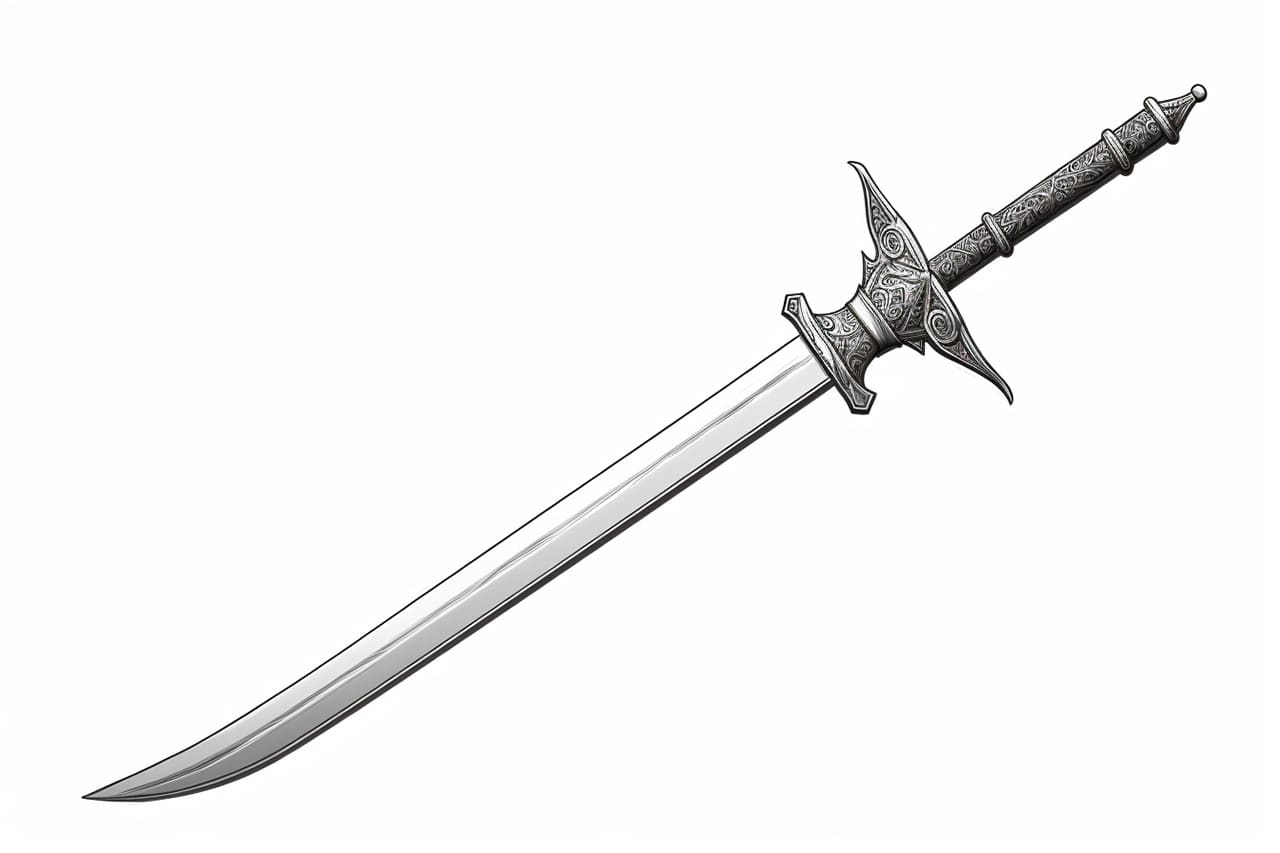
Using a ruler or straight edge, draw a straight line that represents the sword’s blade. Start from the handle and extend it to the tip of the sword. Keep in mind that the blade should taper towards the tip.
Step 3: Add the Crossguard and Handle
Position the crossguard at the base of the blade. It is usually wider than the blade itself and helps protect the hand. Add details to the crossguard, such as decorative patterns or designs if desired.
Next, draw the handle of the sword. It should be proportionate to the size of the blade. Pay attention to the grip and the shape of the pommel at the end of the handle.
Step 4: Refine the Blade
Refine the shape of the blade by adding curved lines to indicate its sharpness. The edges of the blade should be smooth and slightly curved, creating a sense of depth and dimension.
Step 5: Add Details to the Crossguard and Handle
Focus on adding intricate details to the crossguard and handle. Look closely at reference images to capture the specific characteristics of the sword you are drawing. Add any decorative elements, engravings, or textures to make your drawing more realistic and interesting.
Step 6: Draw the Sword’s Scabbard (Optional)
If your reference image includes a scabbard, you can add it to your drawing. Start by drawing a rectangular shape that covers the blade, leaving enough space for the handle to protrude. Add details such as a belt loop or decorative patterns to the scabbard.
Step 7: Refine and Shade Your Drawing
Review your drawing and make any necessary adjustments to ensure all proportions are accurate. Pay attention to the overall shape and symmetry of the sword. Once you are satisfied with the outline, you can start adding shading to give your drawing depth and dimension.
Use your pencil to create light and dark areas, adding shadows to the different parts of the sword. Keep in mind the direction of your light source to ensure consistency in your shading.
Step 8: Finalize Your Drawing
Complete your drawing by refining the shading, adding highlights, and emphasizing important details. Take your time to carefully observe your reference image and make sure your drawing captures the essence of the sword.
Conclusion
Congratulations on completing your sword drawing! By following this step-by-step tutorial, you have learned how to create a realistic and detailed representation of a sword. Remember, practice is key to improving your drawing skills, so keep experimenting with different techniques and subjects.
Now that you have the skills to draw a sword, why not try your hand at other weapons or objects? The possibilities are endless, and each new drawing will bring you closer to becoming an accomplished artist.

