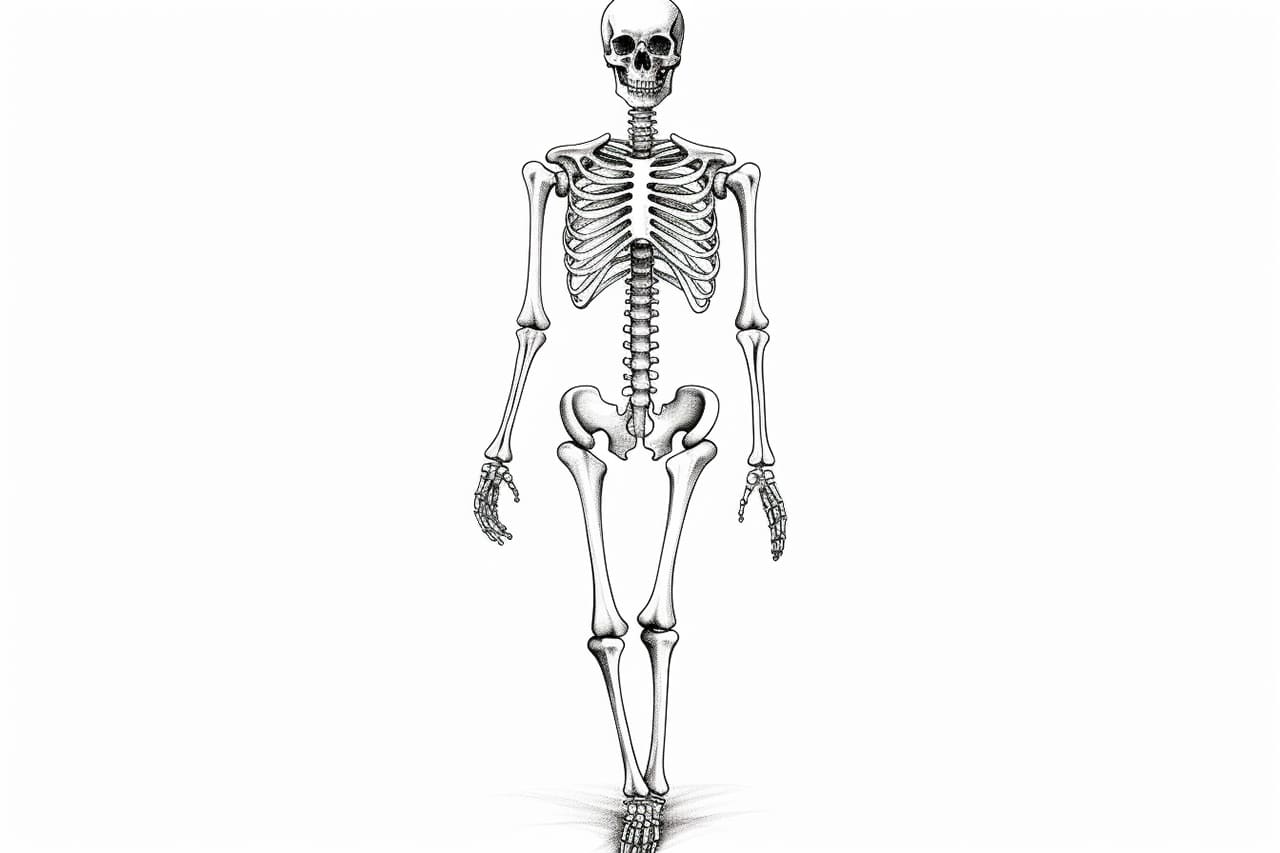
Welcome to this step-by-step guide on how to draw a skeleton! Whether you are an aspiring artist or simply interested in learning the basics of drawing, this tutorial will provide you with a clear and concise approach to creating a realistic skeleton drawing.
Materials required:
- Pencil
- Eraser
- Paper
Step 1: Basic Structure
To begin, we will establish the basic structure of the skeleton. Start by drawing a vertical line in the center of your paper, as this will serve as the backbone of your skeleton. Next, draw a horizontal line towards the top of the vertical line, creating a “T” shape. This will be the foundation for the skull.
Step 2: Skull and Ribcage
Using the horizontal line as a guide, draw an oval shape on top of it to represent the skull. Then, draw two small circles beneath the skull to indicate the eye sockets. Add a smaller oval shape within the larger one to represent the nasal cavity. To create the ribcage, draw two vertical lines downward from the skull. Connect these lines with a series of curved lines to form the ribs.
Step 3: Arms and Hands
Extend two lines outward from the shoulder area of the ribcage to represent the upper arms. Next, draw two lines downward from the upper arms to create the lower arms. To form the hands, draw two small circles at the end of each lower arm. Add additional lines to define the fingers.
Step 4: Pelvis and Legs
From the bottom of the ribcage, draw a horizontal line extending outward on each side to form the pelvic area. Then, draw two lines downward from the pelvis to represent the upper legs. Connect these lines with curved lines to create the shape of the thighs. Extend two lines downward from the thighs to complete the lower legs. Add small circles at the end of each lower leg to represent the feet.
Step 5: Joints and Details
Now that the basic structure is complete, it’s time to add some joints and details to our skeleton drawing. Begin by adding circles at the joints of the shoulders, elbows, hips, and knees. These circles will represent the joints of the skeleton. Next, add lines to define the fingers and toes. Don’t forget to include the clavicle bones in the shoulder area.
Step 6: Facial Features
Let’s focus on the facial features of our skeleton. Draw two small circles within each eye socket to represent the pupils. Add small curved lines above and below the nasal cavity to create the nasal bridge. Then, draw curved lines below the nasal cavity to form the upper teeth. For the lower jaw, draw a curved line connecting to the skull and add small lines to indicate the lower teeth.
Step 7: Final Touches
To complete your skeleton drawing, erase any unnecessary lines and add shading for depth if desired. You can also add additional details, such as cracks or texture to the bones, to make your drawing more realistic. Use your creativity to make your skeleton drawing unique.
Conclusion
Congratulations on completing your skeleton drawing! By following these step-by-step instructions, you have successfully learned how to draw a realistic skeleton. Remember to practice regularly and experiment with different poses and perspectives to further improve your skills. Now go ahead and impress your friends with your newfound drawing abilities!