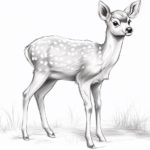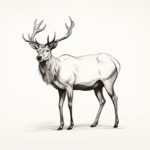
Welcome to this step-by-step guide on how to draw a buck deer. With its majestic antlers and graceful form, the buck deer is a beautiful creature that has captivated artists for centuries. In this tutorial, I will walk you through the process of drawing a buck deer, starting from basic shapes to adding details and shading. Whether you are a beginner or an experienced artist, this guide will help you create a realistic and stunning representation of this iconic animal.
Materials Required
Before we begin, let’s gather the materials you will need for this drawing tutorial:
- Drawing paper: Choose a smooth and sturdy paper suitable for pencil drawing.
- Pencils: A range of graphite pencils, such as HB, 2B, 4B, and 6B, will be useful for achieving different levels of darkness and shading.
- Eraser: Select a kneaded or vinyl eraser for making corrections and adding highlights.
- Pencil sharpener: Keep your pencils sharp for precise lines and details.
- Drawing board or table: Use a stable surface to work on, ensuring your paper stays flat and secure.
Now that you have your materials ready, let’s dive into the step-by-step process of drawing a buck deer.
Step 1: Basic Shapes
Begin by lightly sketching the basic shapes that form the framework of the buck deer’s body. Start with a large oval for the head and a smaller circle for the body. Add two curved lines extending down from the body to represent the legs. Using light strokes, create a rough outline of the deer’s body, considering the proportions and positioning.
Step 2: Refining the Head and Neck
In this step, focus on refining the shape of the head and neck. Pay close attention to the angles and proportions, using reference images if necessary. Add a smaller oval within the head for the snout, and lightly sketch the placement of the eyes, ears, and antlers. Remember to keep your lines light and easily adjustable.
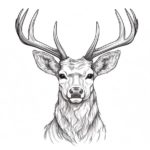
Step 3: Adding Details to the Face
Now, it’s time to add more details to the buck deer’s face. Define the placement and shape of the eyes, adding a small highlight for a realistic touch. Draw the detailed structure of the ears, paying attention to their unique shape and positioning. Next, carefully sketch the antlers, considering their branching structure and overall form. Take your time to capture the intricacies of these features.
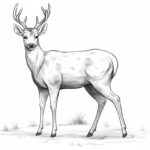
Step 4: Shaping the Body and Legs
With the head and face complete, move on to shaping the body and legs of the buck deer. Refine the outlines, focusing on the natural curves and muscle structure. Pay attention to the proportions and positioning of the legs, ensuring they align with the body. Take your time to make any necessary adjustments to achieve a balanced and realistic representation.
Step 5: Adding fur and muscle definition
To bring your buck deer to life, start adding details to depict the fur and muscle definition. Use light, short strokes to create the illusion of fur texture, following the natural direction of the hair. Pay attention to areas such as the chest, neck, and legs where the muscle structure is more pronounced. Gradually build up the shading to add depth and dimension to your drawing.
Step 6: Refining the Details
Now that you have the basic structure and shading in place, take a moment to refine the details of your buck deer drawing. Use an eraser to carefully remove any unwanted lines and smudges. Take a closer look at the reference images to ensure accuracy in features such as the eyes, ears, and antlers. Add any additional details or touch-ups to enhance the realism of your drawing.
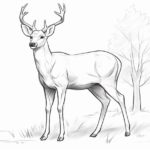
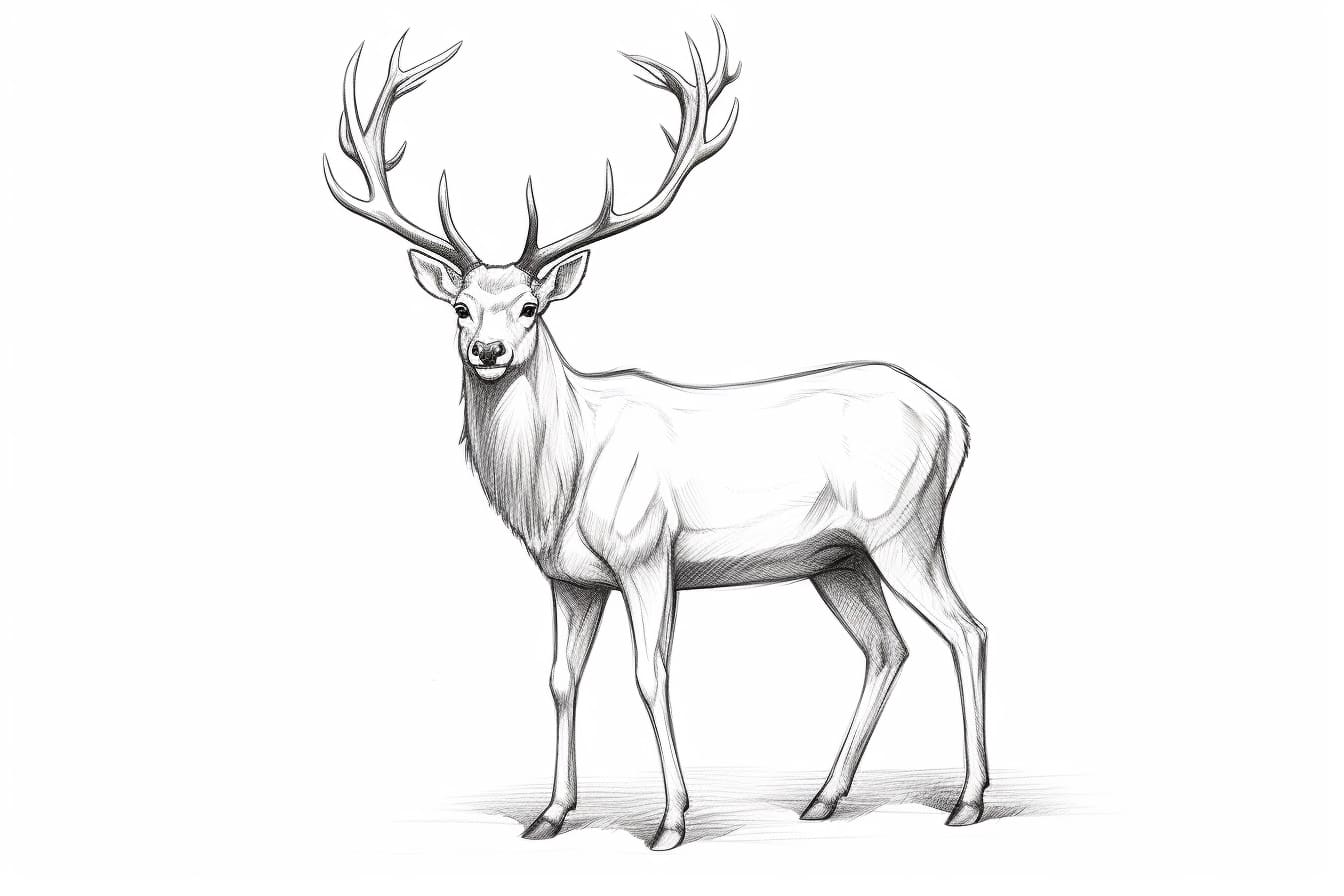
Step 7: Final Shading and Highlights
In this final step, focus on adding the finishing touches to your buck deer drawing. Continue refining the shading, paying attention to areas where the light hits the deer’s body, creating highlights and shadows. Use a blending stump or your fingertips to blend the graphite for a smooth appearance. Create additional highlights by gently erasing small areas, particularly on the antlers and face, to make them stand out.
Conclusion
Congratulations! You have successfully learned how to draw a buck deer. By following these step-by-step instructions and paying attention to the details, you have created a realistic and stunning representation of this majestic animal. Remember, practice is key, so keep honing your skills and experimenting with different techniques. With time and dedication, you will continue to improve your drawing abilities. Enjoy the process, and happy drawing!