Boba tea, also known as bubble tea, has gained immense popularity in recent years. It’s a refreshing and delicious beverage that originated in Taiwan and has since become a global phenomenon. But did you know that you can also learn how to draw a boba tea? In this step-by-step guide, I will teach you how to create a beautiful and realistic drawing of this iconic drink. So, grab your art supplies, and let’s get started!
Materials Required
To draw a boba tea, you will need the following materials:
- Paper: Opt for a smooth and sturdy paper that can handle different drawing mediums. A sketchbook or drawing paper would work well.
- Pencil: Choose a mechanical or traditional pencil with a medium to soft lead. This will allow you to create light and dark shading.
- Eraser: Have a good quality eraser on hand for correcting mistakes or lightening pencil marks.
- Fine-tip pens: These are optional but great for adding fine details and outlines to your drawing.
- Colored pencils or markers: If you want to add color to your drawing, have a set of colored pencils or markers in various shades that resemble the colors of boba tea.
Now that we have our materials ready, let’s dive into the drawing process!
Step 1: Sketch the Cup and Straw
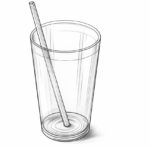
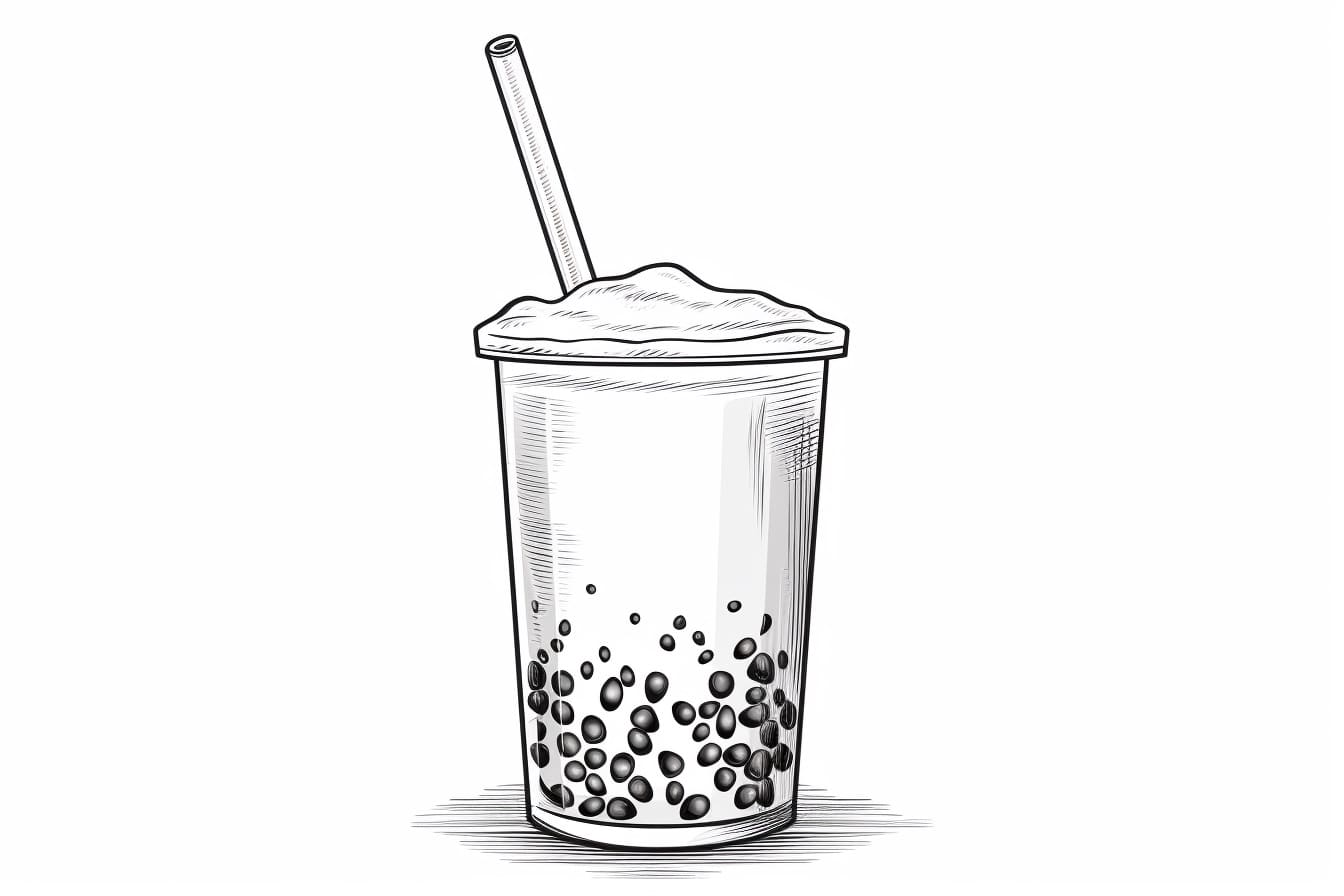
Start by lightly sketching the shape of the cup. Boba tea is typically served in a plastic cup with a wide opening at the top and a narrower bottom. Use curved lines to create the shape of the cup, ensuring that the top is larger than the bottom. Next, draw a straight line in the center of the cup to indicate the straw’s position.
Step 2: Add Details to the Cup
Now it’s time to add some details to our cup. Start by drawing the plastic ribs that are often seen on boba tea cups. These ribs are usually evenly spaced and run vertically along the sides of the cup. Add them by drawing parallel lines from the top to the bottom of the cup, leaving small gaps between each line. Once you’ve added the ribs, draw a curved line at the top of the cup to indicate the lid.
Step 3: Draw the Boba Pearls
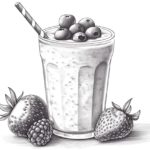
Boba pearls are the chewy and sweet treats that make boba tea so unique. To draw them, create small circles or ovals inside the cup. Place them at the bottom of the cup, as that’s where they usually rest. Make sure to leave space for the tea and to vary the sizes of the pearls for a more realistic look.
Step 4: Outline the Straw
Using the initial line as a guide, trace over it to create a more defined straw. Boba tea straws are usually wider and thicker than regular straws. Add small details like lines on the straw to give it a realistic appearance.
Step 5: Sketch the Liquid
Now it’s time to draw the tea itself. Start by sketching the shape of the liquid inside the cup. Boba tea can have different colors, so feel free to get creative with your choice. Typically, it is a translucent liquid, so keep that in mind while drawing. Use curved lines to create the shape, making it wider at the top and narrower towards the bottom.
Step 6: Add Shadows and Highlights
To give your drawing depth and realism, it’s important to add shadows and highlights. Observe your reference photo or visualize the light source in your mind. Shade the areas of the cup that would be in shadow, such as the bottom and sides opposite the light source. Use a blending tool or your finger to smudge the pencil marks for a smoother transition. Add highlights to the cup and pearls to make them look shiny. Leave some areas untouched to create contrast.
Step 7: Refine and Add Details
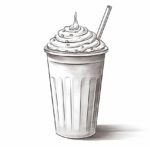
Now it’s time to refine your drawing and add smaller details. Use a fine-tip pen or a sharpened pencil to carefully outline the cup, straw, and pearls. Add texture to the straw by drawing tiny lines to simulate the texture of plastic. You can also add some bubbles or foam on top of the tea to make it more realistic.
Step 8: Color your Drawing (optional)
If you want to add color to your drawing, now is the time to do it. Choose colored pencils or markers that closely resemble the colors of boba tea. Start by applying a base color to the tea, pearls, and cup. Then, gradually add shading and highlights to create dimension. Take your time and layer the colors to achieve the desired effect. Remember to blend the colors carefully for a smooth and realistic appearance.
Conclusion
Drawing a boba tea can be a fun and rewarding experience. By following these step-by-step instructions, you can create a realistic and mouthwatering representation of this beloved beverage. Whether you’re a beginner or an experienced artist, this guide will help you bring your artistic vision to life. So, grab your art supplies and get ready to immerse yourself in the world of boba tea drawing!