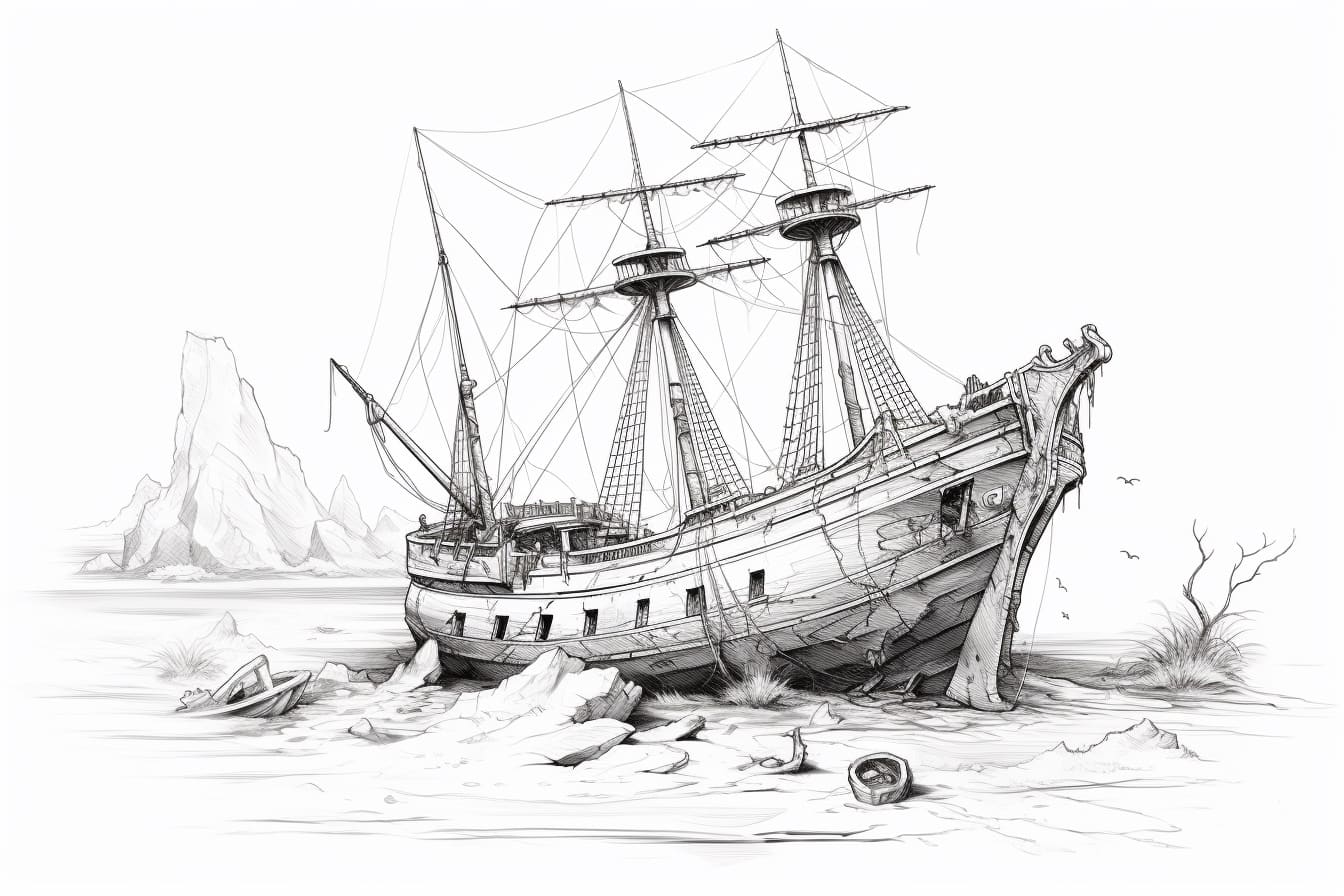
Drawing a shipwreck can be a fascinating and challenging task. It allows you to convey a sense of history, mystery, and adventure through your art. In this step-by-step guide, we will walk you through the process of how to draw a shipwreck, from creating a rough sketch to adding intricate details. So grab your pencils, papers, and let’s dive into the world of shipwreck drawing!
Materials Required:
Before we begin, make sure you have the following materials ready:
- Drawing paper or sketchbook
- Pencils (HB, 2B, 4B, and 6B)
- Eraser
- Blending stump or tortillon
- Reference images of shipwrecks (optional)
Having these materials ready will ensure a smooth drawing experience and allow you to create a detailed and realistic shipwreck illustration.
Step 1: Sketch the Basic Shape
Start by lightly sketching the basic shape of the shipwreck. You can begin with simple geometric shapes like rectangles, triangles, and circles to outline the main structure of the ship. Use light and loose pencil strokes to maintain flexibility in making adjustments later.
Step 2: Add Details to the Shipwreck
Now, it’s time to add more details to your shipwreck drawing. Look at reference images or use your imagination to include elements like broken masts, torn sails, and damaged hull. Pay attention to the angles and proportions to ensure accuracy in your representation.
Step 3: Enhance the Shipwreck Structure
To give your shipwreck more depth and dimension, start adding shading and shadows. Use a darker pencil, such as 4B or 6B, to create contrast and make certain parts of the shipwreck appear more three-dimensional. Focus on areas where light would naturally hit and cast shadows.
Step 4: Create Textures
To make your shipwreck drawing more realistic, it’s important to add textures to different surfaces. Use cross-hatching or stippling techniques to create the illusion of wood grain, rust, or worn-out metal. Experiment with different pencil pressures and strokes to achieve the desired effect.
Step 5: Incorporate the Surrounding Environment
A shipwreck doesn’t exist in isolation; it is often surrounded by a rugged coastline or the vastness of the ocean. Extend your drawing to include rocks, waves, cliffs, or any other elements that would complement the shipwreck. This will add depth and context to your artwork.
Step 6: Refine the Details
Take a step back and assess your shipwreck drawing so far. Look for any areas that need refining or additional details. Erase any stray lines or smudges that may distract from the overall composition. Use a fine pencil, like an HB or 2B, to add intricate details like rust spots, ropes, or broken planks.
Step 7: Add Tonal Values
To create a stronger sense of light and shadow, incorporate tonal values into your shipwreck drawing. Observe where the light source is coming from and darken the areas that are in shadow. This technique will add realism and depth to your artwork.
Step 8: Finalize the Drawing
In this step, go over your shipwreck drawing, making any final adjustments and adding any remaining details. Take your time to closely observe your drawing and ensure that it adequately captures the essence of a shipwreck. Add highlights and refine shadows to create a more polished and professional-looking artwork.
Conclusion
Drawing a shipwreck can be a captivating artistic endeavor, allowing you to explore the hidden stories and emotions associated with these remnants of the past. By following these step-by-step instructions, you can create a visually stunning shipwreck drawing filled with history, drama, and intrigue. So, gather your materials, unleash your creativity, and enjoy the process of bringing a shipwreck to life through your art.


