Introduction
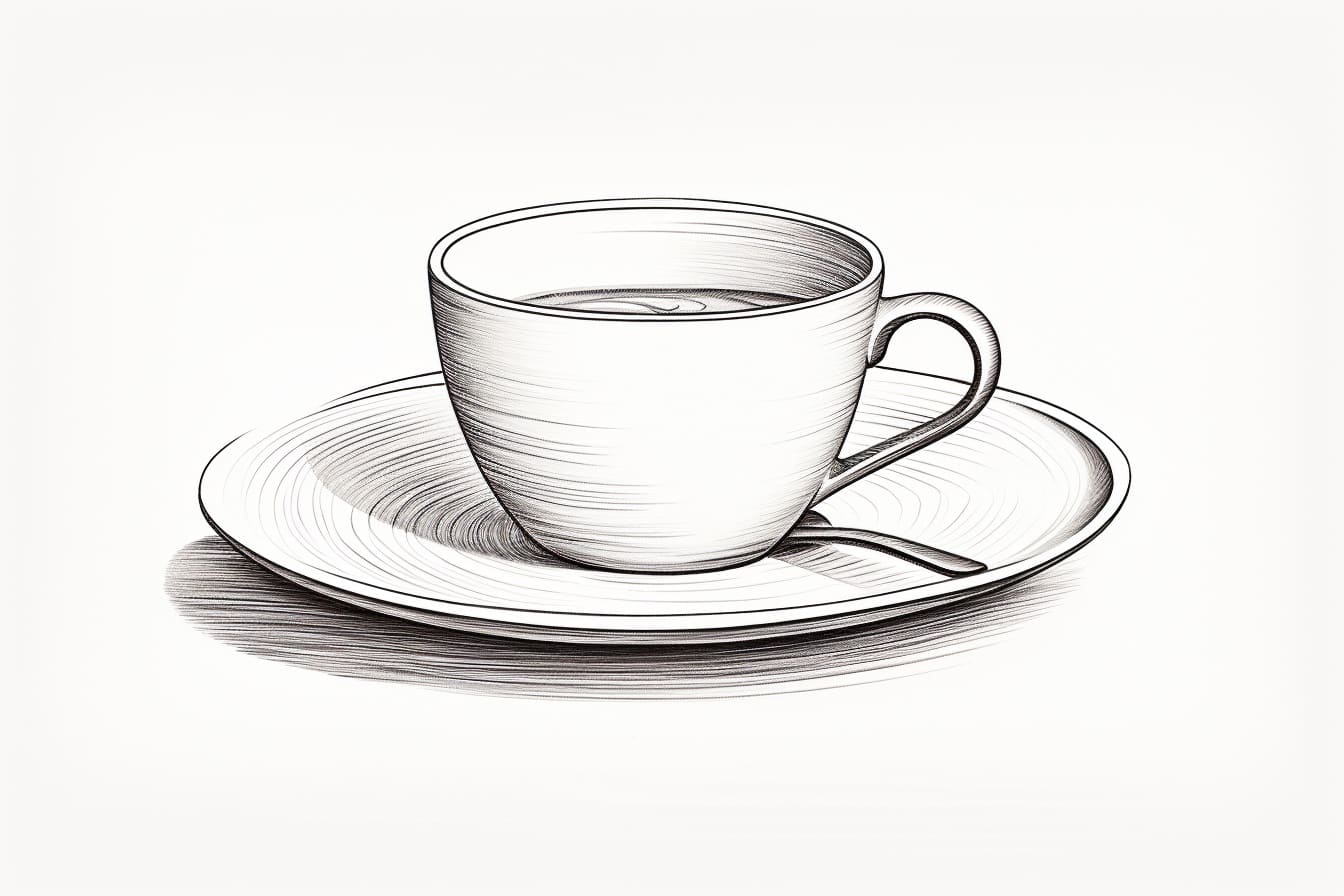
Welcome to this step-by-step guide on how to draw a cup of water. Whether you’re a beginner or an experienced artist, this tutorial will walk you through the process of creating a realistic and detailed representation of a cup filled with water. So, grab your drawing tools and let’s get started!
Materials Required
To draw a cup of water, you will need the following materials:
- Drawing paper
- Pencil
- Eraser
- Ruler
- Watercolor pencils or watercolor paints
- Water and a paintbrush (if using watercolor pencils)
Now that you have all your materials ready, let’s begin the drawing process!
Step 1: Outline the Cup
Start by lightly sketching the shape of the cup on your drawing paper. Use a ruler to create straight and symmetrical lines. Begin by drawing a vertical line in the center of the paper, and then draw a horizontal line intersecting the vertical line towards the top, creating the shape of the cup’s rim. Add the body of the cup by drawing a curved line below the rim, extending it downwards to form the cup’s base.
Step 2: Add the Handle
Next, draw the handle of the cup. Position it on the right or left side of the cup, depending on your preference. To create a simple handle, draw a curved line that starts near the top rim, goes downward, and then curves back up to connect to the cup’s body.
Step 3: Refine the Cup Shape
Now that you have the basic outline of the cup, refine its shape by adding more details. Smooth out any uneven lines and adjust the curves to achieve a more accurate representation. Pay close attention to the proportions and symmetry of the cup to ensure a realistic look.
Step 4: Draw the Water Line
To indicate that the cup is filled with water, draw a slightly curved line inside the cup’s body. This line should be parallel to the cup’s rim and about halfway down the cup. Make sure the line follows the shape of the cup and is not perfectly straight, as water tends to have small waves and ripples.
Step 5: Add Shadows and Highlights
To give the cup depth and dimension, add shading to create shadows and highlights. Identify the light source in your drawing and imagine where the shadows would fall. Use your pencil to lightly shade the areas that would be in shadow, such as the inside of the cup and the side opposite the light source. Leave the areas that would catch the light, such as the rim and the top part of the cup, lighter or white.
Step 6: Enhance the Water Effect
To make the water in the cup appear more realistic, focus on adding details and texture. Start by lightly shading the water line you drew earlier to create a gradient effect, with the bottom part being darker and the top part lighter. You can also use watercolor pencils or watercolor paints to add a translucent effect to the water. Apply a light wash of color to the water area, keeping it lighter towards the top and gradually darker towards the bottom.
Step 7: Final Touches
Take a step back and evaluate your drawing. Add any final touches or adjustments needed to enhance the overall look of the cup of water. Pay attention to details like reflections, highlights, and the cup’s surface texture. Use your eraser to clean up any stray lines or smudges.
Conclusion
Congratulations! You have successfully drawn a cup of water. By following these step-by-step instructions and using your creativity, you have created a realistic representation of a cup filled with water. Remember to practice regularly and experiment with different techniques to further improve your drawing skills. So, grab your supplies and keep drawing!

