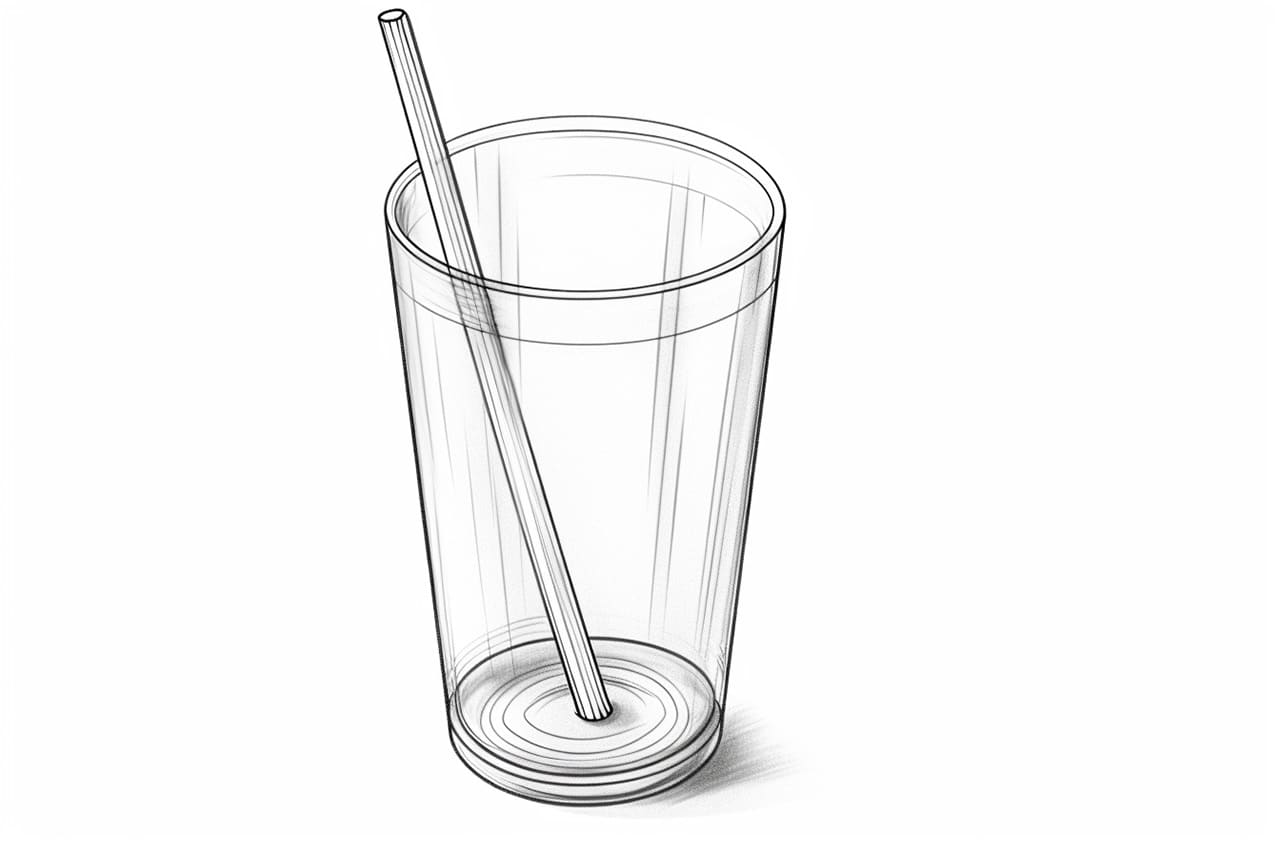
Are you interested in improving your drawing skills? Drawing everyday objects is a great way to practice and challenge yourself. In this article, we will learn how to draw a straw, a simple yet essential item often found in drinks. By following the step-by-step instructions, you’ll be able to create a realistic and detailed drawing of a straw in no time.
Materials Required
Before we begin, make sure you have the following materials ready:
- Drawing paper: Use a high-quality paper that is suitable for your preferred drawing tools.
- Pencil: A mechanical pencil or a set of drawing pencils ranging from HB to 6B will work well.
- Eraser: Choose a soft eraser that won’t damage the paper.
- Ruler: A straight ruler will help you with measuring and creating straight lines.
- Drawing pen: A pen with a fine tip or a marker can be used to add details and make your drawing stand out.
- Blending stump: A blending stump or a tortillon is useful for smudging and blending pencil marks.
Now that you have your materials ready, let’s begin the drawing process.
Step 1: Sketch the Outline
Start by lightly sketching the basic shape of the straw. Draw a straight vertical line in the center of your paper, representing the main body of the straw. Feel free to use a ruler to ensure that the line is perfectly straight. Then, add a small oval shape at the top and bottom of the line to represent the openings of the straw.
Step 2: Add Thickness and Length
Using your ruler, draw two parallel lines on each side of the main body of the straw. These lines will add thickness to the straw and make it look more realistic. Extend the lines slightly beyond the top and bottom ovals to indicate the full length of the straw.
Step 3: Refine the Shape
Next, refine the shape of the straw by rounding the corners and edges. Smooth out the ends of the straw to make them look tapered and rounded. Take your time during this step to ensure that the proportions and curves of the straw are accurate.
Step 4: Add Details
Now it’s time to add some details to make your drawing look more realistic. Start by drawing a thin line inside the top and bottom ovals to represent the inner diameter of the straw. Then, add a series of small curves along the main body of the straw to indicate its texture. These curves should be evenly spaced and follow the shape of the straw.
Step 5: Shade and Texture
To create depth and dimension in your drawing, it’s important to add shading and texture. Begin by shading the areas where the straw overlaps itself or casts a shadow. Use light, horizontal strokes to gradually build up the shading, focusing on creating smooth transitions between light and dark areas.
Next, use your blending stump to smudge and blend the shaded areas, giving them a more realistic and soft appearance. Be mindful of the direction of the light source and adjust the shading accordingly.
Step 6: Finalize the Drawing
At this stage, take a step back and evaluate your drawing. Make any necessary adjustments to the proportions, shapes, or shading. Pay attention to small details such as highlights and reflections on the surface of the straw. These details can be added with a white pen or by erasing some of the shading to create the illusion of light reflecting off the straw.
Conclusion
Congratulations! You have successfully learned how to draw a straw. By following these step-by-step instructions and practicing regularly, you will continue to improve your drawing skills. Remember to be patient with yourself and have fun during the process. Keep exploring different everyday objects and challenging yourself to create realistic and detailed drawings.