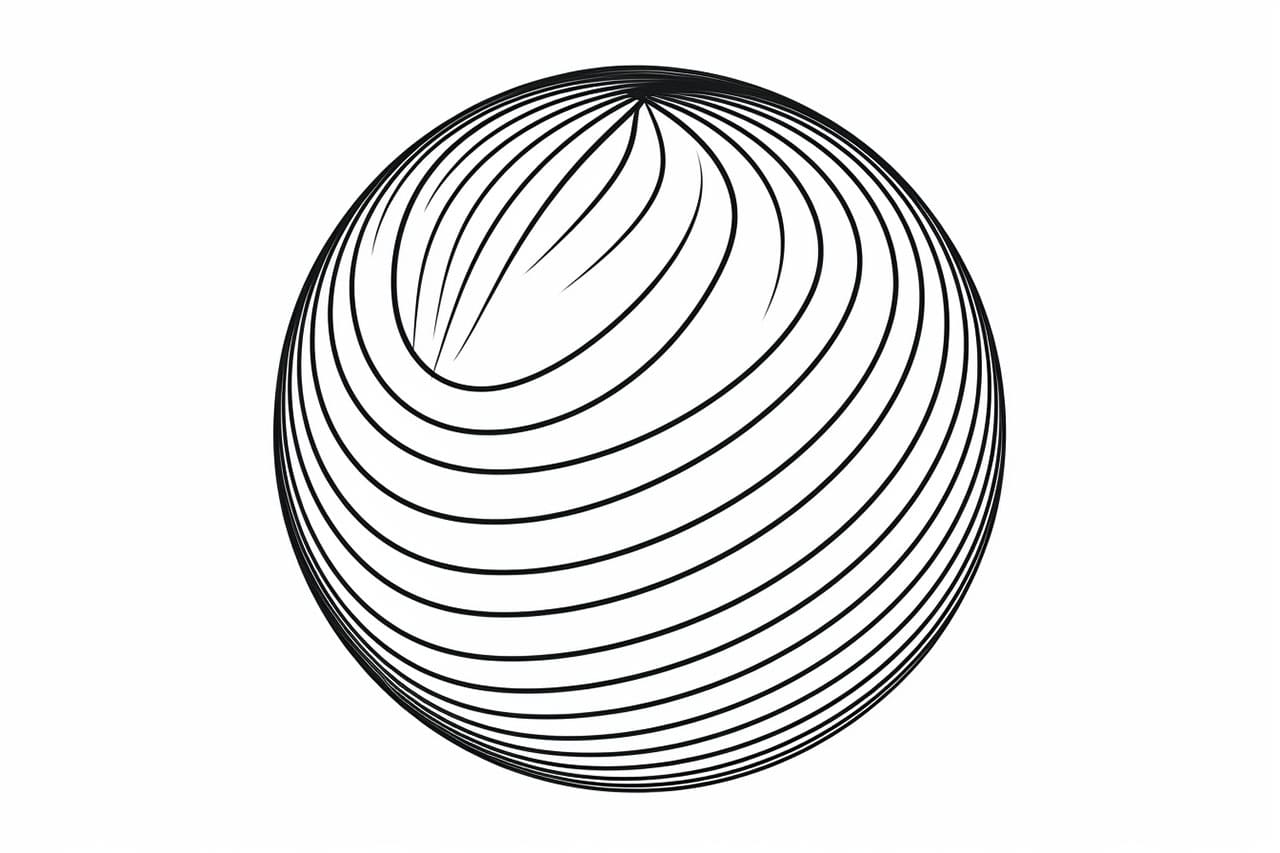
Welcome to this step-by-step guide on how to draw a sphere! Whether you are a beginner or an experienced artist, mastering the art of drawing three-dimensional shapes is essential. The sphere is one of the fundamental forms found in nature and art. With a few simple techniques, you can create a realistic and visually appealing sphere in no time. In this tutorial, we will explore the process of drawing a sphere using pencils and paper. So, let’s get started!
Materials Required
Before we dive into the steps, let’s gather the materials you will need for this drawing:
- Drawing paper: Select a smooth paper suitable for drawing. A heavier weight paper will work best to withstand shading and erasing.
- Pencils: You will need a range of pencils, preferably with different lead hardness, such as 2H, HB, and 2B. These will allow you to achieve various tones and shades in your drawing.
- Eraser: Have a soft eraser handy to correct mistakes and lighten areas of your drawing as needed.
- Blending tools: You can use blending stumps or a tortillon to create smooth transitions and gradients in your shading. A tissue or cotton swab can also work as a substitute if you don’t have blending tools.
- Pencil sharpener: Keep your pencils sharp for precise and detailed work.
- Compass or round object: While not necessary, using a compass or any round object as a template can help you create a perfect circle as the base for your sphere.
Now that we have everything we need, let’s proceed with the steps to draw a sphere!
Step 1: Draw a Circle
Start by drawing a circle with a light hand. You can use a compass or any round object as a template for a perfect circle. If you prefer to draw it freehand, that’s perfectly fine too. Remember, the size of the circle will determine the size of your sphere, so make sure to choose the appropriate scale for your drawing.
Step 2: Divide the Circle
Next, divide the circle into four equal quarters by drawing two intersecting lines that cross at the center. These lines will act as guidelines to help us locate the light source and determine the highlights and shadows on the sphere.
Step 3: Determine the Light Source
Identify the direction of the light source in your drawing. This step is important as it will determine the placement of highlights and shadows. For example, if the light is coming from the upper-left side, the highlights will appear on the upper-left portion of the sphere, while the shadows will fall on the lower-right side.
Step 4: Add the Highlight
Using the knowledge of the light source, lightly shade the upper-left quarter of the circle where the highlight will be. This area will be the lightest part of the sphere, capturing the direct light.
Step 5: Shade the Sphere
Begin shading the remaining areas of the sphere, gradually darkening the values as you move away from the highlight. Use a light touch and build up the shading slowly to create a smooth transition from light to dark. Remember to follow the contour of the circle to maintain the spherical shape.
Step 6: Blend the Shading
To achieve a realistic look, blend the shading using a blending stump, tortillon, tissue, or cotton swab. This will soften the transitions between different shades and create a smooth gradation. Be gentle while blending to avoid smearing or smudging your drawing.
Step 7: Deepen the Shadows
Now, it’s time to deepen the shadows to add depth and dimension to the sphere. Observe the areas where the sphere intersects with the guidelines you drew earlier. These are the areas where the shadows will be the darkest. Gradually layer additional shading, paying attention to the values and maintaining a smooth transition.
Step 8: Refine the Details
At this stage, take a closer look at your drawing and refine any areas that need adjustments. Use a harder pencil, such as an H or 2H, to add finer details like the reflection of light or any other additional elements you may want to include.
Step 9: Add Highlights
To enhance the realistic appearance of the sphere, carefully erase small portions of the shading to create highlights. The highlights will be the brightest areas where the light is directly hitting the surface of the sphere. Use a kneaded eraser or a precision eraser for better control over the highlight shapes.
Step 10: Final Touches
Take a step back and assess your drawing as a whole. Make any necessary final adjustments and touch-ups to achieve the desired result. Pay attention to the overall tonal values, the smoothness of the shading, and the accuracy of the sphere’s shape.
Congratulations! You have successfully drawn a sphere using simple techniques. Practice this exercise frequently to improve your skills in shading, light, and form.
Conclusion
Drawing a sphere may seem challenging at first, but with practice and patience, you can master this fundamental shape. By following the step-by-step instructions provided in this tutorial, you have learned how to create a realistic and visually appealing sphere using pencils and paper. Remember to pay attention to light sources, shading, and blending to achieve a three-dimensional effect. Keep practicing, exploring different techniques, and experimenting with various materials to further enhance your drawing abilities.
So, grab your pencils and start drawing spheres to unlock a world of endless artistic possibilities!