How to Draw a Dog Bowl in 11 Simple Steps
Learn how to draw with this step-by-step tutorial.
Materials You'll Need
- Drawing paper
- Pencil (HB or 2B)
- Eraser
- Colored pencils
- Markers
- Ruler
- Compass
- Blending stump
Drawing is not just a skill; it's a delightful form of self-expression that allows you to capture the world around you in unique ways. Whether you're doodling in a notebook or working on a detailed illustration, drawing offers a wonderful outlet for your creativity. With the right guidance, you can turn ordinary objects into beautiful works of art, and today, we will focus on drawing a beloved item: a dog bowl.
In this step-by-step tutorial, we'll guide you through the artistry of how to draw a dog bowl. It doesn't matter if you're just starting your artistic journey or if you have experience under your belt; this guide is designed to cater to all skill levels. You'll learn essential techniques and tips along the way, making the process both fun and educational. So, gather your drawing supplies, prepare to unleash your creativity, and let's embark on this artistic adventure together!
Materials Needed
Before we begin, gather the following materials:
-
Pencil
-
Eraser
-
Ruler
-
Compass
-
Black pen or marker
-
Colored pencils or markers (optional)
Step 1: Sketch the Basic Shape
Start by lightly sketching an oval shape on your drawing paper. This will serve as the outline of your dog bowl. Use your pencil and make sure the oval is proportionate and centered on the paper.
Step 2: Add the Rim
Using your ruler, draw a slightly curved line around the top of the oval to create the rim of the dog bowl. The rim should follow the shape of the oval and be slightly thicker towards the bottom.
Step 3: Draw the Base
Next, draw a smaller oval shape inside the larger one, towards the bottom. This will serve as the base of the dog bowl. Make sure it is centered and proportionate to the outer oval.
Step 4: Add Depth with Shadows
To give the dog bowl a three-dimensional look, add shading to the rim and base. Use your pencil to lightly shade along the bottom edge of the rim and the outer edge of the base. This will create the illusion of depth and make the bowl appear more realistic.
Step 5: Sketch the Inside
Draw a smaller oval shape inside the base of the bowl. This will represent the inside of the bowl where the food or water would go. Make it slightly smaller and centered within the base oval.
Step 6: Add Detail to the Rim
Using your ruler, draw small lines along the rim of the bowl to create a decorative pattern. These lines can be straight or slightly curved, depending on your preference. Adding this detail will make the bowl look more realistic and interesting.
Step 7: Draw the Dog Bowl's Stand
Sketch a rectangular shape below the dog bowl to create its stand. The stand should be slightly wider than the bowl and extend below it. Make sure the edges of the rectangular shape are parallel to the edges of the paper.
Step 8: Add Texture to the Stand
To give the stand some texture, draw horizontal lines across the rectangular shape. These lines will represent the bars of the stand. You can also add diagonal lines for a more intricate design. Be creative and experiment with different patterns.
Step 9: Outline with a Pen
Now that you have sketched the basic shape and added details, go over your drawing with a black pen or marker. Start by outlining the rim, base, and inside of the bowl. Then, outline the stand and its texture. Use steady and confident strokes to create clean lines.
Step 10: Erase the Pencil Lines
Once the ink has dried, erase any remaining pencil lines from your drawing. Be careful not to erase the pen or marker lines. This step will give your drawing a neater and more finished appearance.
Step 11: Add Color (Optional)
If you prefer a colored dog bowl, you can use colored pencils or markers to add some vibrancy to your drawing. Consider the material of the bowl and use appropriate colors, such as metallic or ceramic shades. Also, think about the food or water inside and add some color accordingly.
Tip: To create a convincing dog bowl drawing, pay close attention to the shape and perspective. Start by lightly sketching the bowl's outline with a pencil, focusing on its curvature; remember, a dog bowl is typically wider at the top than at the bottom, so keep that in mind when defining its form. Utilizing a blending stump or your finger can help soften any harsh lines and create a more realistic, rounded appearance.
For added depth, use shading to depict light and shadow, emphasizing the bowl's contours—remember that light usually comes from one direction, so shade the opposite side accordingly. Finally, don't hesitate to add details like reflections or texture, which can bring your drawing to life and make it truly unique!
Conclusion
Congratulations! You have successfully drawn a dog bowl. Through simple steps and careful attention to detail, you've created a realistic and adorable representation. Remember to practice regularly to improve your drawing skills further. Have fun experimenting with different shapes and designs. Drawing is a wonderful way to unleash your creativity, and a dog bowl is just the beginning. Enjoy your artistic journey!
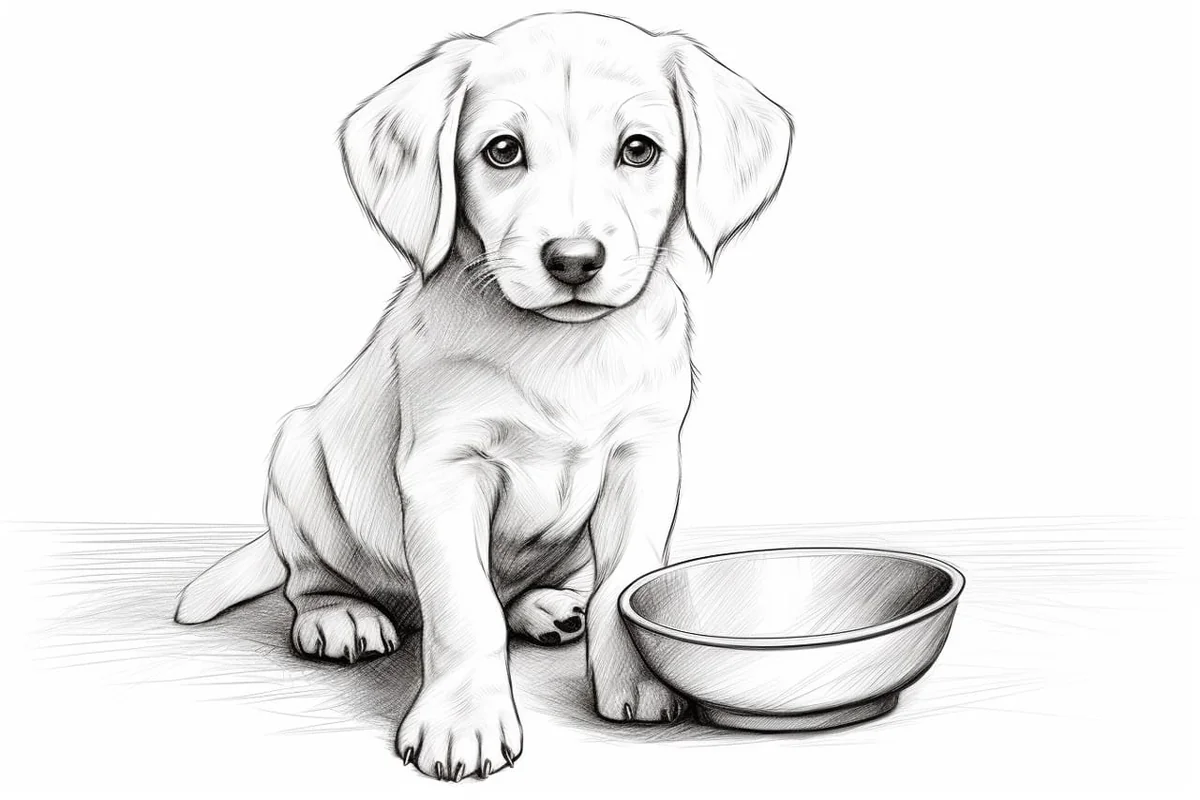
Gallery of Dog Bowl Drawings


