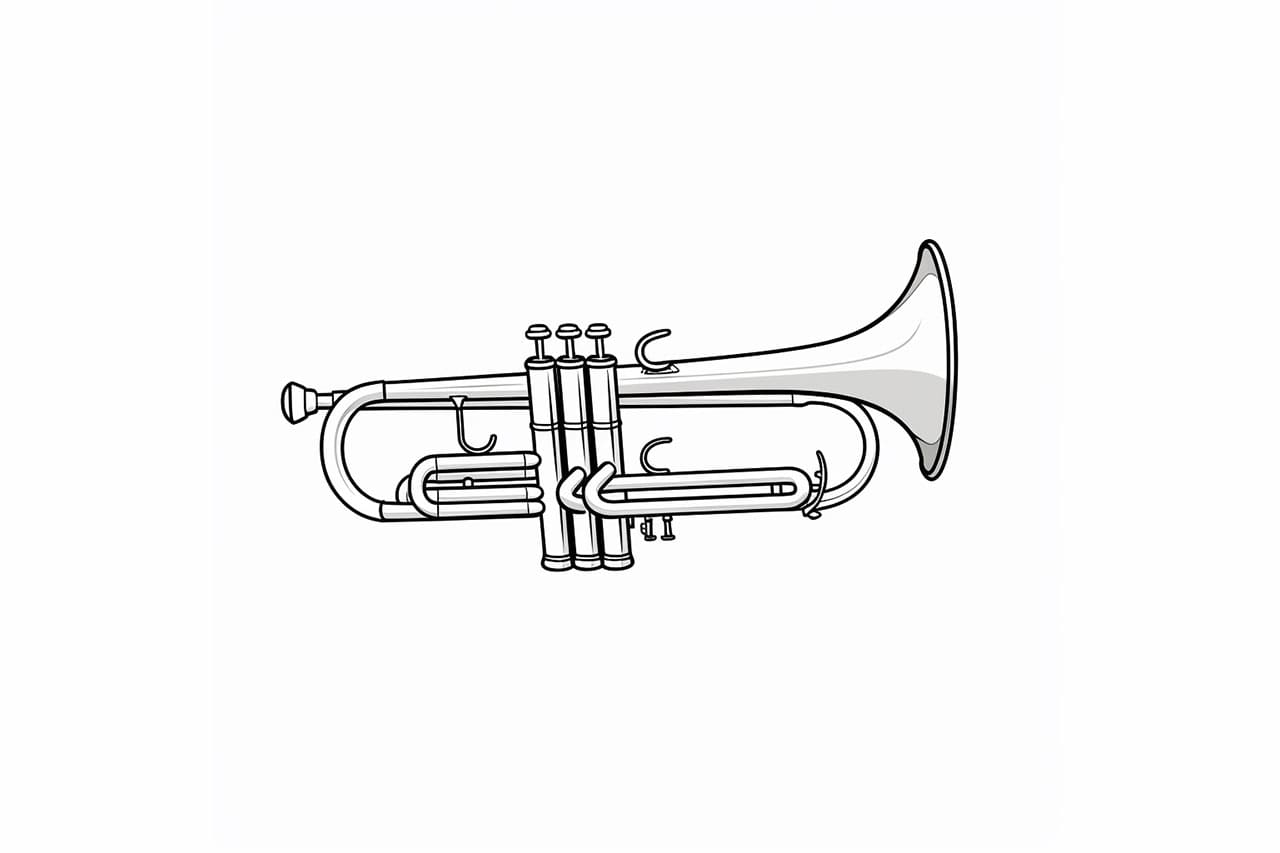
Are you interested in art and music? Combine your passions by learning how to draw a trumpet! In this step-by-step guide, you will discover the techniques to create a realistic representation of this beautiful brass instrument. Let’s get started!
Materials Required
Before we begin, gather the following materials:
- Pencil (HB or 2B recommended)
- Eraser
- Drawing paper
- Ruler
- Compass
- Reference image of a trumpet
Step 1: Basic Outline
Start by lightly sketching a vertical line near the center of your paper. This line will serve as the trumpet’s main axis. Next, draw a small horizontal line at the top to represent the mouthpiece. From the bottom of this line, sketch another horizontal line, but slightly longer. This will be the trumpet’s bell.
Step 2: Valves
Now, let’s draw the valves of the trumpet. These are located towards the middle of the instrument. Start with three small circles evenly spaced along the vertical axis. The top of the first circle should align with the bottom of the mouthpiece, and the last circle should touch the bottom of the bell.
Step 3: Valve Caps
On top of each valve, draw a small rectangle to represent the valve caps. These rectangular shapes should be slightly smaller and narrower than the valves themselves. Make sure they are aligned with the circles drawn in the previous step.
Step 4: Valve Tubes
Next, let’s add the valve tubes. These connect the valves to the main body of the trumpet. Begin by drawing two curved lines from the top of the first valve to the bottom of the second valve. Then, draw two more curved lines from the top of the second valve to the bottom of the third valve. These lines should follow the path of the circles representing the valves.
Step 5: Main Body
To create the main body of the trumpet, draw a curved line from the bottom of the third valve to the bottom of the bell. This line should have a gentle curve, mimicking the shape of the trumpet’s tubing. Make sure it is smooth and continuous.
Step 6: Bell Shape
Now, let’s focus on the bell of the trumpet. Start by drawing a small circle at the bottom of the trumpet’s body. This circle will serve as a guide for shaping the bell. From this circle, extend curved lines upwards to define the shape of the bell. Ensure that the lines smoothly transition into the trumpet’s body.
Step 7: Fine Details
To add more realism to your drawing, it’s time to include some fine details. With the help of a reference image, carefully observe and sketch the additional features of the trumpet. Pay attention to the small buttons, textures, and reflections. Take your time during this step, as these details will bring your drawing to life.
Step 8: Erase Guidelines
Before finalizing your drawing, erase any unnecessary guidelines and construction lines. Make sure to retain only the details that are part of the trumpet’s structure. Use a clean eraser to gently remove the pencil marks without damaging the drawing.
Step 9: Shading and Texture
To add depth and dimension to your trumpet drawing, it’s time to apply shading and texture. Start by identifying the areas of light and shadow on your reference image. Use a light touch and a gradual build-up of graphite to create smooth transitions between the different values. Pay close attention to the reflections and highlights on the trumpet’s surface. Experiment with different shading techniques to achieve the desired effect.
Step 10: Final Touches
Lastly, examine your drawing and make any final adjustments. Compare your drawing to the reference image and check for any inaccuracies. Fine-tune the shading, lines, and proportions as needed. Take your time to ensure that your trumpet drawing looks realistic and captures the essence of this musical instrument.
Conclusion
Congratulations on completing your trumpet drawing! By following these step-by-step instructions, you have learned the techniques required to create a realistic representation of this beautiful brass instrument. Remember to practice regularly and experiment with different techniques to further enhance your artistic skills. Enjoy the process and let your creativity shine!

