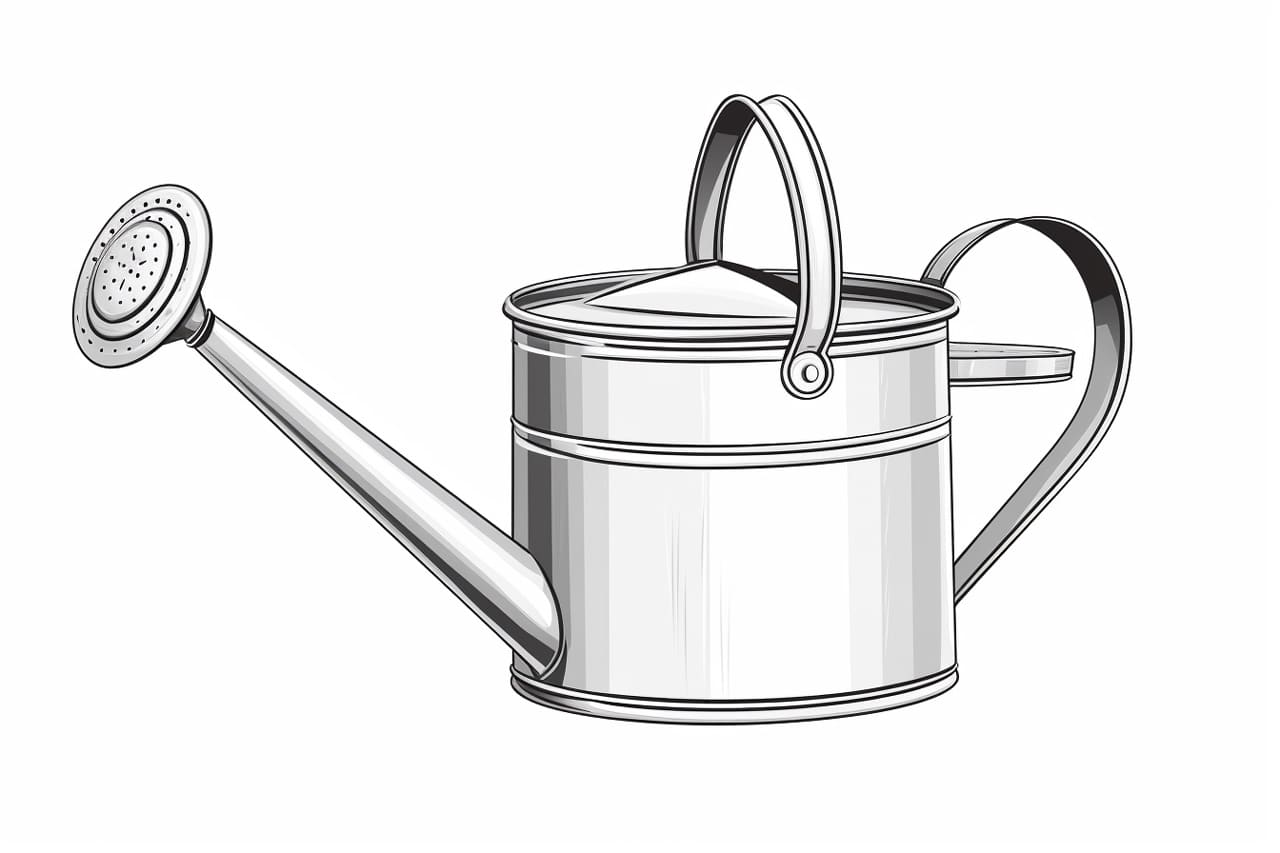
Welcome to this step-by-step guide on how to draw a watering can! Whether you are an aspiring artist or simply looking to have some fun with drawing, this tutorial will provide you with easy-to-follow instructions. By the end, you’ll have a beautiful illustration of a watering can that you can be proud of. So let’s get started!
Materials Required
Before we start drawing, let’s gather the materials you will need:
- Pencil
- Eraser
- Paper
- Ruler
- Fine-tip black marker or pen
Make sure you have all these materials ready, and let’s dive into the drawing process!
Step 1: Shape the Body
To begin, draw a large oval shape for the body of the watering can. This oval will serve as the main outline of the object. Use a light touch with your pencil as we’ll be refining the lines later on.
Step 2: Add the Spout
Next, draw a long, slightly curved line starting from the top of the oval towards the right side. This line will represent the spout of the watering can. Make sure the end of the line is slightly wider and flares out a bit.
Step 3: Create the Handle
Now, let’s draw the handle of the watering can. Begin by drawing a small oval shape near the top-left side of the oval body. Then, extend two curved lines from either side of the oval, meeting at a point slightly below the top of the oval. This will form the handle. Make sure the lines arc gracefully and match the overall shape of the can.
Step 4: Detail the Spout
In this step, add some details to the spout. Draw a slightly curved line along the length of the spout to indicate its opening. Then, draw another curved line parallel to the first one, but slightly inside the spout to give it depth. Add a small oval at the tip of the spout to represent the opening.
Step 5: Refine the Body
Now it’s time to refine the shape of the watering can body. Use your pencil to darken the outline, making it more defined and prominent. For a cleaner look, erase any unnecessary lines or overlaps, such as the portion of the oval that is hidden behind the handle.
Step 6: Add the Base
To give the watering can stability, draw a simple rectangular shape at the bottom of the oval body. Make sure the width of the base is slightly wider than the body itself. This will create a solid foundation for the can.
Step 7: Detail the Handle
Let’s add some depth and texture to the handle. Draw a series of curved lines along the length of the handle to indicate its contours. These lines should follow the curve of the handle and give it a three-dimensional appearance.
Step 8: Enhance the Base
To make the base of the watering can more realistic, add some details. Draw a curved line along the top edge of the base to give it a rounded appearance. Then, add a few short lines horizontally across the base to represent the ridges commonly found on watering cans.
Step 9: Finalize the Drawing
At this point, your watering can is almost complete! Use your pencil to carefully go over all the lines, refining them and adding any additional details you’d like. Once you’re satisfied with the overall shape and layout, trace over the final lines with a fine-tip black marker or pen. Allow the ink to dry, then erase any remaining pencil marks.
And there you have it – a beautifully drawn watering can! I hope you enjoyed this tutorial and found it helpful. Now you can use your newfound drawing skills to create stunning illustrations of watering cans and other objects.
Conclusion
In conclusion, this step-by-step guide has shown you how to draw a watering can from start to finish. By following these instructions and using your creativity, you can create a wonderful image of this everyday object. Remember to use a light touch while sketching with a pencil and refine your lines before tracing them with a marker or pen. With practice and patience, your drawing skills will continue to improve.
So grab your materials and start drawing your very own watering can today!


