Are you interested in learning how to draw a roach? This step-by-step guide will teach you just that. Drawing insects can be a fun and challenging experience, and roaches are no exception. By following these simple instructions, you will be able to create a realistic and detailed drawing of a roach that will surely impress your friends and family. So let’s get started!
Materials Required
Before we begin, let’s gather all the materials you will need for this drawing:
- Paper: A sketchbook or any type of drawing paper will work just fine. You can also use a recycled paper for practice.
- Pencil: Choose a pencil of your preference. A medium-soft graphite pencil is recommended for this drawing.
- Eraser: Make sure to have a good quality eraser handy, as it will be useful for correcting any mistakes along the way.
- Pencil Sharpener: Keep a pencil sharpener nearby to ensure that your pencil is always sharp and ready for precision work.
Now that we have all our materials prepared, let’s begin the process of drawing a roach!
Step 1: Outline the Basic Shape
Start by lightly sketching a horizontal oval shape on your paper. This will serve as the body of the roach. Position it slightly towards the top center of your paper, leaving enough space for the head and antennae.
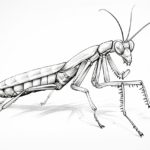
Step 2: Draw the Head and Antennae
Using the oval shape as a guide, draw a smaller oval shape towards the front of the roach’s body. This will be the head. Then, extend two curved lines from the head to form the antennae. Roaches have long, thin antennae, so make sure to represent that in your drawing.
Step 3: Add Details to the Head
Next, draw two small circles for the roach’s eyes on either side of the head. Within each eye, draw a smaller circle to represent the pupil. Roaches have a distinct shape to their head, so make sure to add a small triangle-like shape just below the eyes. This will give your roach a more realistic appearance.
Step 4: Draw the Body Segments
Moving on to the body, divide the oval shape into several segments by drawing curving lines horizontally across it. Roaches have a segmented body, so this step is crucial in capturing their unique characteristics.
Step 5: Add Legs and Details
Now it’s time to draw the legs. Roaches have six legs, with three on each side of their body. Start by drawing thin, straight lines extending from the bottom of each body segment. Make sure that the legs are evenly spaced. You can add a slight curve to the legs to make them look more natural. Finally, add small triangular shapes at the end of each leg to represent the feet.
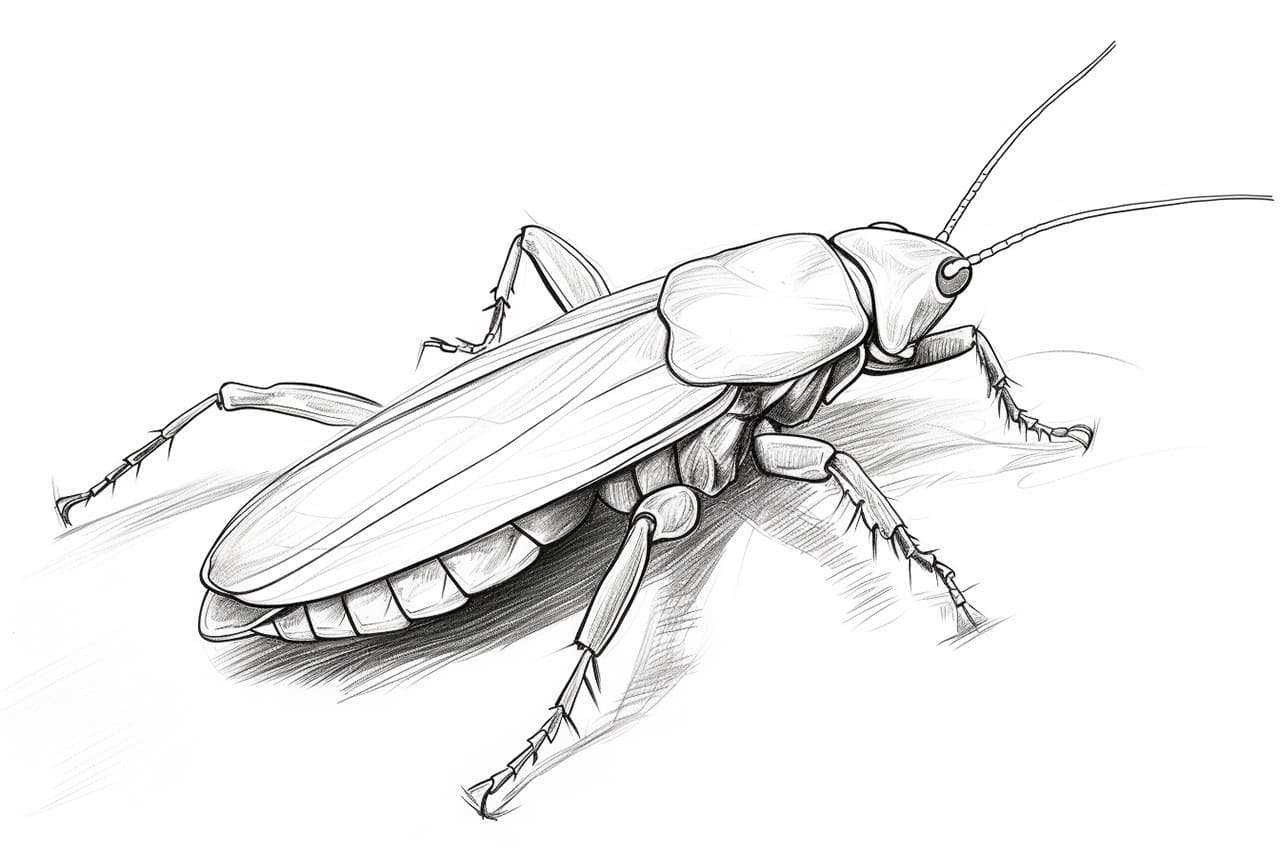
Step 6: Finalize the Details
To give your roach drawing some finishing touches, add a few more details. Draw small, curved lines along the body segments to represent the roach’s exoskeleton. You can also draw some additional lines to create texture and depth. Take your time and observe the details of a real roach to make your drawing as accurate as possible.
Conclusion
Congratulations! You have successfully learned how to draw a roach. By following these step-by-step instructions and using your creativity, you were able to create a realistic and detailed roach drawing. Remember, practice makes perfect, so don’t hesitate to try drawing roaches from different angles and positions. Keep challenging yourself and exploring the world of insect drawing. Happy sketching!