Welcome to this step-by-step guide on how to draw a crayfish! Crayfish, also known as crawfish or crawdads, are fascinating creatures found in freshwater habitats all over the world. With their unique appearance and intricate details, they make for an interesting subject in art. Whether you’re a beginner or an experienced artist, this tutorial will teach you how to capture the essence of a crayfish on paper. So grab your drawing supplies and let’s get started!
Materials Required
Before we begin, make sure you have the following materials on hand:
- Drawing paper: Use a high-quality paper that can handle pencil, pen, or any other medium you prefer.
- Pencils: Have a range of graphite pencils, such as HB, 2B, 4B, and 6B, for shading and adding depth.
- Erasers: Keep both a kneaded eraser for softening lines and a standard eraser for correcting mistakes.
- Pens: If you prefer, you can use pens for outlining and adding details.
- Fine-tip markers: Optional but useful for adding bold lines or emphasis.
- Colored pencils or markers: If you want to bring your crayfish to life with color, have these ready.
- Reference image: Find a clear picture of a crayfish to guide you throughout the drawing process.
Now that you have all your materials ready, let’s dive into the steps of drawing a crayfish!
Step 1 – Basic Shape
Start by lightly sketching the basic shape of the crayfish. Begin with an oval shape for the body, slightly elongated like a football. Then, draw two lines extending from one end of the oval to represent the tail. Make sure the tail lines curve outward, gradually becoming thinner as they reach the end.
Step 2 – Add the Head and Eyes
Next, draw a circle on one end of the body to form the head of the crayfish. Position it slightly above the center of the oval body. Within the circle, sketch two small circles side by side, which will be the eyes. Add a tiny dot in each eye to bring them to life.
Step 3 – Sketch the Antennae
On top of the head, draw two long, curved lines to represent the antennae. These lines should start from the top of the head and curve gently outward. Remember, crayfish have long and thin antennae that are often more extended than their body length.
Step 4 – Outline the Body and Tail
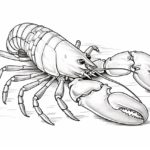
Using the basic shape as a guide, carefully outline the body and tail of the crayfish. Pay attention to the curves and contours, making sure to create a smooth and flowing shape. Take your time with this step and use light strokes to bring out the form of the crayfish.
Step 5 – Add the Legs
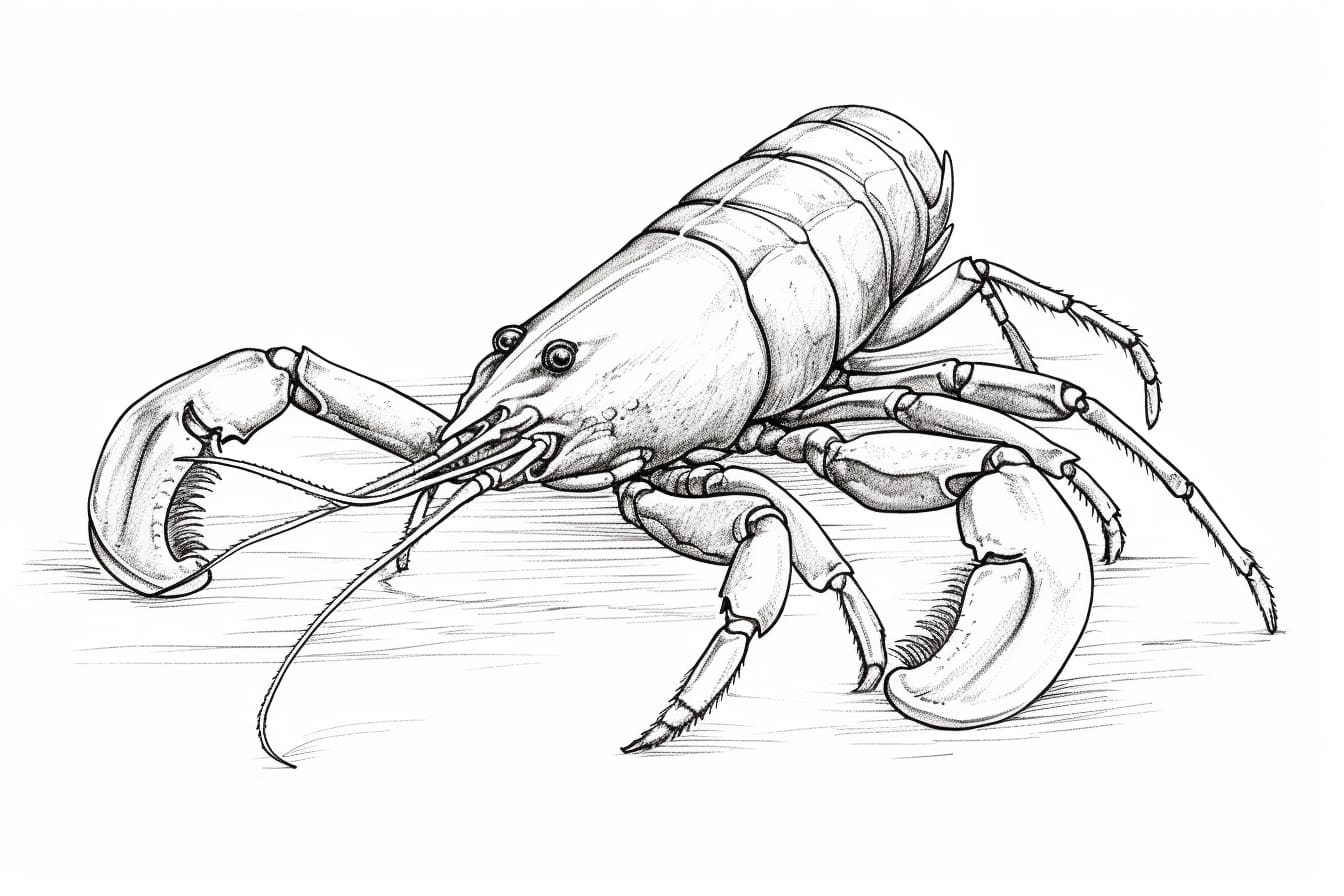
Crayfish have ten legs in total, with the front two being shorter and thicker, while the remaining eight are long and spindly. Begin by drawing the front legs on either side of the body. They should be attached to the lower part of the head, slightly below the eyes. For the remaining legs, draw pairs of lines starting from the underside of the body, extending outward in an arched manner.
Step 6 – Detail the Legs and Claws
Now, it’s time to add more details to the legs. Carefully shape each leg by adding curves and defining the segments. The first pair of legs should have thicker segments. For the remaining legs, draw slender segments with small joints. At the end of each leg, draw tiny hooks to represent the claws.
Step 7 – Enhance the Body Texture
To give your crayfish a realistic texture, add small lines or dots throughout the body and tail. These lines should mimic the appearance of the exoskeleton and give the impression of individual segments. Take your time with this step and observe a reference image to ensure accuracy.
Step 8 – Finalize the Details
Take a step back and examine your drawing. Look for any areas that need refinement or additional detail. You can add texture to the claws, define the eyes further, or add subtle shading to enhance the overall three-dimensional effect. Use your artistic judgment to bring your crayfish to life.
Conclusion
Congratulations on completing your crayfish drawing! By following these step-by-step instructions, you have learned how to capture the intricate details and unique shape of these fascinating creatures. With practice and experimentation, you can continue to refine your skills and create even more impressive artworks. Remember, drawing is not just about replicating what you see, but also expressing your own artistic style. So keep exploring, keep creating, and enjoy the process!