Welcome to this step-by-step guide on how to draw a crawfish! Whether you’re an experienced artist or just starting out, this tutorial will help you create a realistic and detailed representation of this fascinating creature. Follow along with the instructions and don’t be afraid to add your own creative touches along the way. So let’s dive in and get started!
Materials Required
Before we begin, make sure you have the following materials ready:
- Paper or drawing pad
- Pencil
- Eraser
- Fine-tip black marker or pen
- Colored pencils or markers
- Reference image of a crawfish (optional)
Now that you have everything you need, let’s move on to the step-by-step instructions.
Step 1: Basic Shape
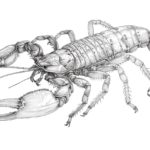
Start by lightly sketching a large oval shape for the body of the crawfish. This will serve as our foundation for the drawing.
Step 2: Head and Tail
Divide the oval shape into two sections, with the larger portion towards the front for the head and the smaller portion towards the back for the tail. The head should have a rounded shape, while the tail should be more pointed.
Step 3: Eyes and Antennae
Draw two small circles on top of the head for the eyes. Inside each eye, draw a smaller circle to represent the pupil. Extend two curved lines from the top of the head to create the crawfish’s antennae.
Step 4: Mouth and Legs
Using curved lines, draw the crawfish’s mouth just below the eyes. Add small details like the mandibles and small legs to the underside of the body.
Step 5: Body Segments
Draw a series of curved lines along the length of the body to create the segmented sections of the crawfish. Make sure the lines are evenly spaced and follow the contour of the oval shape.
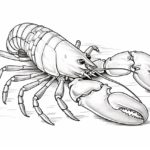
Step 6: Claws
Next, draw in the crawfish’s claws. Start by sketching a large bump on each side of the body, towards the front. From each bump, draw three curved lines to represent the claws. The middle line should be the longest and thickest, while the other two lines should be shorter.
Step 7: Detailing the Claws
Add more definition to the claws by drawing small lines within them to represent the individual segments. Also, draw curved lines along the edges of the claws to give them a more textured appearance.
Step 8: Legs and Pincers
Draw several pairs of slim, curved lines along the underside of the crawfish’s body to represent the legs. At the end of each leg, draw small pincers using curved lines. The pincers should be tapered and pointed.
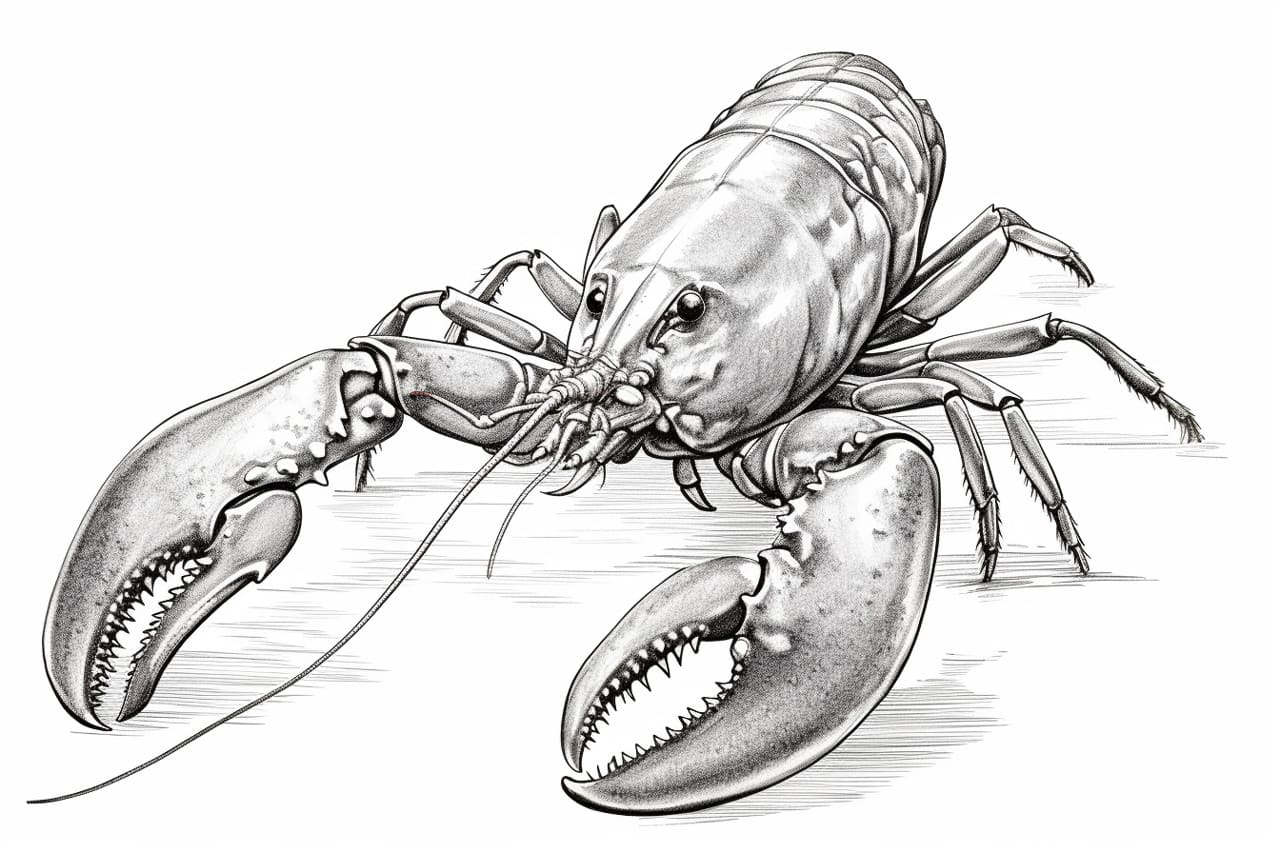
Step 9: Texture and Patterns
Now it’s time to add texture and patterns to your crawfish drawing. Start by carefully shading the body segments using short, curved lines to create a scaly texture. Remember to follow the contour of the body. You can also add a few curved lines to represent the joints of the legs and pincers.
Step 10: Finalize the Drawing
Go over your pencil lines with a fine-tip black marker or pen, erasing any unwanted pencil marks as you go. This will give your drawing a more polished look. Once you’re satisfied with the outline of your crawfish, you can start adding color using colored pencils or markers. Get creative and use a variety of hues to bring your crawfish to life!
Conclusion
Congratulations, you have successfully learned how to draw a crawfish! By following these step-by-step instructions, you have created a realistic and detailed representation of this fascinating creature. Remember, practice makes perfect, so don’t hesitate to try drawing the crawfish again using different poses or perspectives. Enjoy the process of exploring your artistic abilities and have fun with your creations!