Scorpions are fascinating creatures known for their unique appearance and venomous sting. Drawing a scorpion can be a fun and rewarding artistic challenge. In this step-by-step guide, I will walk you through the process of how to draw a scorpion in a clear and concise manner. Whether you are a beginner or an experienced artist, you will find these instructions helpful in creating a realistic and detailed scorpion drawing.
Materials Required
Before we begin, gather the following materials:
- Drawing paper or sketch pad
- Pencils (HB, 2B, and 4B)
- Eraser
- Fine-tip black pen or marker
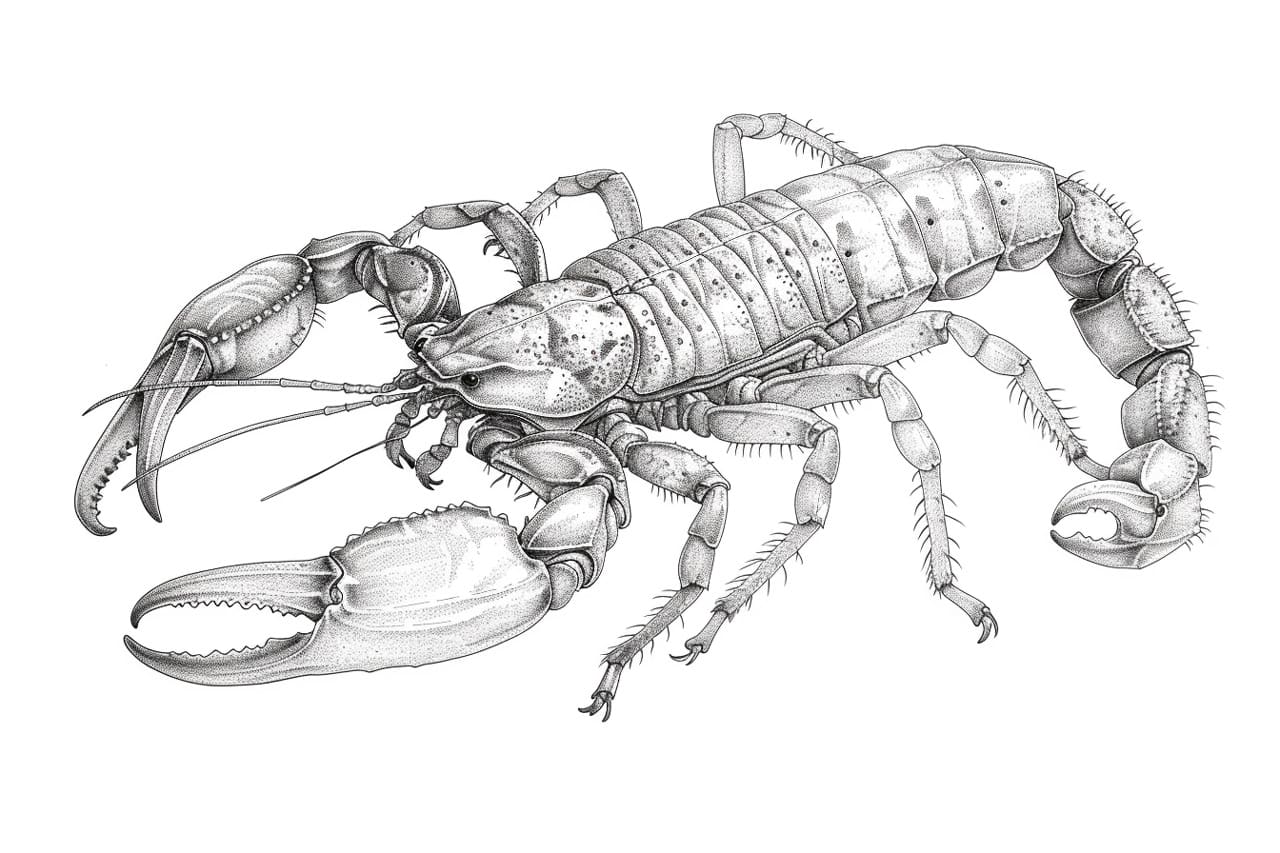
- Reference image of a scorpion (optional but recommended)
Having these materials at hand will ensure a smooth and enjoyable drawing experience.
Step 1: Basic Guidelines
To start, lightly sketch the basic guidelines for your scorpion drawing. Begin by drawing a large oval shape for the body and a smaller oval shape for the head. Then, draw a long, curved line extending from the body for the tail. Add two smaller ovals at the front of the head for the pincers.
Step 2: Body and Tail
Using the basic guidelines, start adding more detail to your scorpion drawing. Begin with the body by drawing a smooth, curved line following the shape of the oval. Add segments to the body by drawing shorter, curved lines across its length. Next, draw the tail by following the initial guideline and adding more segments to it. Scorpions have a distinct stinger at the tip of their tails, so make sure to include that as well.
Step 3: Pincers
Moving on to the pincers, begin by adding more definition to the ovals by drawing the upper and lower parts of each pincer. Scorpions have sharp and curved pincers, so pay attention to their shape and proportions. Add smaller details, such as joints and ridges, to make the pincers look more realistic.
Step 4: Legs
Now, let’s draw the legs of the scorpion. Start by sketching the first pair of legs on each side of the body. Each leg consists of several segments, so make sure to draw them accordingly. Follow the same process for the remaining three pairs of legs. Take your time to ensure that the proportions and angles of the legs are accurate.
Step 5: Details
Now that the basic structure of the scorpion is complete, it’s time to add more details. Study your reference image or use your imagination to draw the eyes, mouthparts, and other small features of the scorpion’s head. You can also add texture and shading to the body and tail to give your drawing more depth and realism. Use a darker pencil (such as 4B) to create shadows and define the contours.
Step 6: Finalize
In this final step, refine your scorpion drawing by erasing any unnecessary guidelines and smudges. Use a fine-tip black pen or marker to outline the main features of the scorpion and define the details. Take your time and work carefully to achieve clean and precise lines. If you wish, you can also add additional details or patterns to make your scorpion drawing unique.
Conclusion
Drawing a scorpion may seem challenging at first, but with the right guidance and practice, you can create a stunning artwork. By following the step-by-step instructions provided in this article, you can develop your skills and create a realistic and detailed scorpion drawing. Remember to be patient, pay attention to details, and most importantly, have fun with your artwork. Happy drawing!