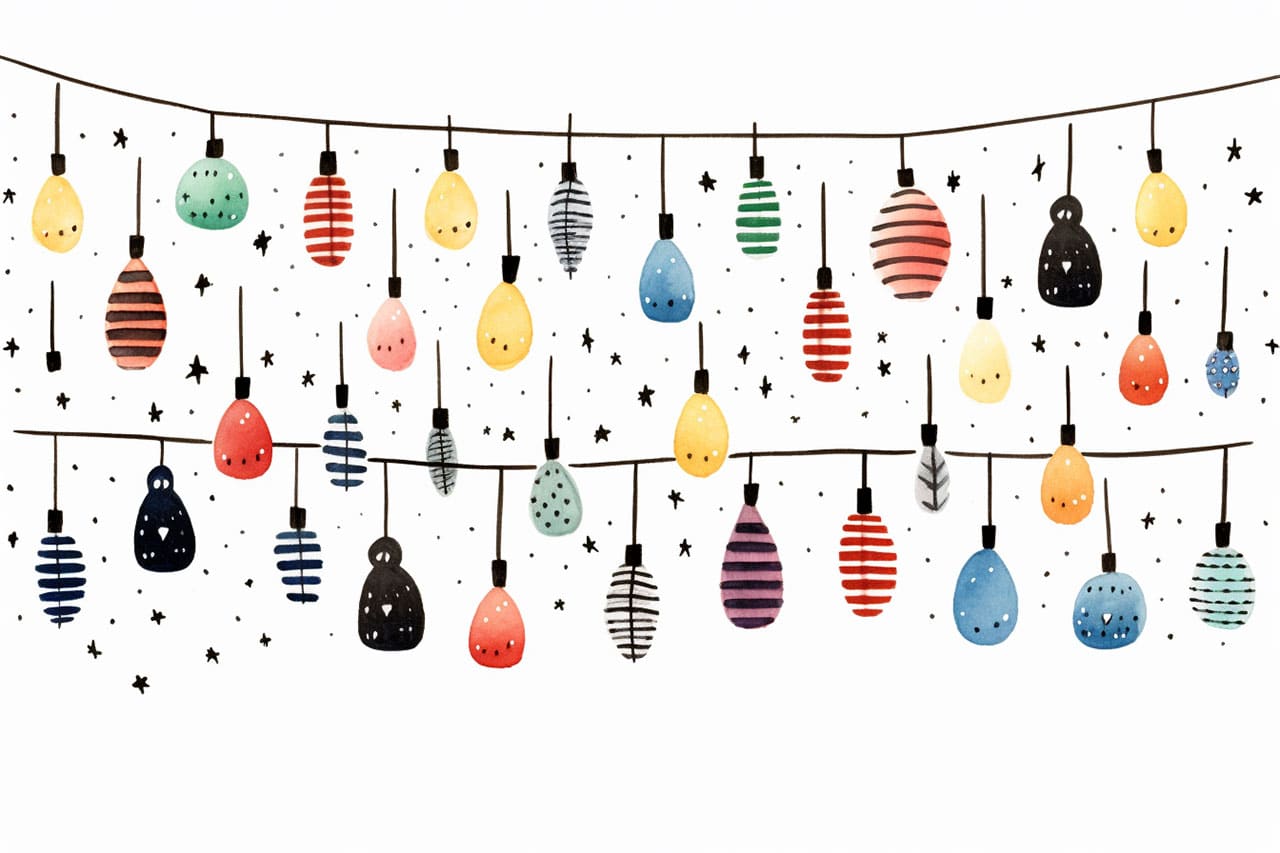
Welcome to this cheerful and creative tutorial on how to draw Christmas lights! These glowing, festive decorations bring joy and warmth to the holiday season, making them a wonderful subject for your artwork. Whether you’re designing a holiday card, creating a seasonal masterpiece, or simply looking for a fun and festive drawing project, Christmas lights add a magical touch to any composition.
In this step-by-step guide, we’ll walk you through the process of drawing a beautiful, twinkling string of lights. From sketching the basic structure to adding vibrant colors and glowing effects, you’ll learn how to bring your holiday artwork to life.
So grab your art supplies, put on your favorite holiday tunes, and let’s illuminate your page with creativity and holiday spirit!
Materials Required:
- Drawing paper
- Pencil
- Eraser
- Fine-tipped black marker or pen
- Colored pencils or markers in various vibrant colors
- Ruler (optional, for straight lines)
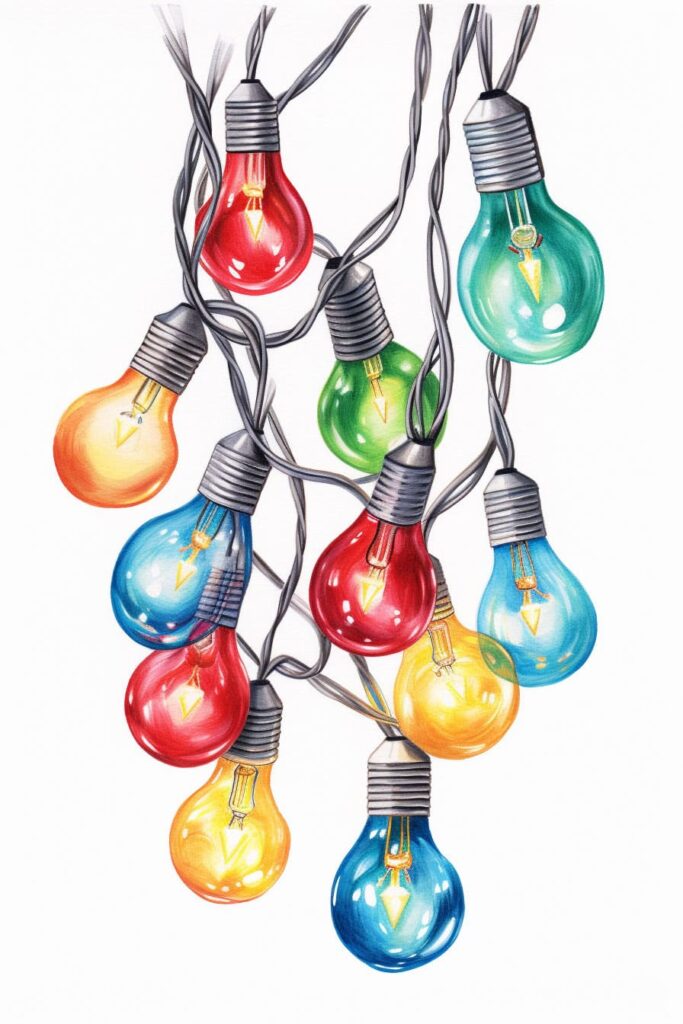
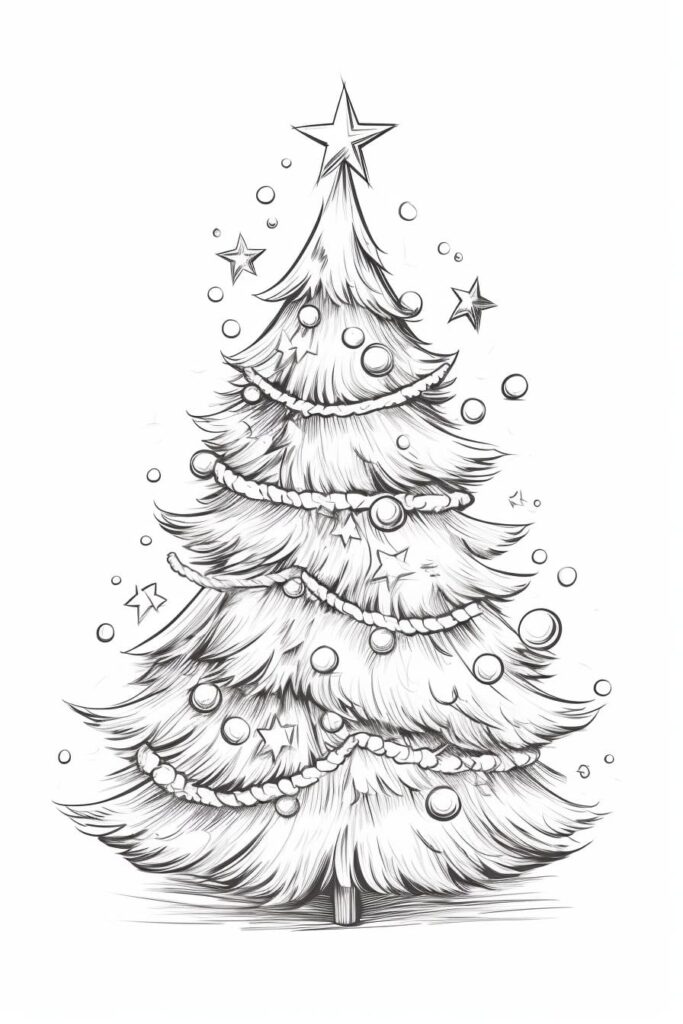
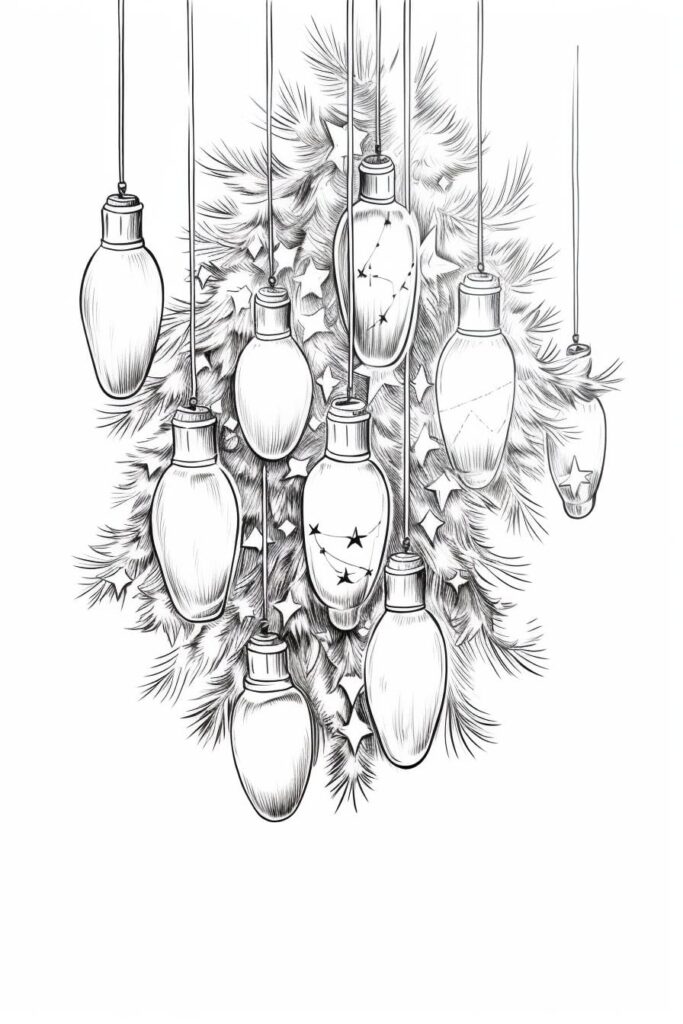
Step-by-Step: How to Draw Christmas Lights
Step 1: Light the Way—Sketch the String
Start by taking your pencil and lightly drawing a gently curved line across your paper. This will be the base for your Christmas light string. Imagine how the lights might drape naturally, so let the line swoop and arc playfully. The length is entirely up to you—long for a grand, glowing display or short for a cozy twinkle. Keep your strokes light, as this will act as your guide for the bulbs and can be adjusted later.
Step 2: Shape the Bulbs
Now it’s time to add the bulbs! Along your curved line, sketch small bulb shapes at regular intervals. These can be ovals, circles, or slightly flattened teardrop shapes, mimicking real Christmas lights. Space them evenly along the string but don’t stress about perfect precision—imperfections add charm. Vary the angles slightly to make them appear more dynamic, as if they’re hanging naturally.
Step 3: Define the Bulbs
Take a fine-tipped black marker or pen and carefully trace over your bulb shapes. This step sharpens the outlines, making your lights pop off the page. Go slowly to maintain smooth, clean lines, and remember not to press too hard—this will keep the colors vibrant later. While you’re at it, trace over your original string line for added clarity.
Step 4: Add Magical Details
Let’s make those bulbs look extra realistic! Inside each bulb, draw a smaller circle or oval to hint at the reflective glass surface. Next, add a curved line at the top of each bulb to represent the metal cap that connects to the string. These small touches give your lights dimension and authenticity, setting the stage for the dazzling color to come.
Step 5: Color Your Lights
The fun begins here! Grab your colored pencils, markers, or whatever medium you love, and bring your bulbs to life. Classic holiday hues like red, green, blue, and yellow are always a hit, but feel free to think outside the box—try pastel tones, metallic shades, or even rainbow gradients. Fill each bulb with smooth, even strokes, and mix colors if you want a festive variety.
Step 6: Add Depth with Shading and Highlights
To give your bulbs a realistic, three-dimensional glow, it’s time for some shading magic. Imagine a light source—say, from above or the left—and shade the side of each bulb furthest from it using a slightly darker tone of your chosen color. Then, on the side facing the light, add a small, bright highlight using a white colored pencil or gel pen. This contrast will make your lights look like they’re glowing on the page.
Step 7: Draw the String
With your bulbs shining brightly, it’s time to connect them. Using a fine-tipped pen or marker, trace a smooth, slightly curved line along the bottom of the bulbs. This string should appear taut enough to support the bulbs but relaxed enough to look natural. Don’t worry if the line isn’t perfectly straight—strings rarely are!
Step 8: Expand the Glow (Optional)
Feeling ambitious? Add more strings of lights to your drawing! Repeat the steps above, creating parallel or intersecting lines of lights to craft a dazzling composition. Play with overlapping strings or crisscross patterns for extra flair. This step adds depth and movement, making your artwork look like a fully lit holiday display.
Step 9: Final Flourishes
Time to polish your masterpiece! Go over any details that need refining, darken the string if necessary, and ensure your colors are vibrant and smooth. Add a final touch of sparkle by sprinkling in tiny white or gold dots around the bulbs to mimic the glow. Step back, admire your twinkling creation, and give yourself a round of applause—you’ve just drawn a festive string of Christmas lights that’s ready to shine!
A Twinkling Finale
Congratulations, artist! You’ve brought a festive string of Christmas lights to life on paper, capturing their cheerful glow and holiday charm. Whether you use this as a standalone piece or incorporate it into a larger holiday illustration, your twinkling lights are sure to spread some seasonal joy.
Remember, the beauty of Christmas lights lies in their variety—so don’t be afraid to experiment with bold color combinations, unique bulb shapes, or even playful arrangements. Let your imagination guide you! Perhaps your next set of lights will wrap around a snowman, decorate a cozy cabin, or frame a Christmas tree in a wintery scene.
Keep exploring, keep creating, and most importantly, keep having fun. With a little practice and a lot of holiday spirit, your drawings will light up the page just as brightly as the real thing. So grab your materials and let the glow of your creativity shine this holiday season!

