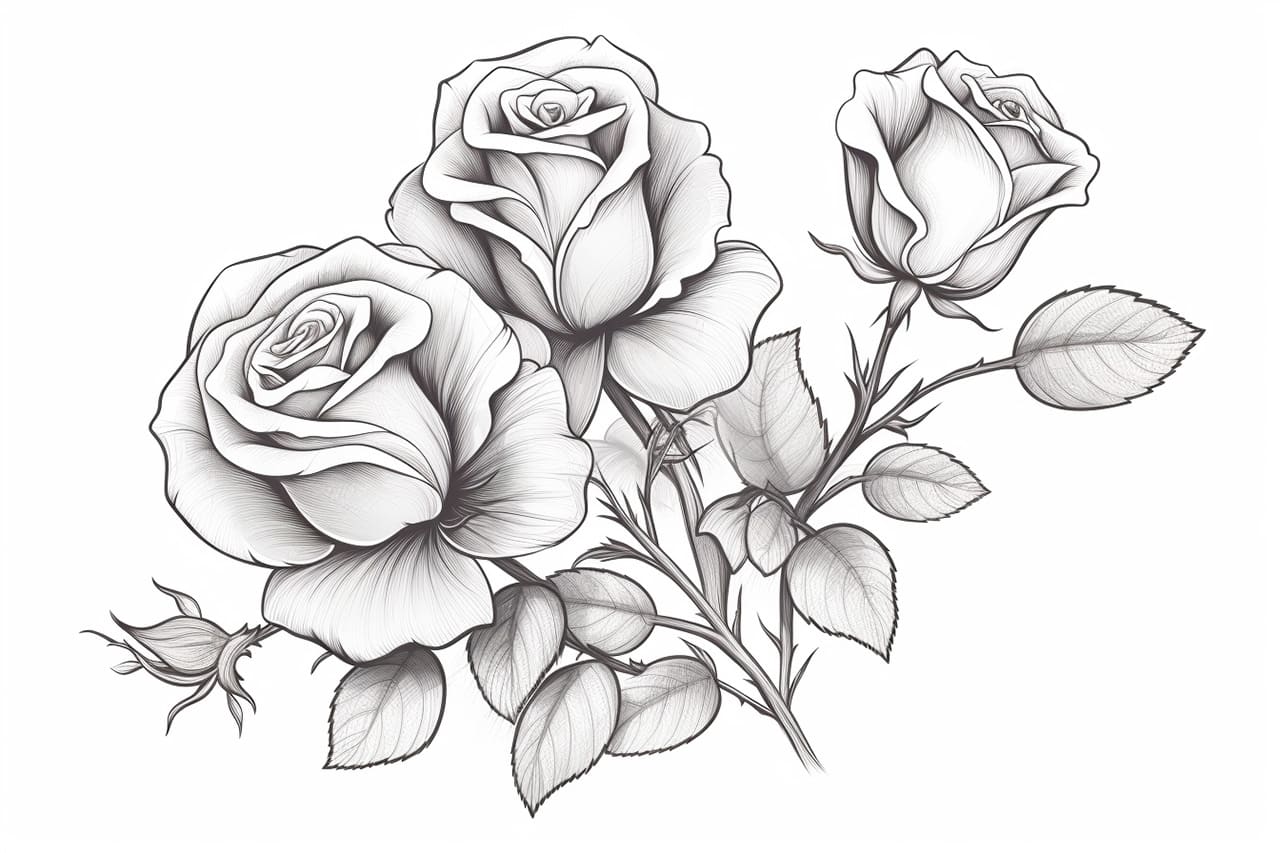
Welcome to this comprehensive step-by-step guide on how to draw a rose bush. Roses have long captured the hearts of artists, symbolizing beauty and romance throughout history. Whether you’re picking up a pencil for the first time or you’re a seasoned artist looking to refine your technique, this tutorial is designed to help you unlock your creativity and bring a beautiful rose bush to life on paper.
In this guide, we will walk you through the process from beginning to end, making it accessible for everyone regardless of skill level. You’ll learn not just how to sketch the various components, from delicate petals to lush leaves but also how to add depth and character to your artwork. So, gather your materials, find a comfortable workspace, and let’s embark on this artistic journey together.
As you dive into this project, remember that drawing is not just about achieving an exact replica of the subject; it’s about expressing your artistic vision and enjoying the process. Each stroke of your pencil contributes to a unique creation, reflecting your interpretation of this classic floral arrangement. Are you ready to get started? Let’s bring that rose bush to life!
Materials Required:
To complete this drawing, you will need the following materials:
- Pencil: Choose a graphite pencil with a medium hardness, such as a 2B or HB, for sketching and shading.
- Eraser: Use a kneaded eraser or a soft plastic eraser for precise corrections.
- Sketchbook or Paper: Select a smooth surface paper or a dedicated sketchbook that can handle pencil work.
- Reference Image: Find a clear and detailed reference photo of a rose bush to guide your drawing.
Now that you have your materials ready, let’s begin the drawing process.
Step 1: Basic Sketch
Start by lightly sketching the basic shape of the rose bush on your paper. Use simple curved lines to outline the general form, making sure to capture the overall height and width of the bush.
Step 2: Main Stems and Branches
Next, draw the main stems and branches of the rose bush. Use slightly thicker lines to emphasize their importance. Pay attention to the angle and direction of each branch, as well as the space between them. Remember, roses tend to have twisting and intertwining branches, so make your lines slightly irregular to add realism.
Step 3: Leaves
Now, let’s focus on adding the leaves to the rose bush. Start by drawing the larger leaves first, using a series of curved lines connected to each stem or branch. Vary the size and shape of the leaves to create visual interest. Pay attention to the serrated edges of the leaves and their positioning along the branches.
Step 4: Rose Buds
In this step, we will draw the rose buds that will eventually bloom into beautiful flowers. Sketch small ovals or circles at the end of certain branches to represent the buds. Position them at different stages of development to create a natural look.
Step 5: Flowers
Now it’s time to draw the roses themselves. Roses have a distinct petal arrangement, so observe your reference photo. Start by sketching the outer petals, working your way inward towards the center. Use curved lines to represent the delicacy and softness of the petals.
Step 6: Details and Shadows
To bring your rose bush to life, it’s important to add details and shading. Pay attention to the folds and creases of the petals, as well as the texture of the leaves. Use your pencil to add subtle shading and highlights to create depth and dimension. Study the light source in your reference photo to determine where the shadows fall and add shading accordingly.
Step 7: Background
To complete your drawing, consider adding a simple background. You can lightly sketch some grass, shrubbery, or other elements that complement the rose bush. Keep the background relatively simple, so as not to detract from the main subject.
Congratulations! You have successfully drawn a beautiful rose bush. Take a moment to review your work and make any necessary adjustments or refinements. Remember, practice is key to improving your drawing skills, so don’t be discouraged if your first attempt doesn’t turn out exactly as expected.
Conclusion
Drawing a rose bush can be a rewarding experience that allows you to capture the beauty and elegance of this timeless flower. By following the step-by-step instructions in this tutorial, you can create a realistic and vibrant drawing that showcases your artistic talent. Remember to be patient with yourself and have fun throughout the process. So, pick up your pencil and start drawing your very own rose bush today!
Fun Facts About Rose Bushes
- Rose bushes are among the oldest cultivated plants, with evidence showing they were grown in gardens more than 5,000 years ago in ancient China and the Middle East.
- There are over 300 species of roses and thousands of cultivated varieties, ranging from tiny ground covers to sprawling climbing bushes.
- Roses are known for their beauty and fragrance, but they also grow sharp thorns (technically called “prickles”) to protect themselves from animals.
- Each rose color has its own symbolism—red for love, white for purity, yellow for friendship, pink for admiration, and even blue for mystery.
- Some rose bushes, like climbing roses, can stretch up to 20 feet high, covering trellises, walls, and even old trees in a cascade of blooms.
- The “rose hip” is the fruit of the rose plant, and it’s packed with vitamin C—historically used for teas, jams, and even medicinal remedies.
- In literature and mythology, roses symbolize everything from beauty and romance to secrecy and mystery (think “sub rosa” — under the rose).
- The world’s largest rose bush, located in Tombstone, Arizona, is over 9,000 square feet in size and blooms with thousands of white flowers each spring.
- Roses have even made it into space! In 2002, a miniature rose called “Overnight Scentsation” was sent into orbit to study the effects of microgravity on scent production.
- Rose bushes often inspire themes of love, resilience, and transformation—after all, a plant that blooms so beautifully while guarding itself with thorns has plenty of poetic power.
Suggestions for Scenes and Settings for Rose Bush Drawings
- Secret Garden Archway: Draw a stone or wrought iron arch draped with blooming rose bushes, leading into a hidden, sun-dappled garden.
- Fairy Tale Hedge: Illustrate a thick, magical rose hedge with thorns and blooms intertwined, hiding a sleeping castle beyond.
- Cottage Garden Charm: Create a cozy scene with a whitewashed cottage, its walls half-covered by climbing rose bushes in full bloom.
- Stormy Rose Bush: Depict a wild, windswept rose bush, petals scattering into the wind under a dark and dramatic sky.
- Enchanted Midnight Roses: Imagine a glowing rose bush under a full moon, with silver-lit petals and tiny moths fluttering nearby.
- Victorian Greenhouse: Draw a lush greenhouse filled with rose bushes in pots, ornate watering cans, and steamy glass panels fogging up in the sunlight.
- Butterfly Gathering: Picture a rose bush surrounded by colorful butterflies and hummingbirds, feasting on the nectar of open blooms.
- Desert Rose Garden: Show a rose bush flourishing in a surprising place—like an oasis in a sandy landscape, with a few hardy blooms pushing through.
- Old Garden Wall: Create a scene where a crumbling stone wall is being overtaken by a wild, thorny rose bush with both beauty and stubborn strength.
- Magical Bloom Explosion: For a fantasy twist, draw a rose bush whose blooms are oversized, sparkling, or even glowing with enchanted colors beyond the usual reds and pinks.


