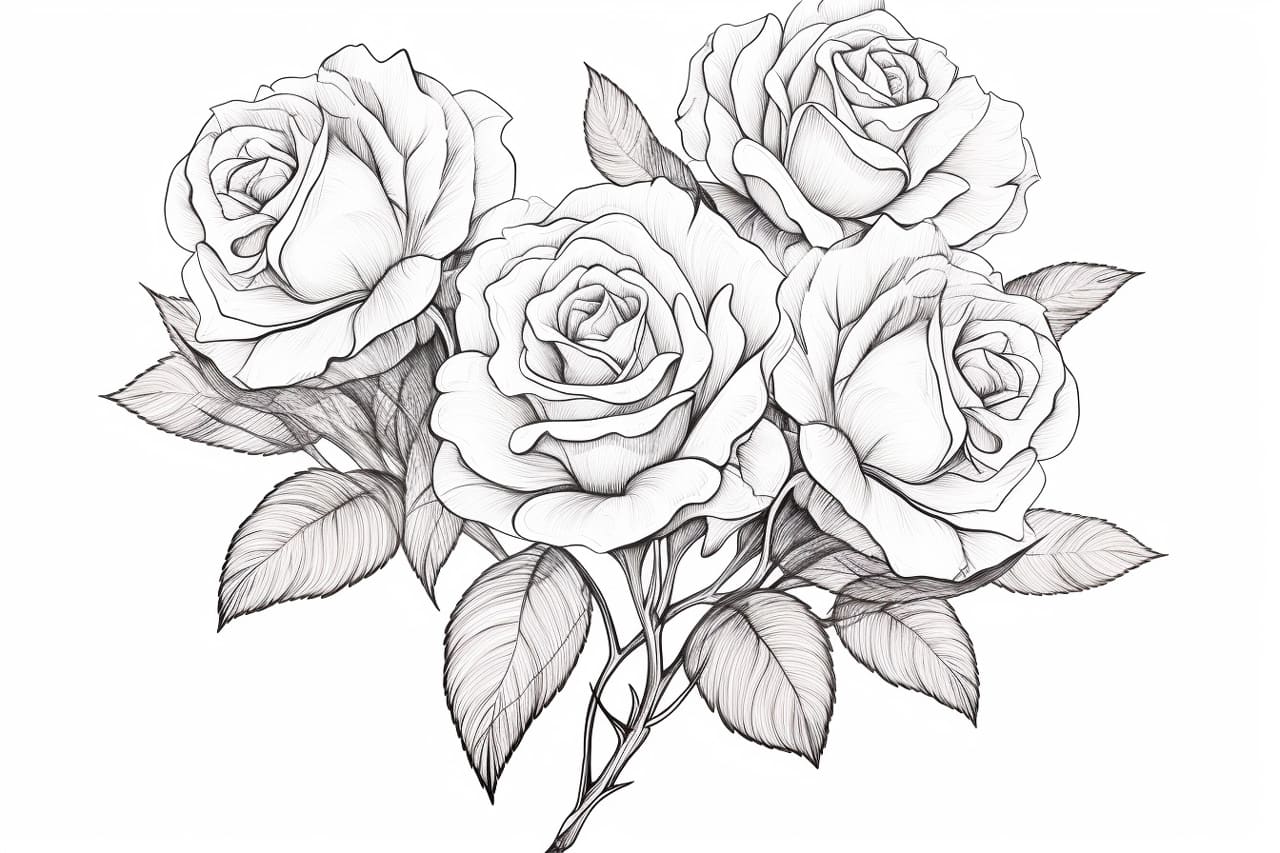
Roses are beautiful flowers that are often given as gifts on special occasions. They come in a variety of colors, such as red, pink, yellow, and white, and they symbolize love, beauty, and passion. If you want to capture the elegance and charm of a bouquet of roses on paper, this step-by-step guide will show you how to draw a stunning arrangement. Whether you are a beginner or an experienced artist, follow these instructions to create a realistic and captivating drawing of a bouquet of roses.
Materials Required
To complete this drawing, you will need the following materials:
- Drawing paper (any size or type)
- Pencil
- Eraser
- Fine tip black pen or marker
- Colored pencils or markers (optional)
- Reference image of a bouquet of roses (optional)
Step 1: Start with Basic Shapes
Begin by lightly sketching the outline of the bouquet using basic shapes. Draw a small circle in the center for the main rosebud, and then add larger circles around it for the other roses. Use oval shapes for the rose petals, and add small circles or dots for the centers of the flowers. Remember to keep your lines light and loose for easy erasing and adjustments later on.
Step 2: Refine the Shape of the Roses
Next, start shaping the roses by adding more detail to the outline. Use curved lines to define the outer edges of the petals, and add gentle curves to suggest the opening of the rosebuds. Make sure to vary the shape and size of the petals to create a more natural and realistic appearance. Take your time, and don’t worry about making it perfect on the first try.
Step 3: Add Details to the Petals
Now, it’s time to add more detail to the rose petals. Start by sketching small lines or curves inside the petals to indicate their texture and veins. Pay attention to the direction of the lines, as they should follow the contour of each petal. Use light, short strokes to create a delicate and soft effect. Take a step back from your drawing every now and then to assess your progress and make any necessary adjustments.
Step 4: Define the Stem and Leaves
Moving on to the stem and leaves, draw a long, curved line extending from the bottom of the roses. Add smaller branches with leaf shapes along the stem. Each leaf should have a pointed tip and a wavy edge. Remember to vary the size and position of the leaves for visual interest. Keep your lines light and simple for now, as you will add more detail later.
Step 5: Refine the Stem and Leaves
Now, go back and add more detail to the stem and leaves. Start by defining the shape and texture of the stem using curved lines. Add some thorns along the stem by drawing small spikes protruding from the sides. For the leaves, draw curved lines to represent the veins, and use short, curved strokes to add texture to the surface. Remember to add shadows and highlights to give the stem and leaves a three-dimensional look.
Step 6: Add Depth and Volume to the Roses
To make the roses appear more realistic, it’s important to add depth and volume to them. Start by shading the inner parts of the petals using a darker pencil or marker. Gradually build up the shading by layering more strokes, paying attention to the natural light and shadow areas. Use smooth and even strokes to create a soft and realistic texture. Leave some areas lighter to create highlights, which will add dimension to the roses.
Step 7: Refine the Details
Take a moment to evaluate your drawing and make any necessary adjustments. Look for any areas that may need more shaping or refining. Pay attention to the proportions, curves, and overall balance of the bouquet. Use an eraser to remove any stray lines or smudges, and clean up the drawing as needed. Take your time, as this step is crucial in creating a polished and finished piece of art.
Step 8: Add Color (Optional)
If you prefer to add color to your drawing, now is the time to do so. Use colored pencils or markers to carefully fill in the roses, stem, leaves, and background. Start with lighter shades and gradually build up the colors, paying attention to the subtle variations in hue and saturation. Experiment with blending and layering techniques to achieve a more vibrant and lifelike appearance. Remember to take breaks and step back to assess your progress and make any necessary adjustments.
Conclusion
Drawing a bouquet of roses may seem challenging, but with patience and practice, you can create a stunning and realistic piece of art. By following these step-by-step instructions, you’ll be able to capture the beauty and elegance of roses on paper. Remember to start with basic shapes, refine the details, add depth and volume, and consider adding color if desired. With time and dedication, you’ll be able to create breathtaking drawings of bouquets of roses that will impress your friends and loved ones.


