Drawing snow can be a beautiful and immersive experience. It allows you to capture the serene and delicate nature of this wintry wonder. In this tutorial, we will guide you through the process of how to draw snow step by step. By following these instructions, you can create a realistic and stunning representation of snow in your artwork.
Materials Required
Before we begin, make sure you have the following materials:
- Drawing paper or sketchbook
- Pencil
- Eraser
- White colored pencils or pastels
- Blending tools (cotton swabs or blending stumps)
Now that you have your materials ready, let’s sit down and start drawing snow!
Step 1: Sketch the Basic Shape
Begin by lightly sketching the basic shape of the snow on your drawing paper. You can draw irregular, curvy lines to represent the snow-covered ground or any particular scene you envision. Feel free to experiment with different shapes and sizes to add variety to your drawing.
Step 2: Add Texture with Lines
Next, add texture to your snow by drawing fine, horizontal lines across the surface. These lines will mimic the intricate patterns that form when snow settles. Use a light touch and vary the length and thickness of the lines to create a realistic effect.
Step 3: Create Shadows and Highlights
To give depth to your snow drawing, add shadows and highlights. Snow often reflects the light around it, so determine the direction of your light source and shade the opposite side accordingly. Use a light gray or blue pencil to add shadows, and leave some areas untouched for the highlights. Blend the shading gently to achieve a smooth and natural appearance.
Step 4: Layer with White Colored Pencils or Pastels
Now, layer your drawing with white colored pencils or pastels to enhance the brightness of the snow. Apply light pressure and build up the layers gradually. You can use short, overlapping strokes to create a soft and fluffy texture that resembles snowflakes.
Step 5: Blend and Soften
To achieve a more realistic look, blend the white pigment with blending tools like cotton swabs or blending stumps. Use circular motions to blend the colors smoothly together and soften any harsh lines. This technique will help create a seamless transition between shadows, highlights, and the white snow.
Step 6: Add Details
Once you have established the basic structure and texture of your snow, it’s time to add some finer details. You can use a sharp pencil or a fine-tip pen to draw individual snowflakes or clusters of snow. Keep the details subtle, as snowflakes are small and delicate. Use reference images or observe real snowflakes for inspiration.
Step 7: Create Depth with Background Elements
To further enhance your snow drawing, consider adding background elements like trees, buildings, or mountains. These elements will provide depth and context to your artwork. Remember to make them appear lighter and less detailed compared to the main focus, as distant objects tend to fade into the snowy landscape.
Step 8: Final Touches
Lastly, take a step back and evaluate your drawing. Make any necessary adjustments or add final touches to refine your artwork. Pay attention to the overall composition, balance of light and shadows, and the level of detail. Take your time to ensure you are satisfied with the result.
Conclusion
Drawing snow can be a fulfilling artistic endeavor, allowing you to capture the tranquil beauty of wintertime. By following the step-by-step instructions in this tutorial, you can create realistic snowscapes that capture the essence of snowflakes and snowy landscapes. Remember to experiment, observe real snow, and have fun with your drawings. Happy sketching!
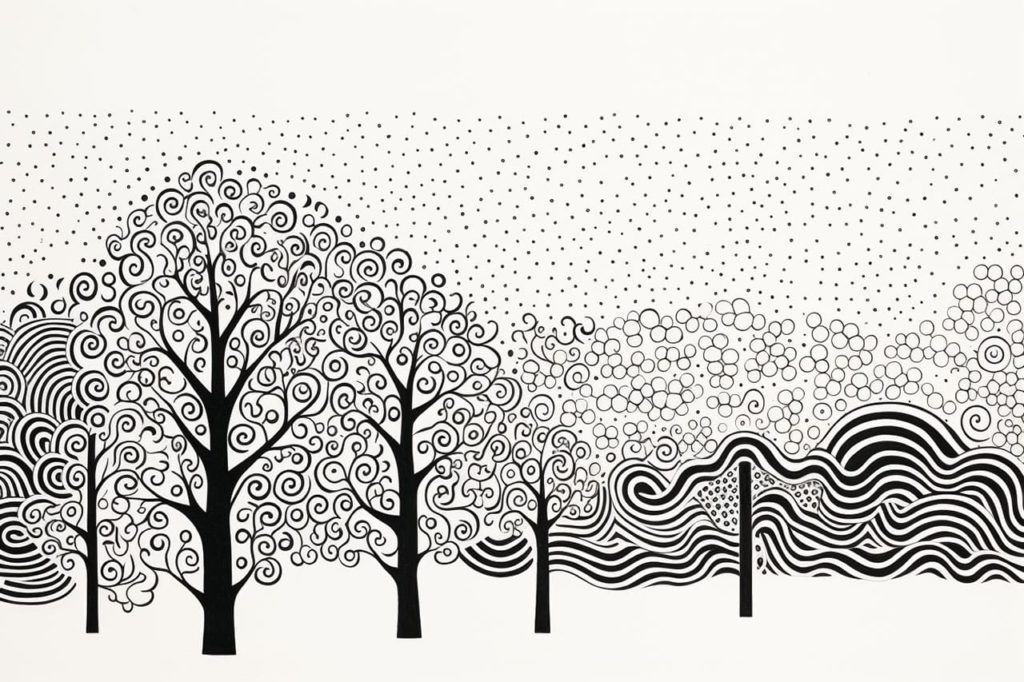
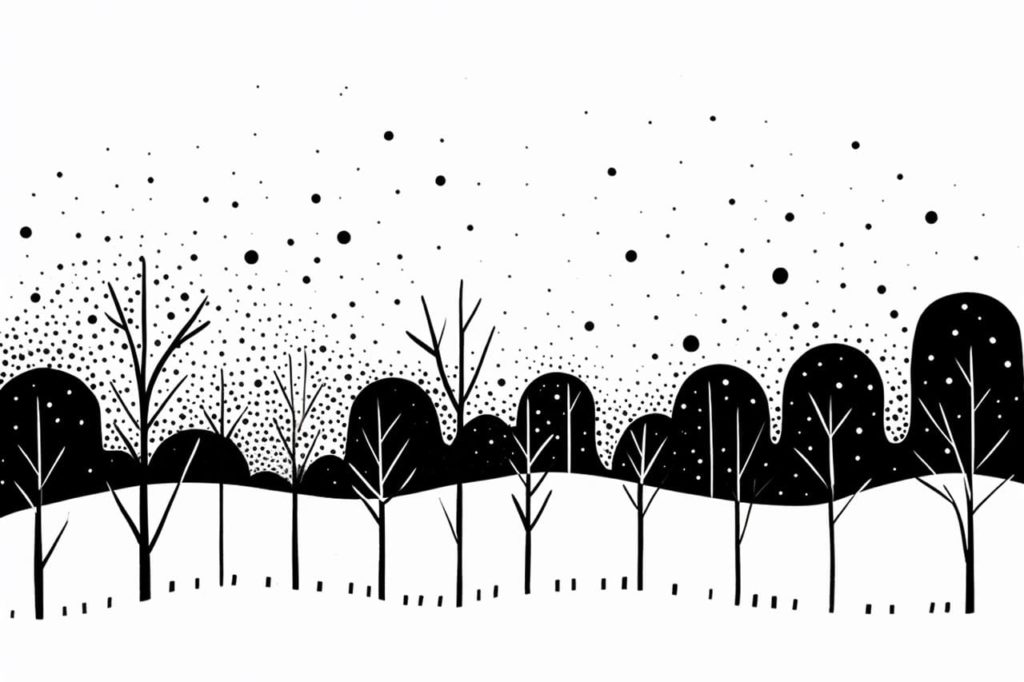
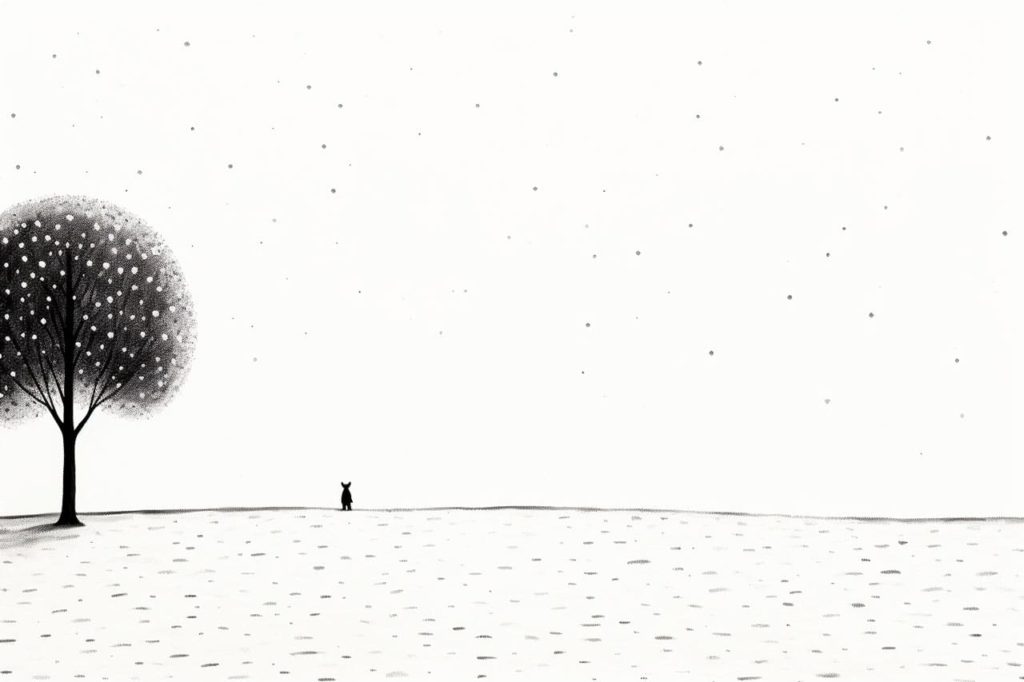
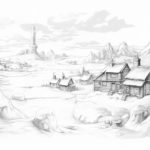
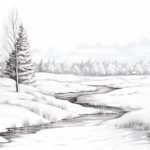
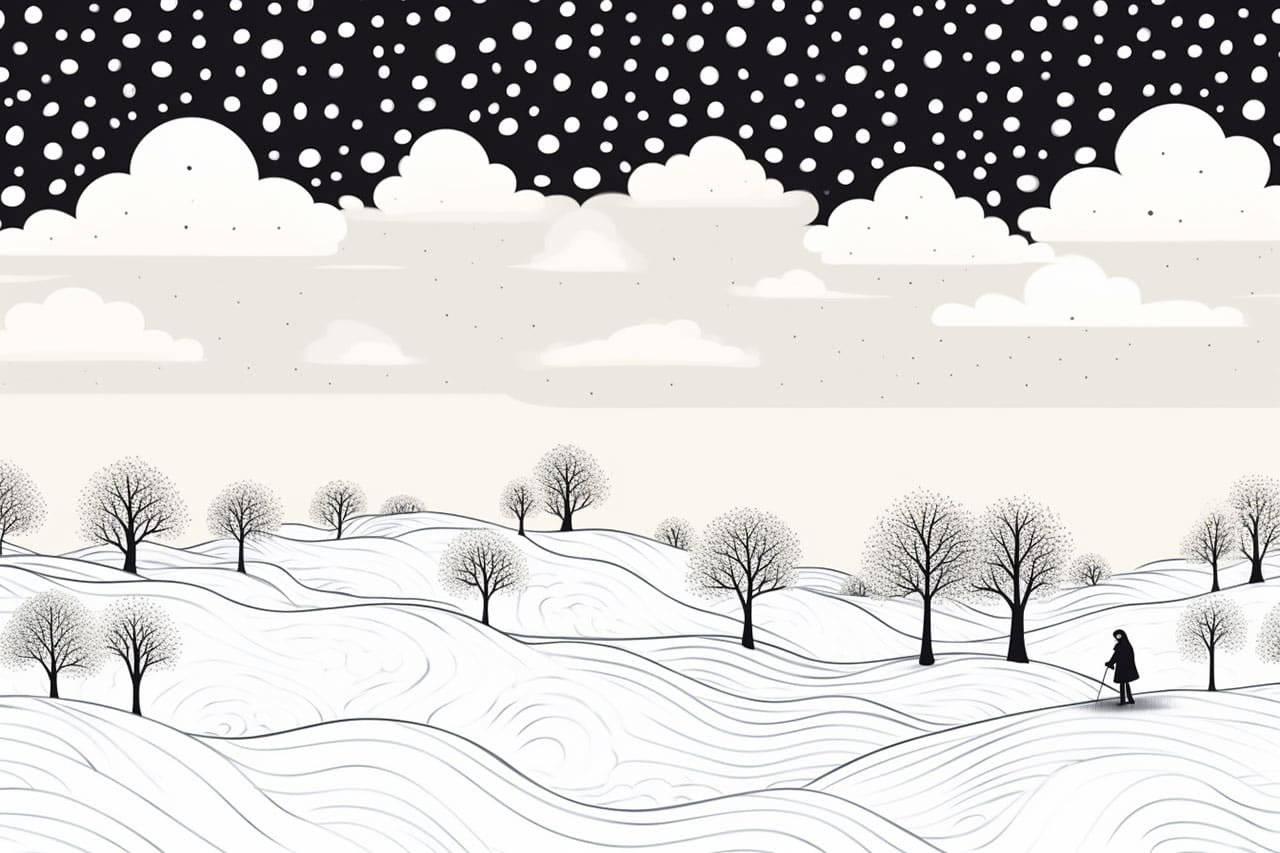
Gallery of Snow Drawings