Glaciers are majestic natural wonders, and capturing their beauty on paper can be a rewarding artistic endeavor. In this step-by-step guide, you will learn how to draw a glacier using simple techniques and basic materials. Whether you are a beginner or an experienced artist, get ready to bring the chilly grace of a glacier to life on your canvas.
Materials Required:
Before we begin, gather the following materials:
- Drawing paper or sketchbook
- Pencil (preferably HB to 2B range)
- Eraser
- Tortillon or blending stump
- Charcoal pencil (optional)
- Soft pastels or colored pencils (optional)
Now that you have all the necessary materials, let’s dive into the steps of creating your very own glacier drawing!
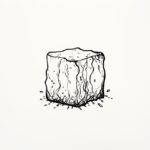
Step 1: Sketching the Outline
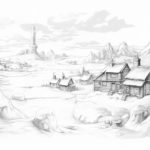
Start by lightly sketching the basic outline of the glacier using a pencil. Observe reference images to get an idea of the shape and structure of glaciers. Remember, glaciers are typically massive, slow-moving bodies of ice, so focus on capturing their grandeur and natural formations.
Step 2: Adding Detail
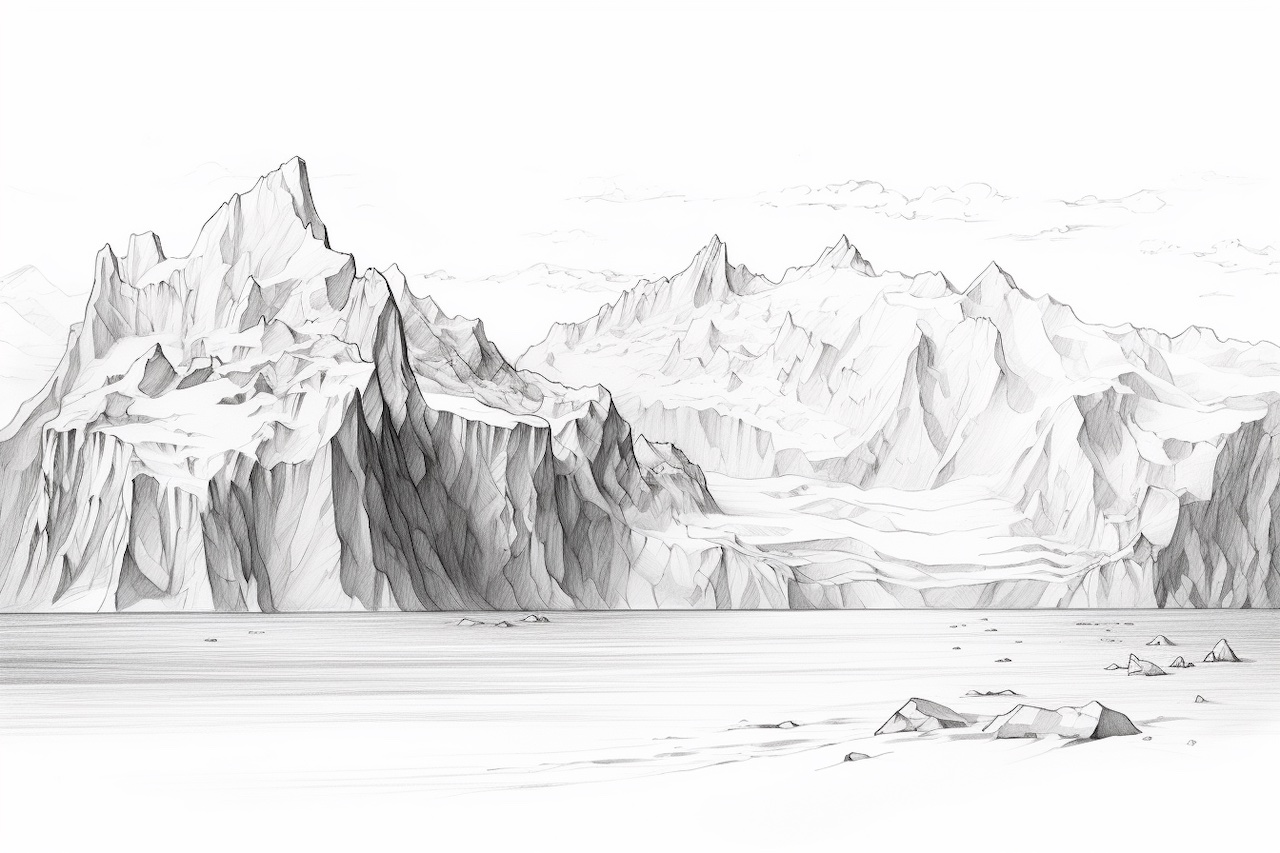
Once you have the basic outline, start adding more details to your drawing. Pay attention to the crevasses, cracks, and rugged edges that give glaciers their distinctive look. Use light, gentle pencil strokes to give depth and texture to your glacier. Remember to take your time and be patient with this step, as it sets the foundation for the rest of your drawing.
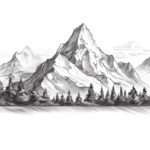
Step 3: Shading and Blending
Now it’s time to bring your glacier to life by adding shading. Start by identifying the light source in your drawing, which will determine the areas of highlights and shadows. Shade the darker areas with slightly heavier pencil strokes, gradually transitioning to lighter strokes as you move towards the highlighted areas. Use a tortillon or blending stump to blend the shading for a smoother and more realistic appearance.
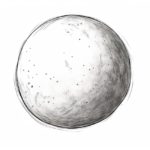
Step 4: Enhancing Textures
Glaciers have unique textures caused by the presence of ice, snow, and rocks. Use your pencil to add subtle lines, dots, and dashes to mimic the texture of the ice. This step adds depth and realism to your drawing. Take your time and experiment with different pencil pressures and strokes to create a variety of textures.
Step 5: Optional: Adding Charcoal or Additional Mediums
If you want to experiment further, you can add depth and contrast to your drawing by using a charcoal pencil. Charcoal adds a darker range of values and can enhance the dramatic effect of your glacier. Additionally, you can also use soft pastels or colored pencils to add color to your drawing. Carefully select cool shades of blues and grays to capture the icy essence of the glacier.
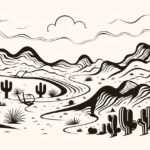
Step 6: Final Touches
Evaluate your drawing and make any necessary adjustments. Add finer details, refine the shading, and smoothen any areas that need it. Take a step back and observe your drawing from a distance to ensure a coherent and balanced composition. Once you are satisfied with the final result, you can consider signing your artwork to make it uniquely yours.
Conclusion
Drawing a glacier may seem like a daunting task, but with the right techniques and a bit of practice, you can capture the majestic beauty of these natural wonders. Remember to start with a sketch, add details and textures, and bring your drawing to life with shading and blending. Don’t be afraid to experiment with different mediums to enhance the realism and visual impact of your artwork. So grab your materials, let your creativity flow, and enjoy the process of creating your own stunning glacier drawing.