The night sky has always been a source of wonder and inspiration for artists. Capturing the beauty and mystique of the stars, moon, and galaxies can be a challenging yet rewarding endeavor. In this step-by-step guide, I will walk you through the process of how to draw a night sky, from creating a background to adding intricate details. So grab your drawing materials and let’s get started!
Materials Required
Before we begin, make sure you have the following materials:
- Drawing paper
- Pencil or graphite stick
- Eraser
- Soft pastels (various shades of blue, black, and purple)
- Chalk pastels (white and yellow)
- Blending tools (cotton swabs, tissue paper, or blending stumps)
Step 1: Prepare your drawing surface
Start by choosing a smooth drawing paper. A heavyweight paper will work best as it can withstand the blending of pastels. You can use any size paper you prefer, depending on how big you want your night sky to be. Make sure the paper is clean and free from smudges or marks.
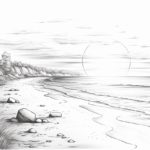
Step 2: Sketch the horizon line
Using a pencil or graphite stick, lightly sketch a horizontal line across your paper to represent the horizon. This line will serve as a guide for placing the elements in your night sky drawing.
Step 3: Create the background
Using soft pastels, begin by applying light strokes of blue, starting from the top of the paper and gradually transitioning to darker shades as you move towards the bottom. Experiment with different shades of blue, purple, and even a touch of black to create depth and dimension.
Step 4: Add stars and galaxies
To create a starry night sky, use a white chalk pastel or a white pencil to draw small dots randomly across the dark background. Vary the sizes and intensities of the dots to give the impression of stars at different distances. You can also smudge the dots slightly with your finger or a blending tool to create a subtle glow.
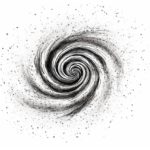
For a more dramatic effect, add clusters of stars or galaxies using a white or yellow chalk pastel. These clusters can be scattered across the sky, following the natural curves and shapes you see in pictures of real night skies.
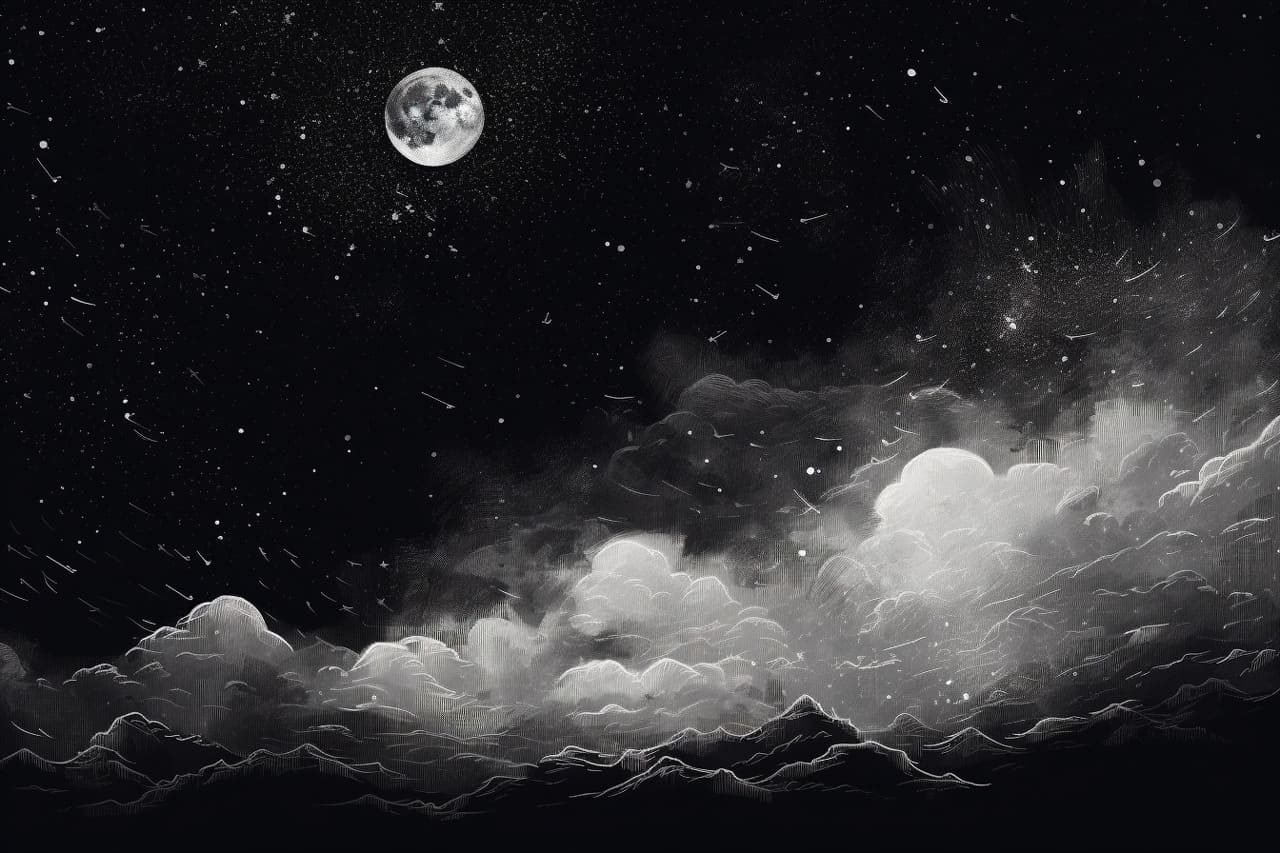
Step 5: Incorporate the moon or other celestial objects
If you wish to include the moon in your drawing, lightly sketch its shape using a pencil. Then, blend in shades of gray, white, and even a hint of yellow to give it a three-dimensional appearance. Use blending tools to soften the edges and create a smooth transition between the moon and the surrounding sky.
Alternatively, you can add other celestial objects such as planets, comets, or even a shooting star. Draw these objects using a combination of colors and shapes that stand out against the dark background.
Step 6: Enhance the details
To add depth and dimension to your night sky, experiment with different blending techniques. You can use a cotton swab or a blending stump to softly blend the pastel colors together, creating a seamless transition between shades. You can also use tissue paper to gently smudge and soften certain areas, such as the glow around the moon or the edges of the stars.
Step 7: Final touches
Take a step back and evaluate your drawing. Look for any areas that need refinement or additional details. You can use a kneaded eraser to lift or lighten certain areas if needed. Pay attention to the overall balance and composition of your night sky, making sure that the elements are harmoniously arranged.
Conclusion
Drawing a night sky allows us to explore the vastness of the universe and tap into our imagination. By following these step-by-step instructions, you can create your own mesmerizing night sky artwork. Remember to experiment with different colors, blending techniques, and celestial objects to make your drawing unique. So grab your drawing materials and let your creativity soar under the starry night sky!