If you’ve ever wanted to capture the beauty and wonder of the North Pole in a drawing, you’re in luck! I’ll show you how to create your North Pole drawing in this step-by-step guide. Whether you’re an experienced artist or just starting, these instructions will help you create a masterpiece. So grab your art supplies and let’s get started with learning how to draw the North Pole!
Materials Required
Before we begin, here is a list of materials you’ll need for this drawing:
- Paper: Use a good-quality drawing paper suitable for your chosen medium.
- Pencils: A range of graphite pencils with different hardness levels (HB, 2B, 4B, 6B).
- Erasers: A kneaded eraser for lightening and correcting, and a vinyl or rubber eraser for more precise erasing.
- Charcoal: Optional, but can add depth and texture to your drawing.
- Colored pencils: Optional for adding color to your finished drawing.
- Blending tools include blending stumps, tortillions, or even cotton swabs for smoothing and blending.
Now that you have your materials ready let’s dive into the step-by-step instructions for drawing the North Pole.
Step 1: Sketch the Horizon Line
Start by drawing a light horizontal line across your paper, about one-third up from the bottom. This line will serve as the horizon, where the sky and the ground meet.
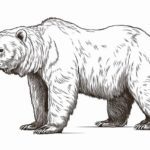
Step 2: Outline the Polar Bear
Next, sketch the outline of a polar bear in the foreground using a light pencil. Start with a basic round shape for the head, and gradually add the body, legs, and tail. Keep the lines loose and gestural at this stage; we’ll refine them later.
Step 3: Add Details to the Polar Bear
Now it’s time to add some details to your polar bear. Define the face by sketching the eyes, nose, and mouth. Add texture to the fur by using short, curved strokes. Don’t worry about getting it perfect – the goal here is to capture the essence of the polar bear.
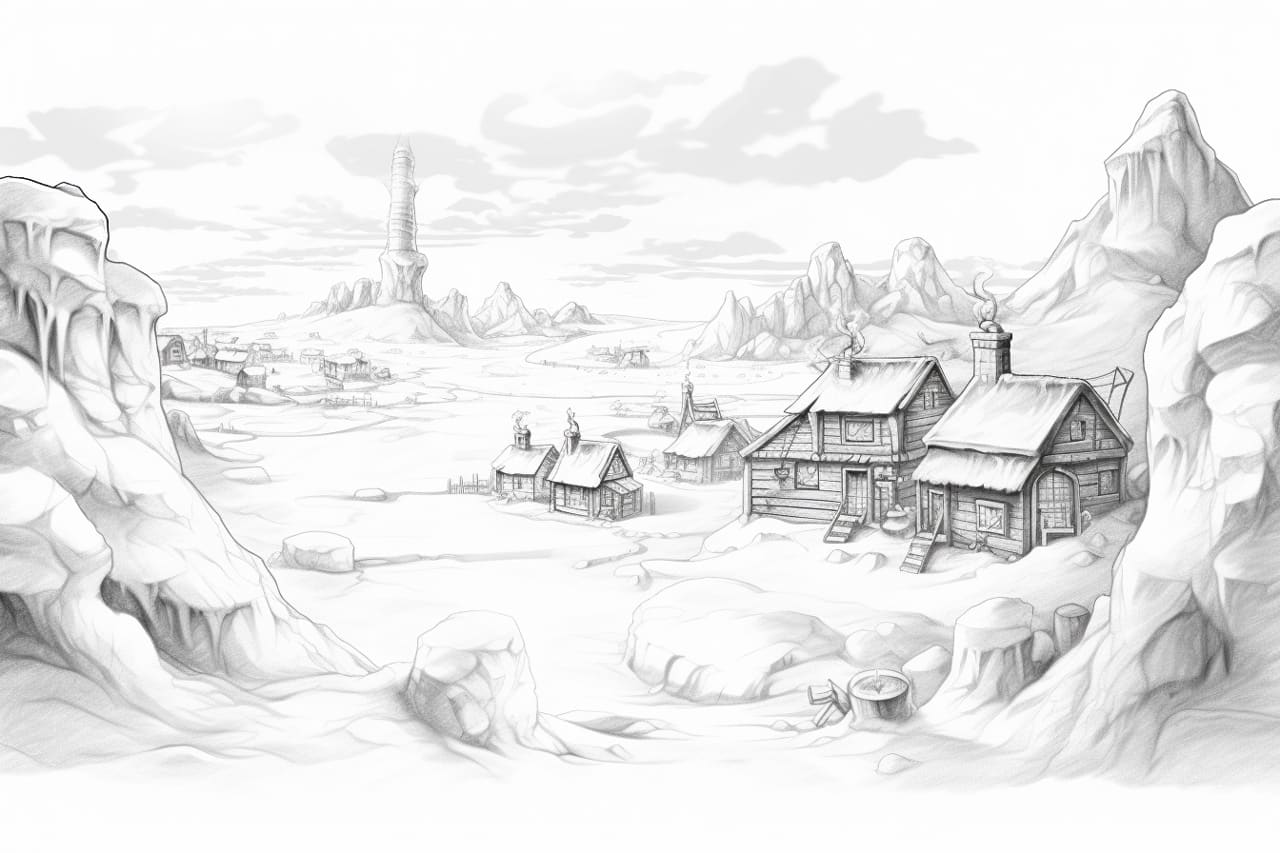
Step 4: Draw the Icebergs
Moving on to the background, start sketching the icebergs. Use larger, angular shapes to represent the different ice formations. Vary the size and position of the icebergs to create visual interest.
Step 5: Add Texture to the Icebergs
To give the icebergs a textured appearance, use short, jagged lines to represent cracks and crevices. Remember, icebergs are formed from frozen water, so think about how the light would reflect off the surfaces.
Step 6: Sketch the Aurora Borealis
One of the most stunning features of the North Pole is the Aurora Borealis or the Northern Lights. To capture this magical phenomenon, use colored pencils or soft pastels to create vibrant, swirling patterns in the sky. Blend the colors for a smooth transition.
Step 7: Add Snow and Shadows
Now, it’s time to bring your drawing to life by adding snow and shadows. Use your pencils to lightly shade the ground with gray and blue tones lightly, indicating snow-covered terrain. Notice how the shadows fall on the icebergs and the polar bear.
Step 8: Refine the Details
Take a step back and assess your drawing so far. Are there any areas that need refinement? Use your pencils to add more definition and detail where necessary. Feel free to experiment and make adjustments as you go.
Step 9: Finalize the Drawing
To finish your North Pole drawing, make any final touches or adjustments. Use your eraser to clean up any stray lines or streaks. Consider adding some highlights to certain areas, like the polar bear’s fur or the icebergs, to make them stand out.
Congratulations! You have successfully drawn the North Pole. Take a moment to admire your work and see how far you’ve come. Whether you leave your drawing in black and white or add colors, your creation will surely capture the beauty and majesty of this extraordinary place.
Conclusion
Drawing the North Pole can be an enriching experience, allowing you to explore your creativity and showcase the wonders of this icy landscape. Following these step-by-step instructions and using the suitable materials can create a stunning portrayal of the North Pole. So grab your pencils, embrace your artistic spirit, and let your imagination take flight!