Welcome to this step-by-step guide on how to draw a human body. Whether you are a beginner or an experienced artist looking to brush up on your skills, this article will provide you with clear and concise instructions to help you create realistic and proportionate figures. So let’s dive in and bring your drawings to life!
Materials Required
Before we start, make sure you have the following materials:
- Drawing paper: Use smooth, heavyweight paper that can withstand erasing and shading.
- Drawing pencils: Get a range of pencils in different hardness grades. HB or 2B pencils are good for sketching, while harder pencils like 2H are useful for lighter lines and details.
- Eraser: Opt for a kneaded eraser to quickly correct mistakes without damaging the paper.
- Sharpener: Keep your pencils sharp for precise lines and details.
- Blending tools: Have a blending stump or tortillon handy for blending and smudging.
Now that you have everything you need, let’s get started on drawing the human body!
Step 1: Basic Proportions
To begin, let’s establish the basic proportions of the human body. Start by drawing a vertical line in the center of your paper, which will serve as the spine. Next, draw a circle at the top of the line to represent the head. The length of the line below the head will determine the height of your figure. Divide this line into eight equal segments, as these will be the reference points for different body parts.
Step 2: Head and Facial Features
Now, let’s focus on the head. Using the circle as a guide, draw the jawline and position the eyes, nose, and mouth within the circle’s boundaries. Pay attention to the placement and size of these features to achieve a realistic look. Remember, everyone’s face is unique, so feel free to add your own artistic touch.
Step 3: Torso and Limbs
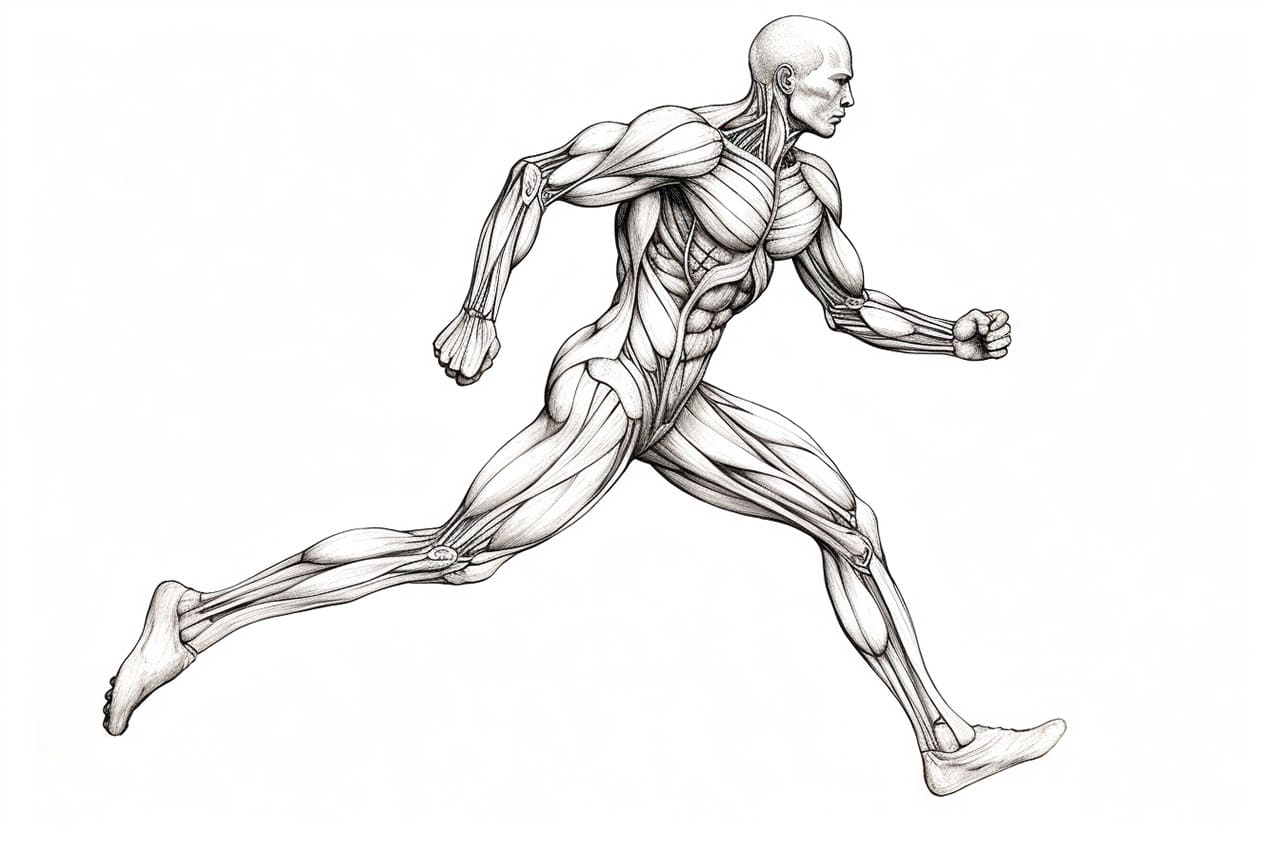
Moving on to the torso, start by sketching the neck and shoulders. From there, draw the ribcage and the basic shape of the torso, considering the underlying anatomy. Add the arms, making sure to establish the correct proportions and pose. For the legs, begin with the hips and then draw the basic shapes of the thighs, calves, and feet. Remember that the legs will determine your figure’s overall balance and stance.
Step 4: Adding Volume and Details
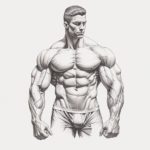
Now that you have the basic structure of the human body, it’s time to add volume and details. Start by refining the outline of the figure, using lighter lines to make corrections and adjustments as needed. Add muscle definition and curves to the body, paying attention to the contour and movement of each body part. Remember to keep the proportions in check and maintain symmetry for a realistic appearance.
Step 5: Shading and Texturing
To bring your drawing to life, it’s essential to add shading and texture. Identify the direction of the light source and shade accordingly, creating areas of light and shadow. Use your pencils to vary the pressure and create different tones, blending and smudging for a smooth and realistic effect. Pay attention to the texture of the skin, clothing, and any other elements you include in your drawing.
Conclusion
Congratulations! You have successfully learned the step-by-step process of drawing a human body. By following these instructions, practicing regularly, and experimenting with different poses and angles, you will continue to improve your skills as an artist. Remember, drawing the human body takes time and patience, so don’t be afraid to make mistakes and keep practicing. Soon enough, you’ll be able to create stunning and lifelike figures in your artwork.