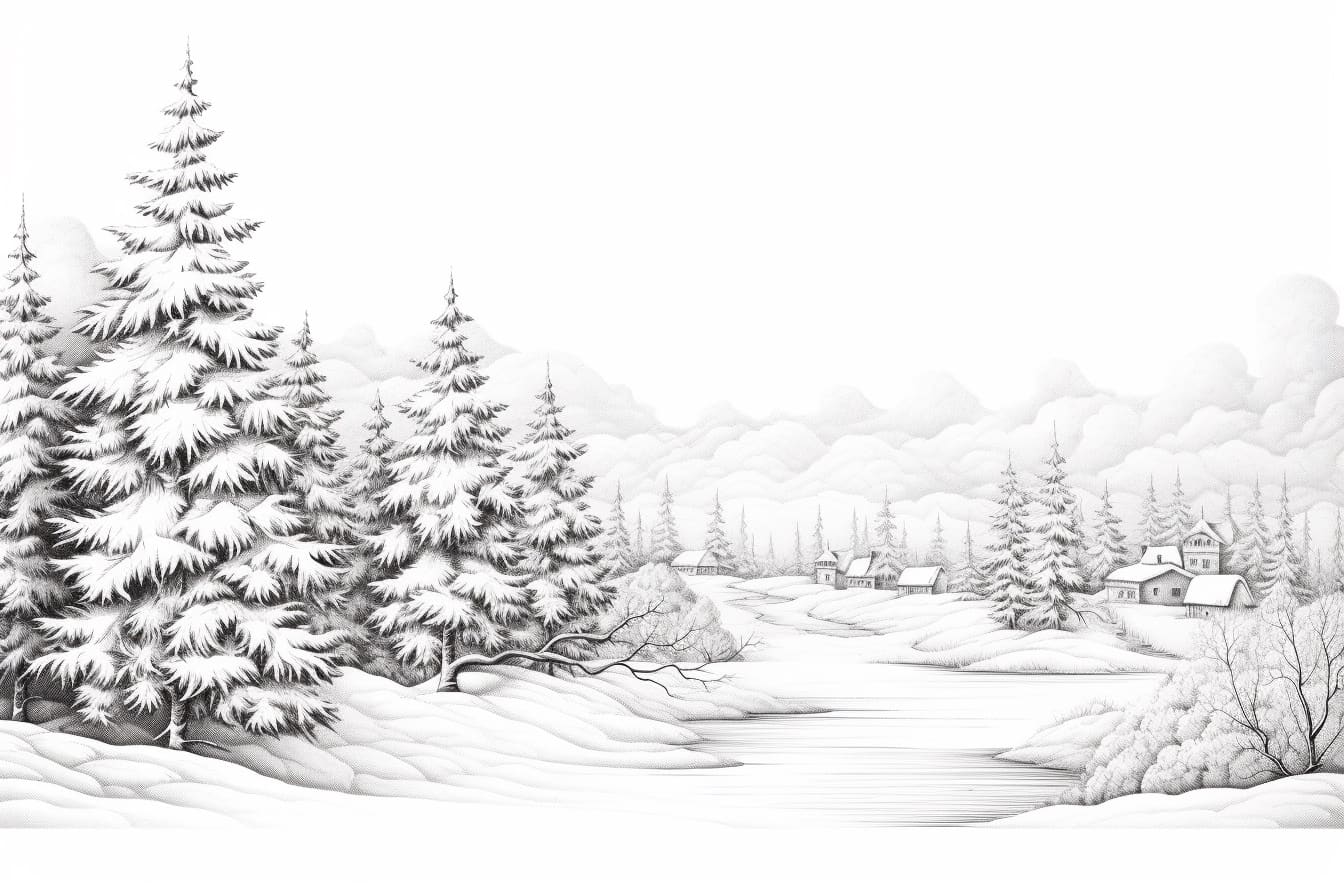
Winter is a magical season, filled with glistening snowflakes, cozy fires, and beautiful landscapes. What better way to capture the beauty of winter than by creating your very own winter wonderland artwork? In this step-by-step guide, I will walk you through the process of how to draw a winter wonderland, from the snow-covered trees to the sparkling snow-covered ground. So grab your pencils and let’s get started!
Materials Required
Before we begin, let’s gather all the materials you will need to create your winter wonderland drawing:
- Drawing paper or sketchbook
- Pencils of varying hardness (HB, 2B, 4B, etc.)
- Eraser
- Drawing compass (optional)
- Ruler
- Colored pencils or markers (optional)
Now that you have your materials ready, let’s dive into the steps of drawing your winter wonderland.
Step 1: Sketch the Horizon Line
Start by sketching a horizontal line near the middle of your drawing paper. This line will represent the horizon. Use a light pencil stroke to create a faint line that you can easily erase later if needed.
Step 2: Add Snowy Hills
To create depth and perspective in your winter wonderland, add a series of curved lines below the horizon line to form the snowy hills. Vary the size and shape of the hills to make your landscape more interesting. Remember to keep the lines light and sketchy for now.
Step 3: Draw Snow-Covered Trees
Now it’s time to add some trees to your winter wonderland. Start by drawing the trunks of the trees using vertical lines that extend from the bottom of the hills. Then, add branches to the trunks by drawing short, curved lines. To make the trees look snow-covered, add small, fluffy shapes to represent snow on the branches.
Step 4: Create Evergreen Trees
To add more variety to your winter wonderland, let’s draw some evergreen trees. Start by drawing a triangular shape for the tree using a series of straight lines. Make the base of the triangle wider than the top to create the illusion of perspective. Add branches to the tree by drawing short lines extending from the trunk. Remember to make the branches shorter and more compact as you move up the tree. Finally, add small circles or ovals to represent snow on the branches.
Step 5: Add Details to the Trees
Now that you have the basic shapes of the trees, let’s add some more details. Draw small lines on the trunks of the trees to represent bark texture. Add some extra branches and twigs to make the trees look more realistic. Don’t forget to add more snow on the branches and around the base of the trees to create a winter wonderland feel.
Step 6: Sketch a Winter Sky
To complete your winter wonderland scene, let’s add a beautiful winter sky. Start by using your ruler to draw a straight line across the top of the paper to represent the top edge of your sky. Then, use your compass or any circular object to draw a large circle near the center of the paper. This circle will be the moon or the sun, depending on your preference. Add some cloud-like shapes around the moon or sun to create a dreamy winter sky.
Step 7: Shade the Landscape
Now it’s time to add shading to your winter wonderland drawing to give it depth and dimension. Use your pencils of varying hardness to create different shades of gray. Start by shading the hills, using lighter strokes at the top and gradually applying more pressure as you move down. Shade the trees by adding darker tones to the trunks and branches and lighter tones to the snow. Remember to add shadows on the snow and the hills to make them appear more three-dimensional.
Step 8: Add Final Details
To bring your winter wonderland to life, add some final details to your drawing. You can use colored pencils or markers to add pops of color to the sky, such as a warm orange or a soft blue. Add more texture to the snow by adding small dots or lines to represent individual snowflakes. You can also use your eraser to create highlights on the snow and the trees, giving them a more realistic and three-dimensional look.
And there you have it – your very own winter wonderland drawing!
Conclusion
Drawing a winter wonderland allows you to capture the beauty and magic of the winter season. By following these step-by-step instructions, you can create stunning artwork that showcases glistening snow, snow-covered trees, and a dreamy winter sky. Remember to have fun and experiment with different techniques and materials to make your drawing unique. So grab your pencils and let your imagination run wild as you bring your winter wonderland to life!

