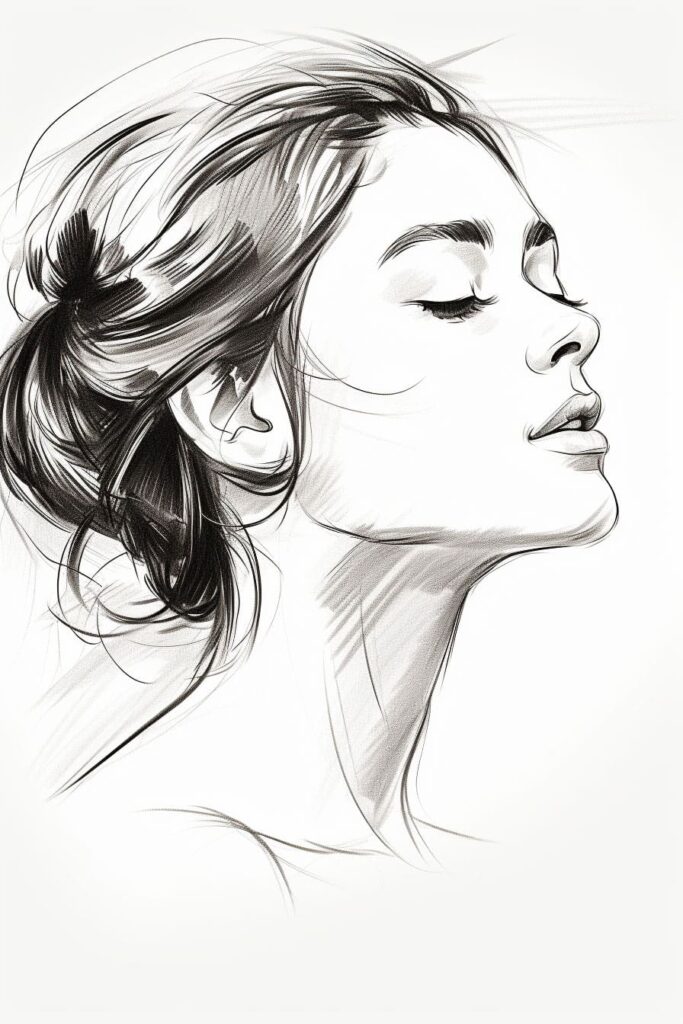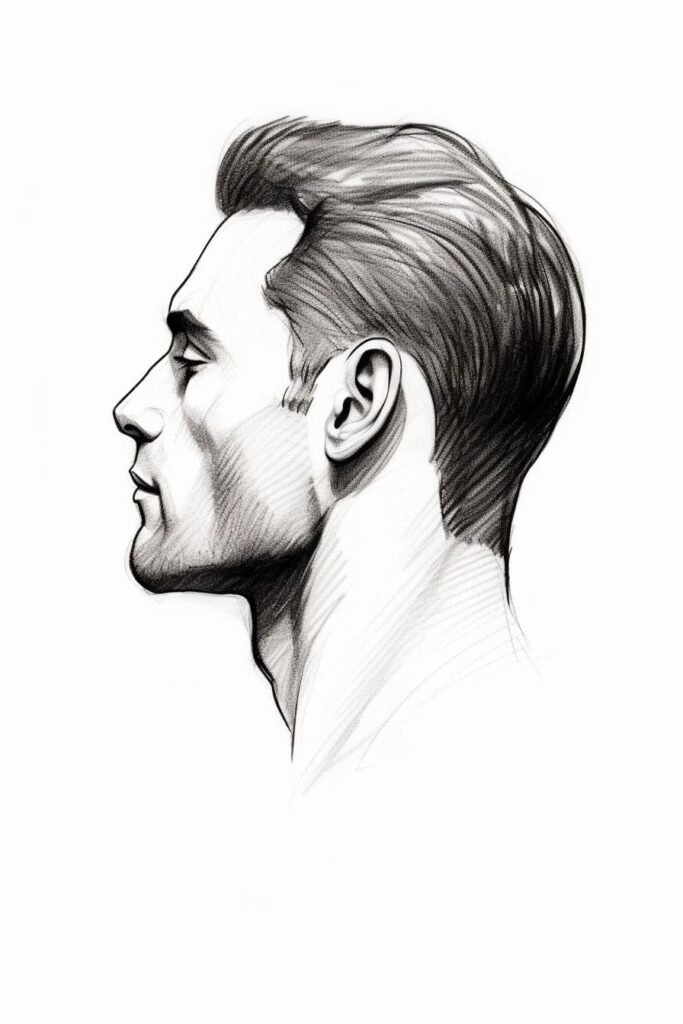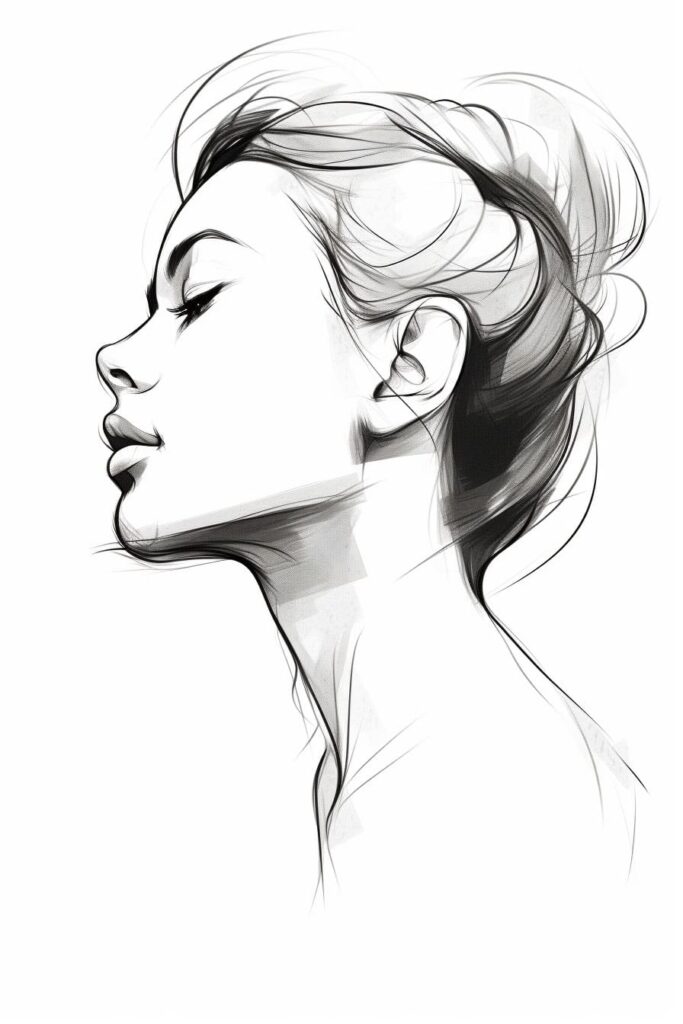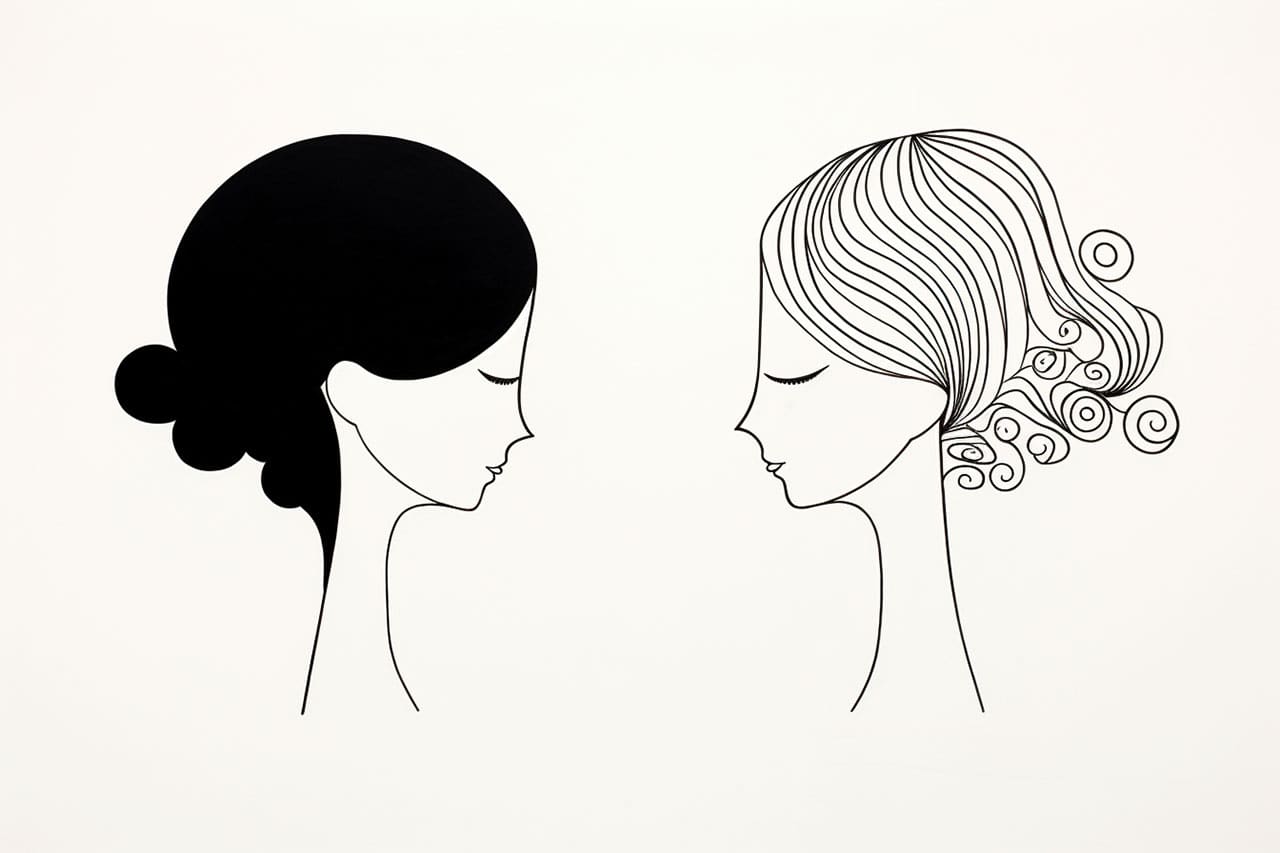
Drawing side profiles can be both a rewarding and challenging skill for artists of all levels. Capturing the unique angles of a face in profile—such as the curve of the nose, the arch of the brow, and the shape of the lips—requires attention to detail and an understanding of facial proportions. Whether you’re a beginner taking your first steps into portrait art or an experienced artist looking to refine your technique, learning how to draw side profiles is an essential skill for any creative toolkit.
In this step-by-step guide, we’ll break down the process into manageable stages, from sketching the basic shapes to refining key details like the jawline and ears. With clear instructions and helpful tips, you’ll gain the confidence to draw lifelike and expressive side profiles.
So grab your pencils, eraser, and sketchbook, and let’s embark on a creative journey to master the art of side profiles and bring your portraits to life!
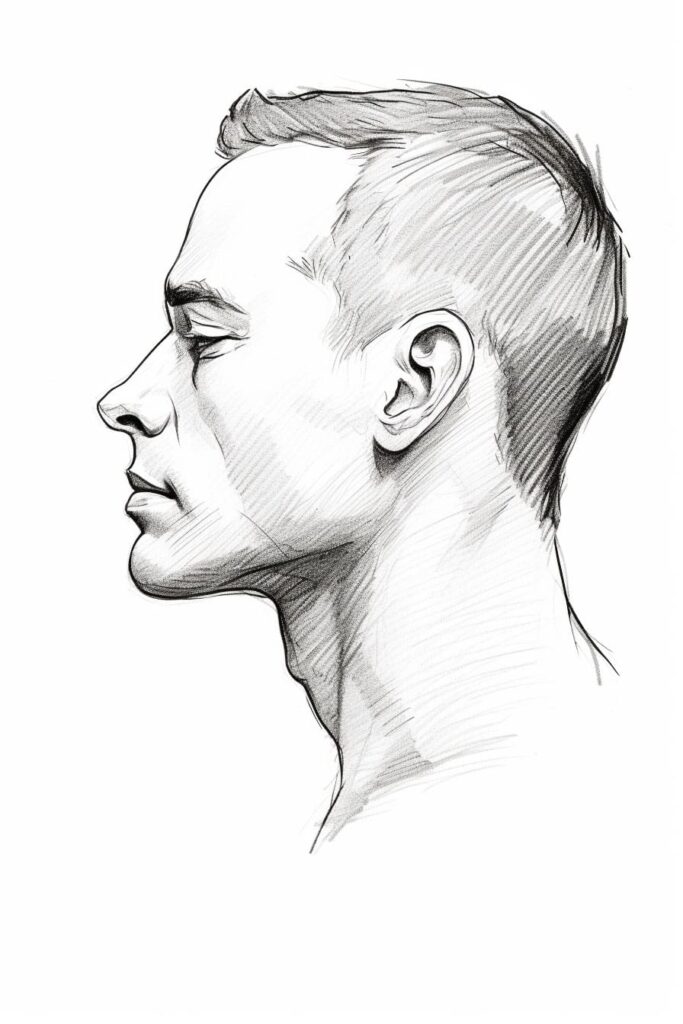
How to Draw Side Profiles Step-by-Step
Step 1: Start with Basic Guidelines
Begin your side profile drawing by creating a foundational framework. Draw a straight horizontal line across your paper—this will act as the baseline for maintaining balance in your drawing. Next, sketch a vertical line intersecting the horizontal line slightly off-center. This vertical line will serve as the face’s axis and help guide facial features’ placement. The intersection of these lines marks where the forehead and nose will meet, setting the stage for accurate proportions.
Step 2: Outline the Shape of the Head
Using the vertical guideline, sketch the overall shape of the head. Start by drawing a curved oval or egg-like shape that tapers slightly at the bottom for the chin. Pay close attention to proportions—avoid making the head too wide or narrow. Add a slight bulge at the back to represent the cranium. Remember, the shape of the head varies depending on the subject’s age, gender, or facial structure, so feel free to adjust your outline accordingly.
Step 3: Depict the Facial Features
Now, let’s bring the face to life by adding the key features:
- Eye: Place the eye along the horizontal guideline, near the vertical axis. In a side profile, the eye appears almond-shaped and slightly tilted. Draw a small curve above for the upper eyelid and a gentle arc below for the lower eyelid.
- Nose: From the intersection of the guidelines, sketch the nose using a series of curved lines. Extend a slight curve outward for the bridge and a more pronounced curve downward for the tip. Add a small bump for the nostril.
- Mouth: Position the mouth just below the nose. Start with a gentle curve for the upper lip, followed by a longer, softer curve for the lower lip. Ensure the lips align proportionally with the nose and chin.
- Ear: Add the ear slightly behind the vertical line, aligned with the eye and the bottom of the nose. Use a soft curve to outline its general shape.
Step 4: Define the Hairline and Jawline
With the features in place, refine the head’s structure by adding the hairline and jawline.
- Hairline: Depending on the hairstyle you’re depicting, draw a soft curve or jagged edges along the forehead to define the hairline. For a clean look, follow the natural contours of the head.
- Jawline: Start at the bottom of the ear and sketch a smooth, angled line that tapers down to meet the chin. Pay attention to the jaw’s sharpness or roundness, as this greatly influences the face’s overall character.
Step 5: Refine and Add Details
Now that the foundation is complete, refine your drawing and begin adding details.
- Erase Unnecessary Guidelines: Carefully remove the initial construction lines, leaving only the essential outlines.
- Enhance Facial Features: Add more definition to the eyes, nose, and lips. Include small lines around the eyelids and nostrils for realism.
- Add Texture: Sketch faint lines for wrinkles, dimples, or other skin textures, especially around the eyes and mouth.
- Shading: Identify a light source and add shadows to areas like under the nose, beneath the chin, and around the eye socket. Use soft pencil strokes to blend shadows and highlights for a three-dimensional effect.
Step 6: Finalize and Add Finishing Touches
Step back and assess your drawing. Are the proportions accurate? Are the features balanced? Make any necessary adjustments to ensure your drawing feels cohesive and lifelike.
Once satisfied, add finishing touches:
- Highlight areas that catch light, such as the forehead, tip of the nose, and cheekbone.
- Enhance the hair with individual strands or texture to make it more dynamic.
- Include background elements, like a soft gradient or abstract design, to complement the side profile.
Conclusion: Mastering Side Profiles
Congratulations! You’ve successfully drawn a side profile, capturing the elegance and unique structure of the human face. While drawing side profiles can seem challenging at first, practice and patience are your best tools for improvement.
By following these steps, you’ve learned how to break down the process into manageable parts, from basic guidelines to detailed shading. Keep experimenting with different angles, expressions, and styles to refine your technique further. So grab your sketchbook, keep practicing, and enjoy the art of bringing profiles to life on paper!
Tip: When drawing side profiles, begin by lightly sketching a simplified oval for the head and a vertical line down the center to establish symmetry. Use this line to position key facial features: the brow line, nose tip, and lip line should align with this guide. To capture the curvature of the face accurately, focus on the proportions—typically, the forehead to chin should be about one and a half times the length of the nose. Don’t hesitate to use reference images to study the angles and lines of different profiles, as this will help you understand how shadows and highlights affect the form. Finally, keep your pencil strokes light in the initial stages so you can easily adjust as needed, and remember, practice makes perfect—each attempt brings you closer to mastering the side profile!
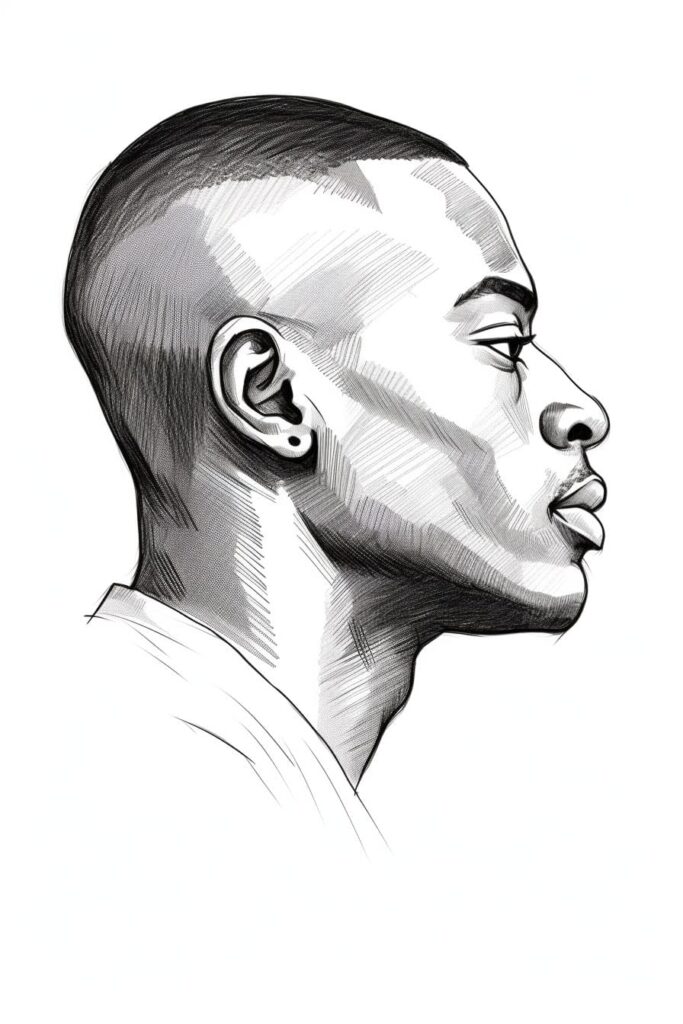
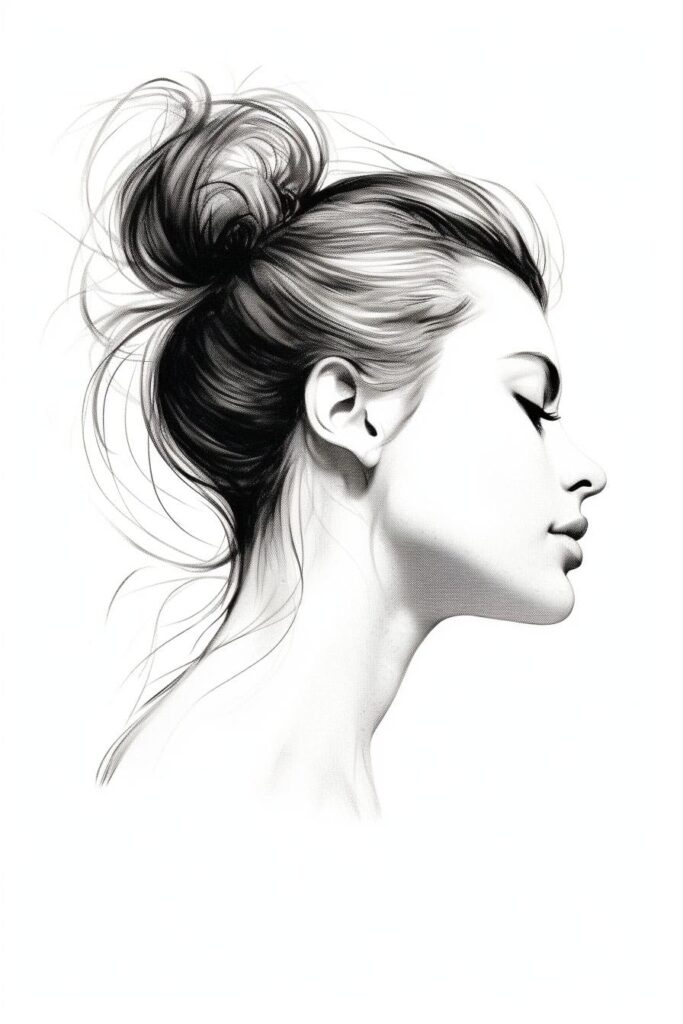
Gallery of Side Profile Drawings
