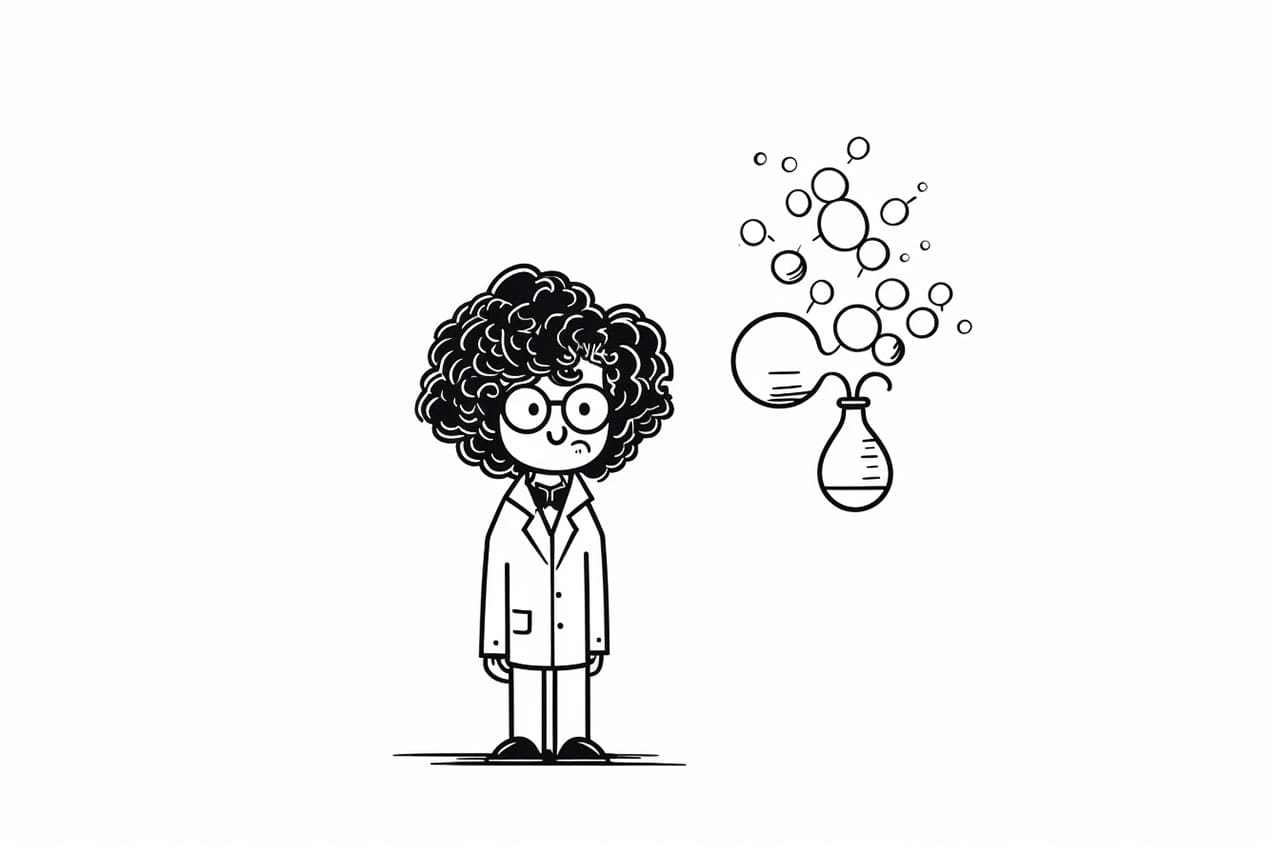
Welcome to this step-by-step guide on how to draw a scientist! Whether you’re a budding artist or just want to try your hand at drawing, this tutorial will help you create a realistic and engaging scientist sketch. By following these simple instructions, you’ll learn basic drawing techniques that will allow you to bring your scientist to life on paper. So grab your sketchbook and let’s get started!
Materials Required:
To draw a scientist, you will need the following materials:
- Pencil
- Eraser
- Drawing paper
- Fine-tip markers or pens (optional)
- Colored pencils or markers (optional)
Now that you have your materials ready, let’s dive into the step-by-step guide.
Step 1: Basic Shape
Start by drawing a large oval shape in the center of your paper. This will be the head of your scientist. Keep it light and loose, as we’ll be adding more details later.
Step 2: Facial Features
Divide the oval into four equal parts using light, horizontal lines. The top line will mark the position of the eyes, the second line will indicate the bottom of the nose, the third line will represent the mouth, and the final line will be the chin.
Step 3: Eyes and Eyebrows
Within the top section of the oval, draw two almond-shaped eyes along the horizontal line. Add a small curve above each eye to create the eyebrows. Experiment with different shapes and angles to bring variation to your scientist’s expression.
Step 4: Nose and Mouth
Place a small triangle shape on the second horizontal line to form the nose. Then, draw a horizontal line slightly curved upwards between the nose and mouth lines to create the mouth. Feel free to add more details like lips or a mustache if desired.
Step 5: Hair and Ears
Add some hair to your scientist by drawing short, sketchy lines or a specific hairstyle around the head. Don’t forget to add ears on each side of the head, starting from the top of the eyes down to the nose line.
Step 6: Lab Coat
Draw the outline of a lab coat around the oval shape, starting from the neck and extending downwards. Include details like buttons or pockets to make it more realistic.
Step 7: Hands and Arms
Sketch in the arms of your scientist by drawing two long, narrow ovals extending from the sides of the lab coat. Add hands at the ends of each arm using simple shapes. Remember to keep the proportions balanced.
Step 8: Legs and Feet
Similar to the arms, draw two long, narrow ovals extending from the bottom of the lab coat for the legs. Sketch in the feet at the bottom of each leg using basic shapes like rectangles or circles.
Step 9: Details
Now that the basic structure of your scientist is complete, it’s time to add some details. Add wrinkles and folds to the lab coat and clothes to give them a realistic texture. You can also add glasses, a tie, or any other accessories you envision your scientist wearing.
Step 10: Shading and Coloring (Optional)
If you’d like to take your drawing to the next level, you can add shading and color. Use your pencil or colored pencils to add shadows and highlights to create depth and dimension. Experiment with different colors to make your scientist pop off the page.
Congratulations! You’ve successfully drawn a scientist. Remember, practice makes perfect, so don’t be discouraged if your first attempt isn’t perfect. Keep practicing and experimenting with different styles and techniques to develop your own unique artistic style.
Conclusion
Drawing a scientist doesn’t have to be intimidating. With the help of this step-by-step guide, you can create a realistic and engaging scientist sketch. Remember to start with the basic shape, add facial features and clothing, and then refine the details. Don’t forget to use shading and color to add depth and make your drawing stand out. So grab your sketchbook, unleash your creativity, and enjoy the process of bringing a scientist to life on paper!


