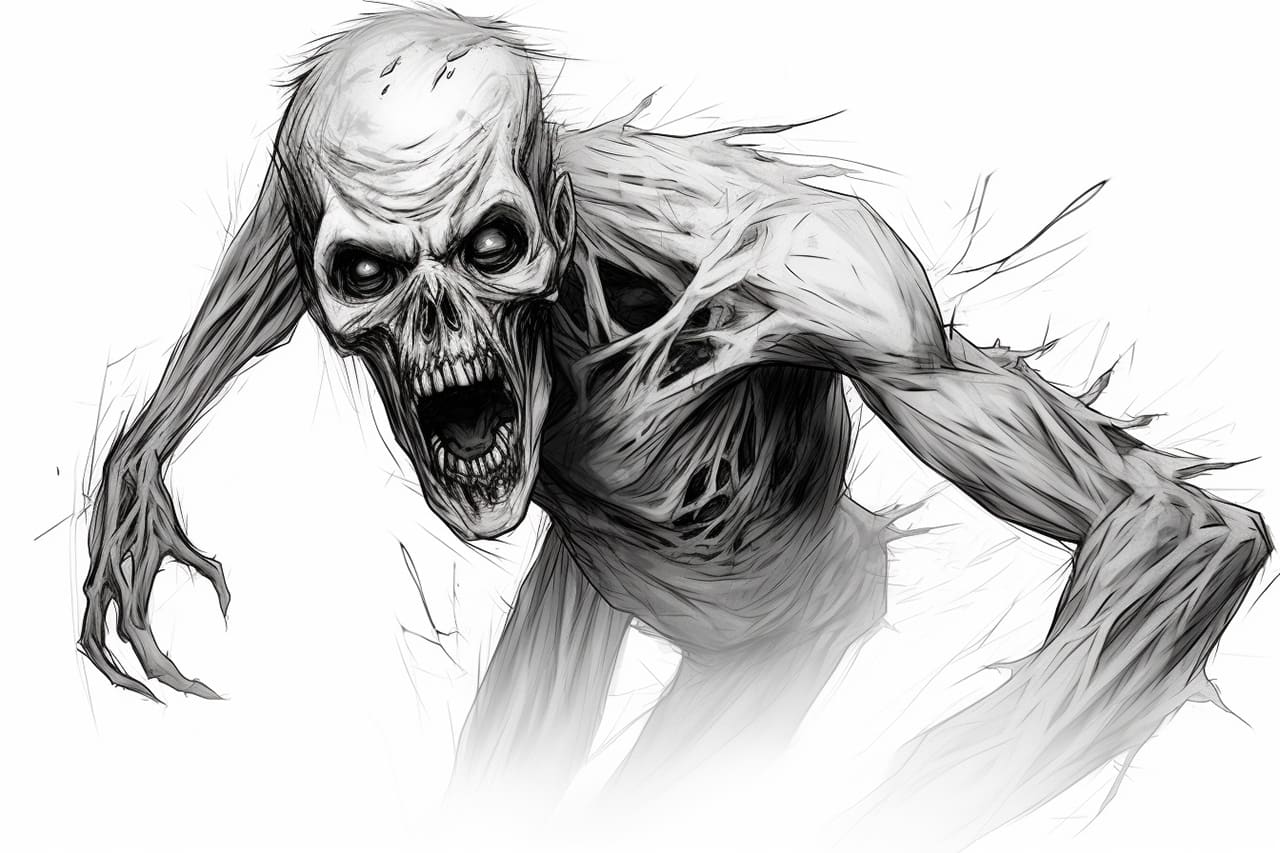
Zombies have become a popular subject in various forms of entertainment, from movies to video games. Drawing a zombie can be a thrilling and creative experience, allowing you to explore the macabre and unleash your artistic skills. In this step-by-step guide, I will walk you through the process of drawing a zombie, from sketching the basic shapes to adding intricate details. Let’s get started!
Materials Required
To embark on this zombie-drawing journey, you will need the following materials:
- Pencil: A medium-soft pencil, such as a 2B or 4B, will free you to create dark lines and easily erase any mistakes.
- Eraser: Choose a kneaded eraser or a soft gum eraser to remove unwanted lines and smudges gently.
- Paper: Opt for a smooth-surfaced paper that can handle pencil shading, such as drawing paper or sketch paper.
- Reference Image: Find a clear reference image of a zombie to help you grasp the facial features and overall appearance.
With these materials at hand, let’s begin drawing our undead creation!
Step 1: Basic Guidelines
Start by lightly sketching a circle to create the head of your zombie. Then, draw a horizontal line across the middle of the circle and another vertical line down the center. These guidelines will assist you in placing the facial features accurately.
Step 2: Facial Features
Next, outline the eye sockets by drawing two oval shapes within the upper area of the circle. Position them slightly above the horizontal guideline. Add another oval below each eye socket to indicate the cheekbones.
For the nose, draw a small triangle protruding from the vertical guideline. Place it between the eye sockets, slightly lower than the horizontal guideline. You can make the triangle asymmetrical or jagged to give your zombie a more menacing look.
Now, let’s tackle the mouth. Sketch a horizontal line on the lower half of the circle, intersecting the vertical guideline. Then, draw a curved line below the horizontal guideline, connecting the two sides of the mouth. Add some uneven, crooked teeth by sketching small triangles along the curved line.
Step 3: Facial Details
To enhance the undead look of your zombie, it’s time to add some details. Begin with the eyes by drawing two small circles within the eye sockets. Leave small space at the bottom of each eye for the iris and pupil.
Next, give your zombie some spooky eyebrows. Draw irregular, messy lines above each eye socket, creating a chaotic and unruly appearance. You can also add some wrinkles and creases on the forehead and around the eyes to emphasize the decaying nature of the zombie.
Step 4: Hair and Ears
To give your zombie some hair, start by sketching rough shapes around the top and sides of the head. Zombies often have disheveled and matted hair, so don’t worry about perfecting the strands at this stage. Add some random lines and texture to imply unkempt hair.
Moving on to the ears, draw two uneven, torn shapes on each side of the head. Make them look ragged and damaged to match the overall zombie aesthetic. For extra detail, you can sketch some exposed skull or flesh within the ear cavities.
Step 5: Neck and Body
Extend two lines downwards from the sides of the head to create the neck. Zombies typically have a hunched and distorted posture, so make the neck slightly bent. Connect the neck to the chest area by drawing a curved line.
For the body, sketch a rough shape beneath the chest. Zombies are often depicted with tattered clothing or exposed bones and organs, so you have the freedom to embrace your imagination and create a suitably macabre design.
Step 6: Shading and Detailing
Now that you’ve sketched the basic structure of your zombie, it’s time to add shading and finer details. Use your pencil to shade areas that should appear darker, such as the eye sockets, beneath the cheekbones, and around the mouth. This shading will give your zombie a more three-dimensional and realistic appearance.
Add texture and depth to the skin by lightly sketching some lines and wrinkles around the face, neck, and exposed body areas. Pay attention to the reference image to ensure your zombie looks appropriately decayed and gruesome.
For a finishing touch, darken the hair and add some texture and shading to make it look more realistic and tangled.
Conclusion
Congratulations, you’ve successfully learned how to draw a zombie! You can create unique and terrifying undead creatures by following these step-by-step instructions and using your imagination. Remember to practice regularly and experiment with different variations to develop your skills further. Now go forth and unleash your monstrous artistic talents!