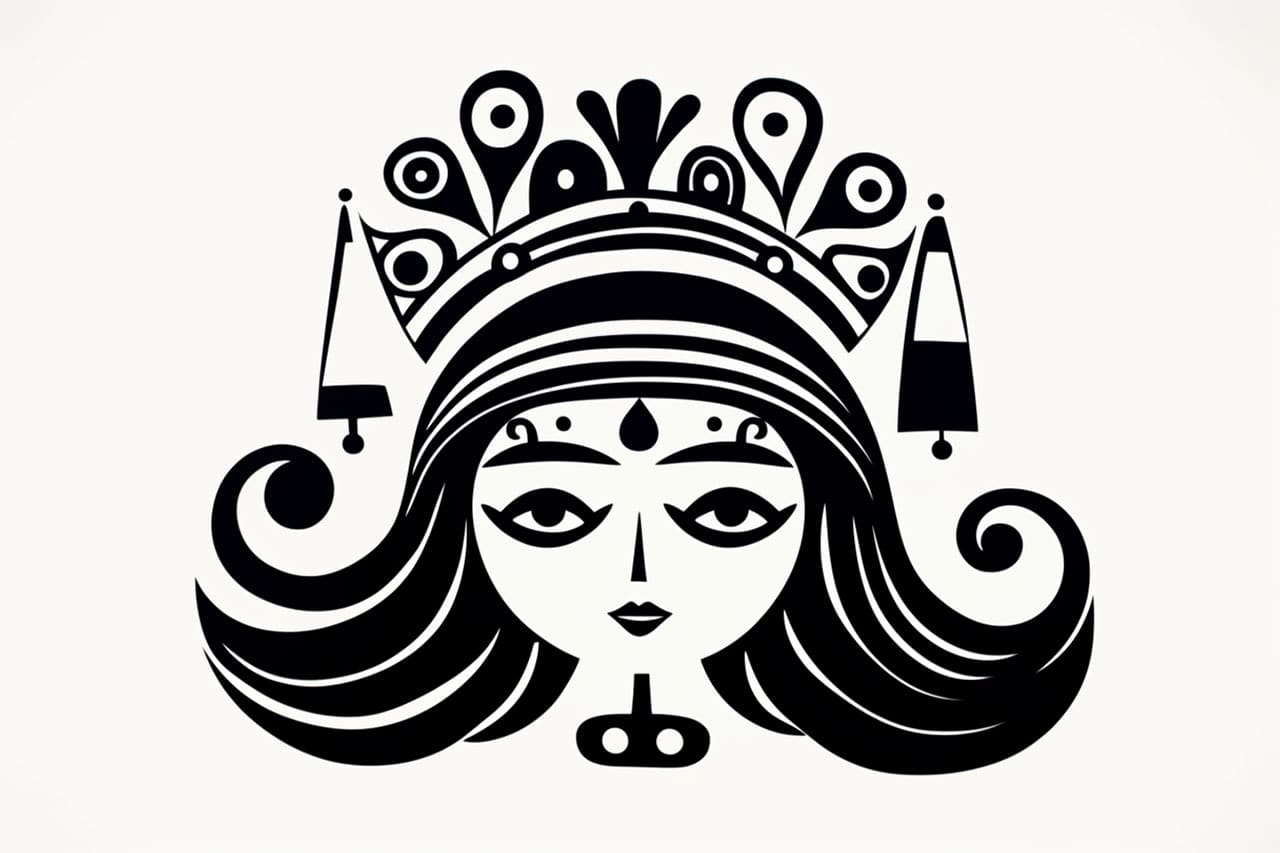
Drawing a princess can be a fun and creative way to express your artistic skills. Whether you’re a beginner or an experienced artist, this step-by-step guide will help you create a beautiful princess drawing. In this article, we will walk you through the process of how to draw a princess, providing clear and concise instructions. So grab your drawing materials and let’s get started!
Materials Required
Before we begin, let’s gather the materials you’ll need for this project:
- Pencil
- Eraser
- Drawing paper
- Colored pencils or markers (optional)
Make sure to have all these materials handy before moving on to the next steps.
Step 1: Sketching the Basic Shape of the Head
Begin by lightly sketching an oval shape for the princess’s head. This will serve as a guideline for the overall structure of your drawing. Don’t worry about making it perfect at this stage, as we will be refining it later.
Step 2: Adding Facial Features
Using the basic shape you drew in the previous step, start adding the facial features. Draw two dots near the center of the oval for the eyes. Then, sketch a curved line below the eyes to represent the princess’s nose. Finally, draw a small curved line for the mouth.
Step 3: Refining the Face and Adding Hair
Next, refine the shape of the face by erasing any unnecessary lines and adjusting the curves. Once you’re satisfied with the face, it’s time to add the princess’s hair. Draw long, flowing lines around the top of the head to create the hairstyle of your choice. Feel free to get creative and experiment with different styles – after all, it’s your princess!
Step 4: Drawing the Princess’s Body
Now that we have the head and hair in place, let’s move on to drawing the body. Start by sketching a vertical line down from the head, about three times the length of the head. This will serve as the guideline for the center of the body. From there, add two angled lines on both sides, connecting to the bottom of the vertical line. These will be the princess’s arms.
Step 5: Adding Details to the Body
To complete the princess’s body, add more details. Sketch two lines along each arm to create the sleeves. Then, draw a curved line at the bottom to create the dress. You can get creative with the style of the dress – make it as simple or as elaborate as you like. Remember, this is your princess and your artwork!
Step 6: Adding Hands and Feet
Now it’s time to add some finishing touches to the princess’s body. Draw simple curved lines for the hands, making sure to position them at the ends of the arms. For the feet, sketch two small curved lines at the bottom of the dress. These will serve as the guidelines for the princess’s shoes.
Step 7: Adding Facial Details
Let’s focus on the princess’s face again. Add more details by drawing the eyebrows and eyelashes. You can also refine the shape of the eyes and add pupils. Don’t forget to draw ears on both sides of the head as well.
Step 8: Refining the Hair and Adding Accessories
Now that the basic features are in place, it’s time to refine the hair and add some accessories. Erase any unnecessary lines and sharpen the shape of the hair. You can also add tiaras, ribbons, or other decorative elements to make your princess even more enchanting.
Step 9: Outlining and Coloring (Optional)
If you’re happy with your pencil sketch, you can proceed to outline the drawing with a darker pencil or pen. This will make your princess artwork stand out. Once you’ve outlined the drawing, you can also add color using colored pencils or markers. Choose your favorite colors and bring your princess to life on the paper!
Conclusion
Congratulations on completing your princess drawing! We hope this step-by-step guide has helped you unleash your creativity and create a beautiful princess artwork. Remember, practice makes perfect, so don’t be afraid to try again and experiment with different styles. Enjoy the process and have fun bringing your princess to life on the page.


