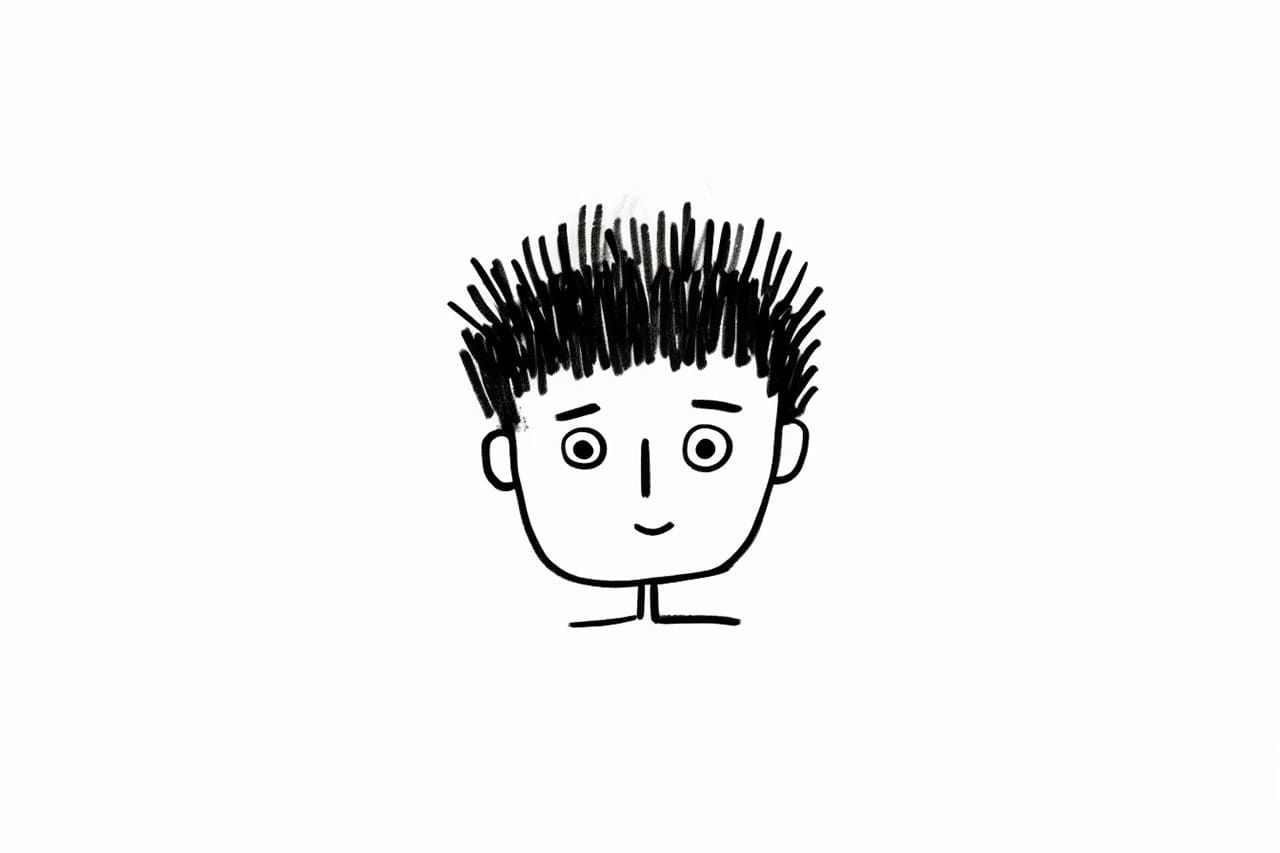
Welcome to this step-by-step guide on how to draw a boy’s face! Whether you’re an aspiring artist or just looking to improve your drawing skills, this article will walk you through the process of creating a realistic and expressive portrayal of a young boy’s face. By following these easy-to-understand instructions, you’ll be able to capture the unique features and character of a boy’s face in no time. So grab your pencil and paper, and let’s get started!
Materials Required
Before we dive into the steps, let’s make sure you have all the necessary materials on hand. Here’s what you’ll need:
- Drawing paper or sketchbook
- Pencil (preferably HB or 2B)
- Eraser
- Fine-tip markers (optional, for adding details)
Now that you have everything you need, let’s begin!
Step 1: Outline the Shape of the Face
Start by lightly sketching an oval shape on your paper. This will serve as the basic framework for the boy’s face. Remember, at this stage, it’s important to keep your lines light and loose, as they will serve as guides for the rest of the drawing.
Step 2: Divide the Face into Sections
Using a horizontal line, divide the oval into three equal parts. The top section will be for the hairline, the middle section for the eyes and nose, and the bottom section for the mouth and chin. This division will help maintain the proportions of the face as you add more details later on.
Step 3: Add the Eyes
Place two almond-shaped ovals along the middle section of the face, just below the horizontal line. These will be the boy’s eyes. Make sure to leave enough space between them for the nose.
Step 4: Sketch the Nose
Below the eyes, draw a small oval or triangle shape to represent the boy’s nose. This should be centered between the eyes and slightly above the horizontal line.
Step 5: Draw the Mouth
In the bottom section of the face, draw a curved line for the boy’s mouth. You can choose to make it smile, frown, or have a neutral expression. Add a small line above the mouth to indicate the upper lip.
Step 6: Outline the Jawline and Chin
Using gentle and curved lines, define the jawline and chin of the boy’s face. Pay attention to the shape you want to portray – whether it’s round, square, or somewhere in between.
Step 7: Refine the Hairline
Take a look at the hairstyle you want to give the boy and carefully refine the shape of the hairline accordingly. Whether it’s short or long, straight or curly, take your time to add the necessary details and texture.
Step 8: Add Eyebrows and Eyelashes
Above each eye, lightly sketch pairs of curved lines to represent the eyebrows. These lines should follow the natural arch of the boy’s brow bone. For extra detail, you can also add a few short, curved lines to represent the eyelashes.
Step 9: Define the Ears
Draw two curved lines on either side of the head to indicate the position of the boy’s ears. Remember to keep them proportional to the rest of the face. Add details to the ears, such as the inner curves or the earlobe if visible.
Step 10: Refine and Add Details
Now that you have the basic structure of the boy’s face, it’s time to refine your sketch and add more details. Take a closer look at the reference image or your imagination and add any additional elements that help bring the portrait to life. This could include shading, highlighting, or adding more depth to specific areas, such as the eyes, nose, and mouth.
Conclusion
Congratulations! You’ve successfully learned how to draw a boy’s face in a step-by-step manner. By following these instructions and practicing regularly, you’ll continue to improve your drawing skills and capture the unique features of any character you choose to draw. Remember, drawing takes time and patience, so don’t be discouraged if your first attempts aren’t perfect. Keep honing your skills, and you’ll be amazed at the progress you’ll make.
So grab your supplies, find some inspiration, and start drawing your very own boy’s face today!