Welcome to this tutorial on how to draw a water droplet! Drawing realistic water droplets can be a challenging yet rewarding experience. By following this step-by-step guide, you will learn the techniques and principles needed to create a convincing water droplet in your artwork. So, let’s get started!
Materials Required
Before we begin, gather the following materials:
Now that you have your materials ready, let’s dive into the steps!
Step 1: Basic Outline
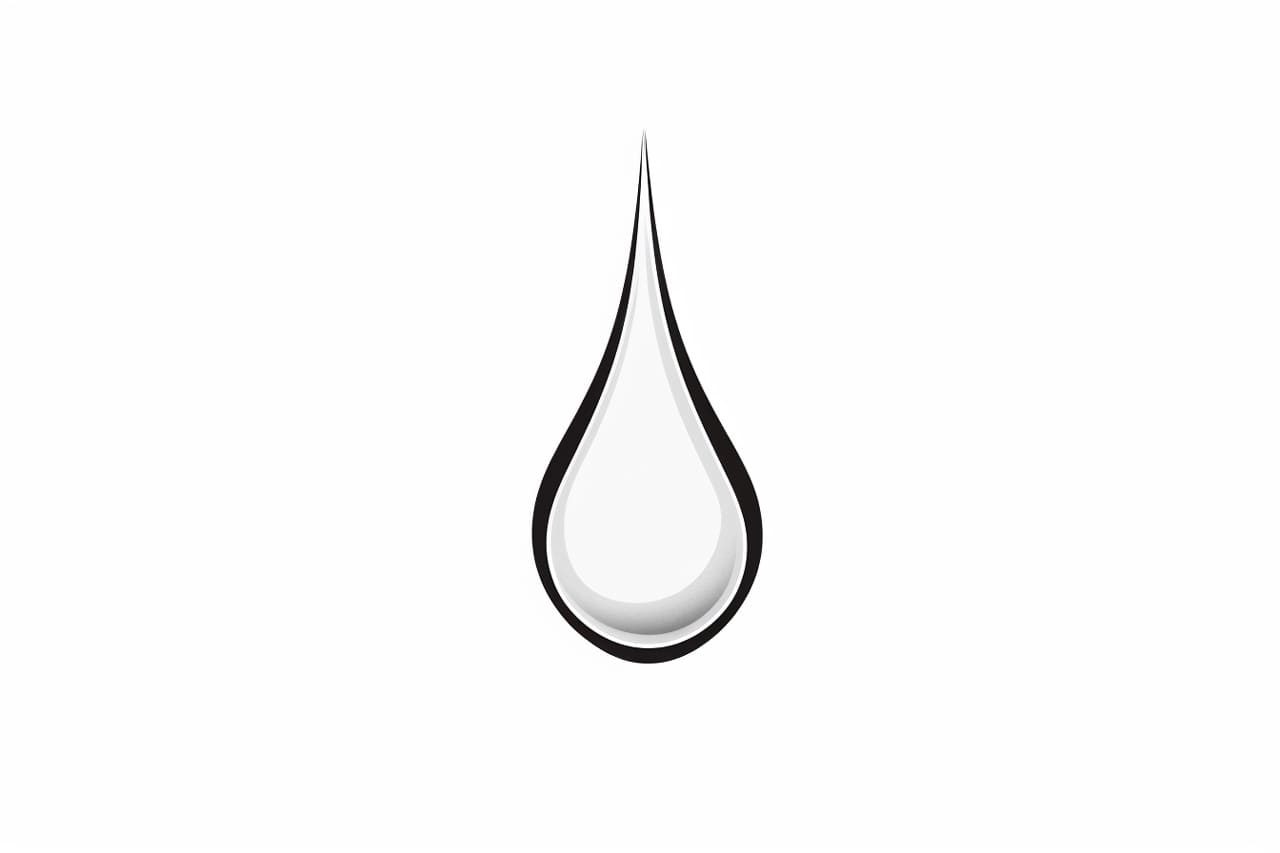
Start by lightly sketching the basic outline of the water droplet. Imagine it as a tear shape with a pointed end. The top should be slightly curved, while the bottom should come to a sharper point. Keep the lines light, as you will be refining them later.
Step 2: Shading the Edges
Next, focus on shading the edges of the water droplet. Start at the top, where the curve is more prominent. Use short, gentle strokes to create a gradation effect, going from darker at the edges to lighter towards the center. This will help give the droplet a three-dimensional look.
Step 3: Creating Highlights
To make the water droplet appear more realistic, we need to add highlights. Lightly shade a small area near the top of the droplet that will represent the reflection of light. Leave a small untouched area within this shaded region to indicate the brightest highlight.
Step 4: Darkening the Shadow
Now, let’s add some depth to our water droplet by darkening the shadow. Identify the area opposite the highlight, and using your pencil, shade it lightly. Gradually increase the pressure and darkness of your strokes as you move away from the highlight. Remember to blend the shading smoothly to create a natural gradient.
Step 5: Smoothing and Refining
To refine the droplet, use an eraser to gently lighten any areas that need adjustment. This will help smooth out any rough edges or inconsistencies. Remember to be mindful of the light source and adjust the shading accordingly.
Step 6: Adding Reflections
To enhance the realism of the water droplet, we’ll add reflections. Lightly shade a curved line within the droplet, following its form. This line will represent a reflection of the surrounding environment. Keep the shading subtle and avoid making it too dark.
Step 7: Blending and Softening
To make the water droplet look more transparent and glossy, it’s important to blend and soften the shading. Use a blending stump, cotton swab, or your finger to gently blend and smudge the edges of the shading. This technique will create a smoother and more realistic appearance.
Step 8: Adding Details
To add further detail, observe the droplet closely and pay attention to any small imperfections or highlights. Use your pencil to lightly sketch these details, such as tiny bubbles or streaks of water. Be subtle and don’t overdo it – less is often more when it comes to capturing the essence of a water droplet.
Conclusion
Congratulations! You have successfully learned how to draw a water droplet. By following these step-by-step instructions and practicing regularly, you’ll continue to improve your drawing skills and be able to create even more convincing water droplets in your artwork. Remember to be patient with yourself, as mastering any skill takes time and dedication.
So, grab your pencil and paper, and start drawing amazing water droplets today!


