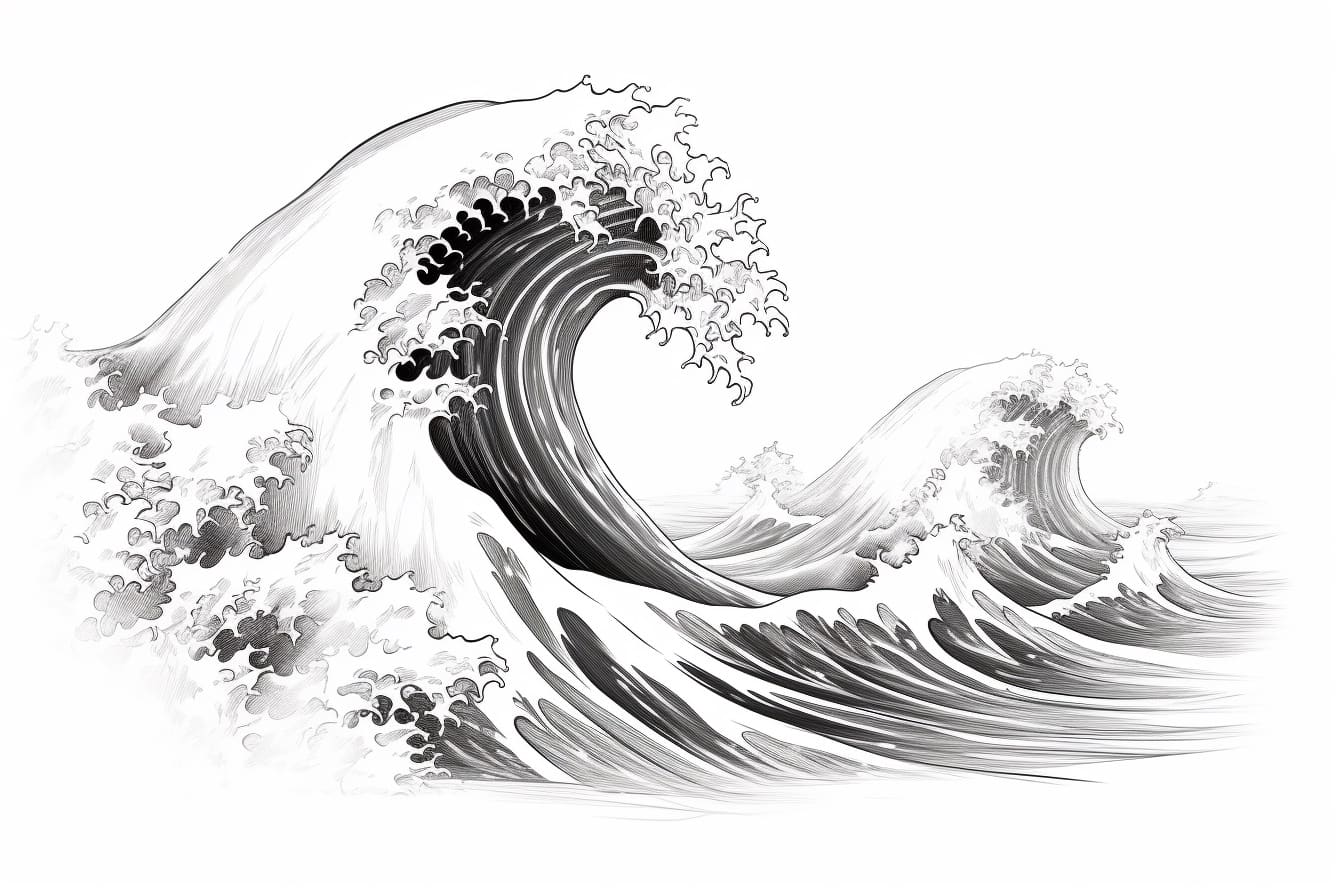
Drawing a wave crashing can be a challenging yet rewarding task for any artist. Capturing the dynamic movement, the spray of water, and the energy of a crashing wave can create a visually striking piece of art. In this step-by-step guide, we will explore the techniques and tips to help you learn how to draw a wave crashing. Whether you are a beginner or an experienced artist, this tutorial will teach you how to create a captivating representation of a wave in motion.
Materials Required
Before we get started, let’s gather the materials you will need for this drawing:
- Drawing paper or sketchbook
- Pencil or graphite sticks (preferably a range of soft to hard)
- Eraser
- Blending tools (such as blending stumps or cotton swabs)
- Fine-tip black pen or marker (optional)
- Colored pencils or watercolors (optional)
Now that you have your materials ready, let’s dive into the process of drawing a wave crashing.
Step 1: Sketch the Outline
Start by lightly sketching the outline of the wave on your drawing paper. Waves come in various shapes and sizes, so feel free to experiment and choose the type of wave you want to depict. Observe reference photos or real-life waves to capture their unique characteristics accurately. Use light, loose strokes to outline the basic shape and form of the wave. Remember that waves are constantly in motion, so try to convey the sense of movement in your sketch.
Step 2: Define the Crest
Next, focus on defining the crest of the wave. This is the topmost part that curves over before crashing down. Use curving lines to indicate the shape of the crest, paying attention to the curves and loops created by the water. The crest can vary in height and fluidity, so experiment with different shapes until you find the one that best captures the energy you want to convey.
Step 3: Add Details to the Wave
Now, it’s time to add more details to the wave. Start by drawing the foam and spray created by the crashing wave. Use short, overlapping lines to create the texture of the foam and the splashes of water. Vary the length and direction of the lines to add more dynamism to your drawing. Remember to keep your strokes loose and organic to mimic the chaotic nature of the water.
Step 4: Refine the Wave Shape
Refine the overall shape of the wave by adding more curves, ripples, and irregularities. Waves are not perfectly symmetrical, so embrace the organic nature of water by adding subtle variations and asymmetry in your drawing. Pay attention to the way light reflects off the water, creating highlights and shadows. Use your pencil to shade these areas, enhancing the three-dimensional illusion of the wave.
Step 5: Add Depth and Contrast
To create depth and contrast, darken certain areas of your drawing. This can be achieved by applying more pressure to your pencil or using a softer graphite grade. Shadows and darker areas usually appear in the troughs of the wave, where the water is more compressed. By adding contrast, you will make your drawing visually more engaging and create a sense of depth.
Step 6: Optional: Ink and Color
If you want to give your drawing a more defined and finished look, you can outline your sketch using a fine-tip black pen or marker. Exercise precision and control as you trace over the lines, emphasizing the contours and details of the wave. Additionally, if you prefer to add color to your artwork, you can use colored pencils or watercolors. Experiment with different shades of blues, greens, and whites to bring your wave to life.
Conclusion
Drawing a wave crashing requires careful observation and attention to detail, but with practice and patience, you can master this captivating subject. By following these step-by-step instructions and experimenting with different techniques, you can create a dynamic and visually interesting representation of a wave in motion. So grab your materials, embrace the fluidity of water, and let your creativity flow as you draw a crashing wave.


