
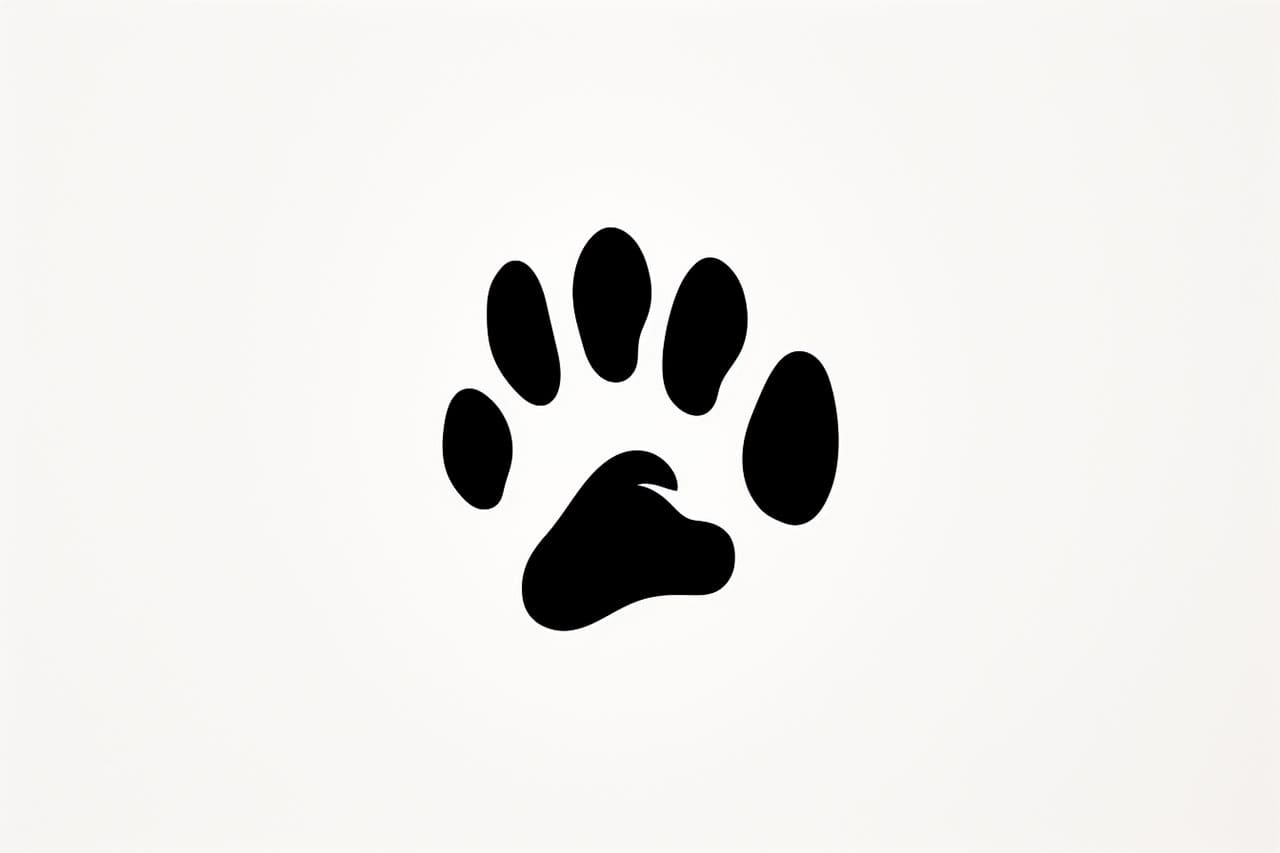
As an expert artist and drawing instructor, I am here to guide you through the process of drawing paws. Whether you are sketching a beloved pet or creating a wildlife scene, mastering the art of drawing paws is essential. In this step-by-step tutorial, I will walk you through the process, providing clear instructions to help you achieve realistic and detailed paw drawings. So, let’s get started!
Materials Required
Before we begin, ensure that you have the following materials ready:
- Pencil – A medium hardness graphite pencil, such as an HB or 2B, will work well for this tutorial.
- Eraser – A kneaded eraser is ideal as it can be shaped to remove specific details and lighten areas as needed.
- Paper – Use a sketchpad or any paper suitable for drawing.
Now that we have our materials ready, let’s dive into the step-by-step instructions.
Step 1: Basic Outline
Begin by lightly sketching a basic outline of the paw. Start with a simple oval shape to represent the main pad of the paw. Add small circles or ovals on either side to depict the toes.
Step 2: Toe Details
Next, add more definition to the toes by gently sketching curved lines to indicate the joints. Pay attention to their position and size, as it may vary depending on the animal you are drawing.
Step 3: Nail Placement
Now, focus on the nail placement. Draw small curved lines or dots at the tip of each toe to represent the nails. Note that the number of nails may differ between animals, ranging from 3 to 5.
Step 4: Fur Texture
To add a sense of realism and texture to the paw, lightly sketch short, curved lines around the outline of the pad and toes. This will mimic the appearance of fur and bring the paw to life.
Step 5: Paw Pad Details
Enhance the detail of the paw pad by adding lines or curves that run across its surface. This will give the pad a three-dimensional look and add depth to your drawing.
Step 6: Refine Toe Shape
Take a closer look at the toes and refine their shapes. Pay attention to the curves and angles, making sure they appear natural. Erase any unnecessary lines from earlier stages as you go along.
Step 7: Shading
Now it’s time to add shading to your paw drawing. Observe the light source in your reference image or imagine it if drawing from memory. Shade the areas that would be in shadow, using hatching or cross-hatching techniques. Build up the shading gradually, paying attention to the tonal values.
Step 8: Highlighting
To make your paw drawing pop, add highlights to the areas that catch the light. Use an eraser to gently remove some graphite in these areas, creating a contrast between the light and dark tones.
Step 9: Final Touches
Take a step back and evaluate your drawing. Make any necessary adjustments or refinements to ensure accuracy. Add additional details, such as wrinkles or texture, if desired. Congratulations! You have successfully drawn a paw.
Conclusion
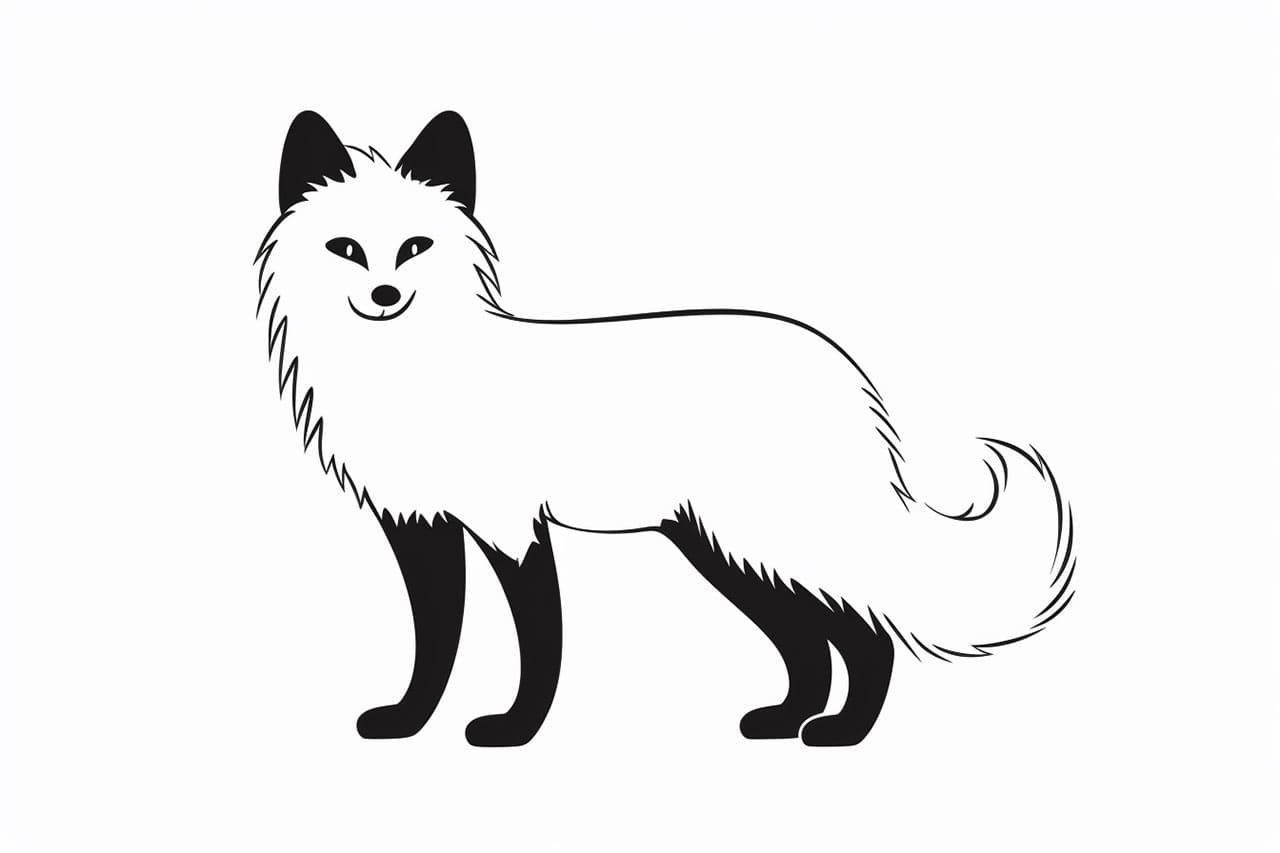
Drawing paws may seem challenging at first, but with practice and following these step-by-step instructions, you can master this skill. Remember to take your time, observe the details, and experiment with shading and highlighting to create a realistic and captivating drawing. So grab your pencil, paper, and let your creativity flow as you bring paws to life with your artistic prowess! Now that you’ve got paws and paw prints down try drawing some cute animals with paws, like an arctic fox, chipmunk or ferret.


