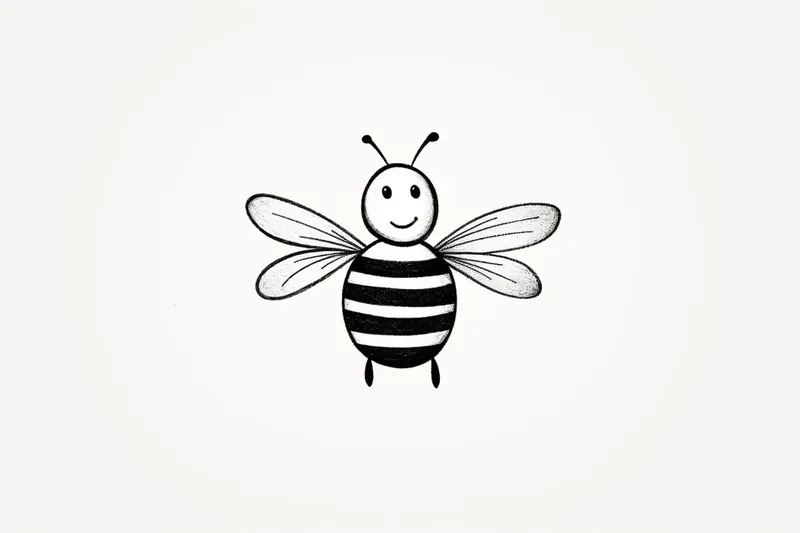
How to Draw a Cartoon Bee
Learn how to draw a cute and adorable cartoon bee in this step-by-step tutorial. Follow along with clear instructions and create your own bee drawing.
Materials You'll Need
- Pencil
- Paper
- Eraser
Bees are some of nature's most fascinating creatures, known not only for their vital role in pollinating flowers and crops but also for their distinctive, cheerful appearance that makes them a favorite subject in cartoons and children's artwork. With their round bodies, bold stripes, and playful wings, cartoon bees capture the charm and energy of real bees while adding a delightful, whimsical twist. Whether you're looking to bring some buzz to your sketchbook or add a cute character to a greeting card or poster, learning how to draw a cartoon bee is a fun and rewarding project for artists of all ages.
There are many reasons why you might want to draw a cartoon bee. Cartoon bees are perfect for school projects, handmade cards, decorating notebooks, or simply as an enjoyable exercise to improve your drawing skills. Their friendly faces and simple shapes make them especially appealing to beginner artists, while more advanced creators can experiment with different expressions, poses, and backgrounds. Cartoon bees also offer a great opportunity to play with color and shading, allowing you to personalize your bee and make it truly unique.
This tutorial on how to draw a cartoon bee is designed for all skill levels. If you're a beginner, you'll find the clear, step-by-step instructions easy to follow, focusing on basic shapes like circles and ovals to build your bee's body and features. More experienced artists can use these steps as a foundation and add their own creative touches, such as detailed wings, flower backgrounds, or even accessories like hats and glasses. Along the way, you'll practice important drawing techniques such as outlining, layering, and coloring, which will help you in other art projects as well.
So grab your pencils, gather your materials, and get ready to unleash your creativity! Don't worry if your first attempt isn't perfect—drawing is all about having fun and expressing yourself. By the end of this tutorial, you'll not only know how to draw a cartoon bee, but you'll also gain confidence to try more adorable cartoon animals and characters. Let's dive in and make your own happy little bee come to life on the page!
Materials Required
Here are the materials you will need:
- Paper
- Pencil
- Eraser
- Black marker or pen
- Colored pencils or markers (optional)
Step 1: Sketching the Body
Let's begin by sketching the basic shapes of the bee. Start with an oval shape, slightly elongated horizontally, to represent the body of the bee. This will be the main part of our cartoon character.
Step 2: Adding the Head
Draw a smaller oval shape connected to the front of the body. This will be the head of our bee. Remember to leave some space between the body and the head to create a neck.
Step 3: Drawing the Eyes
Inside the head, draw two large oval shapes for the bee's eyes. Leave some space in between them for the nose. These eyes will give our bee a cute and friendly expression.
Step 4: Adding the Nose
Between the eyes, draw a small oval shape tilted slightly to the side. This will be the bee's nose. It should look like a tiny, sideways oval.
Step 5: Sketching the Wings
On each side of the body, draw two long, curved lines extending outwards. These lines will represent the bee's wings. Make sure to keep them symmetrical and evenly spaced.
Step 6: Creating the Stripes
Using horizontal lines, divide the body into several sections to create the bee's stripes. Start just below the head and continue all the way down to the end of the body. Be sure to leave some space between each stripe.
Step 7: Drawing the Legs
Beneath the body, draw three pairs of small, curved lines. These will be the bee's legs. Make them symmetrical and evenly spaced. You can also add tiny oval shapes at the end of each leg to represent the bee's feet.
Step 8: Adding Antennas
On top of the head, draw two thin, curved lines that extend upwards. These will be the bee's antennas. You can make them as long or as short as you'd like.
Step 9: Outlining with Ink
Tip: To enhance your cartoon bee drawing experience, consider using reference images of real bees and other cartoon characters for inspiration, especially when experimenting with different expressions and poses. This can help you understand the anatomy and movement of bees while allowing you to infuse your unique style into the drawing. Additionally, don't hesitate to explore various colors and backgrounds to make your bee come alive in its own vibrant world!
Now that you've finished sketching your bee, go over the pencil lines with a black marker or pen. This will make your bee drawing bold and defined. Make sure to let the ink dry before erasing any remaining pencil marks.
Step 10: Adding Color (Optional)
If you want to add some color to your bee drawing, grab your colored pencils or markers. Be creative and choose any colors you like! You can color the body yellow, add some black stripes, and even add different shades to the wings and eyes. Let your imagination guide you!
Challenge: Try drawing your cartoon bee in the middle of a lively flower garden, interacting with other insects or collecting nectar from a big, colorful bloom. Add at least two other garden creatures, like a ladybug or butterfly, to make the scene more dynamic and tell a little story. Challenge yourself to give each character a distinct expression or pose—maybe your bee is waving hello, or sharing a laugh with a friend! This is a great way to practice drawing fun backgrounds and adding personality to multiple characters. Remember, there are no limits to your imagination—let your bee's world buzz with creativity!
Conclusion
Congratulations! You have successfully learned how to draw a cartoon bee. I hope you enjoyed this step-by-step guide and found it helpful. Drawing is a fun and creative activity that allows you to express yourself. Practice makes perfect, so keep honing your skills and exploring your artistic abilities. Happy drawing!
Fun Facts About Cartoon Bee
- Cartoon bees often have exaggerated, smiling faces to make them appear friendly and approachable to children.
- The classic yellow and black stripes on cartoon bees are inspired by the appearance of the honeybee.
- Many cartoon bees are depicted with only four legs, even though real bees have six.
- Cartoon bees are often shown with large, translucent wings, which are based on the structure of bee wings.
- The character "Maya the Bee" is one of the most famous cartoon bees, originating from a German children's book and later adapted into TV shows.
- Cartoon bees are frequently used as mascots for honey brands and environmental campaigns.
- In animation, cartoon bees are often given human-like traits, such as talking and wearing clothes, to make them more relatable.
- Cartoon bees sometimes appear with accessories like hats or glasses to add personality, a trend seen in many animated films.
Suggestions for Scenes and Settings for Cartoon Bee Drawings
- A cartoon bee cheerfully flying among bright, oversized sunflowers and daisies.
- A bee wearing a tiny backpack, ready for its first day at "Bee School."
- A group of cartoon bees playing hide-and-seek inside a colorful garden.
- A bee relaxing on a giant leaf, sipping nectar from a flower with a straw.
- A superhero bee swooping through the air with a flowing cape and mask.
- A bee hosting a birthday party for its insect friends, complete with balloons and cake.
- A bee painting a rainbow on the sky with its flight trail.
- A bee dancing in the rain, holding a tiny leaf as an umbrella.
- A musical bee playing a tiny guitar while other bees gather to listen.
- A bee exploring a mysterious forest, discovering magical glowing flowers.